Character head texturing is one of the highest-leverage skills in a game art pipeline. A well-atlased head can pack a diffuse, normal, roughness, and metallic map into a single 2K texture set — cutting draw calls, simplifying material slots, and making engine import clean from day one. Do it wrong and you are fighting UV seams, bake artifacts, and mismatched tangent spaces all the way to shipping.
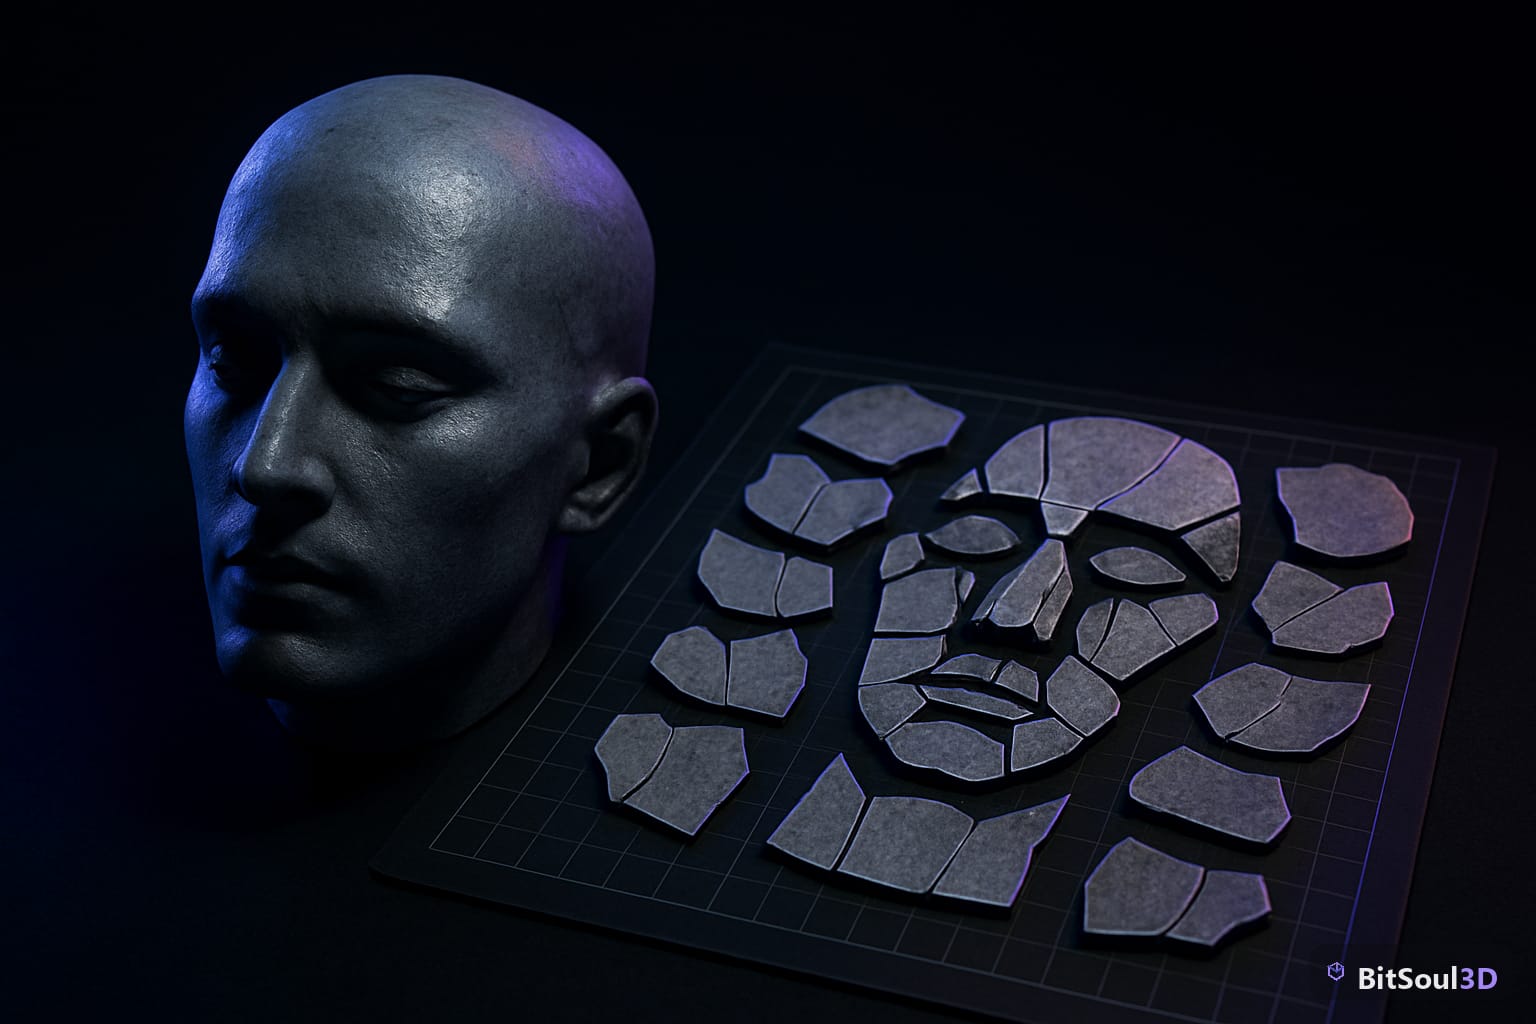
This guide walks the full workflow: UV layout strategy, PBR bake setup in Blender, and export settings for both Unity URP and Unreal Engine 5.
Why Atlasing the Head Separately Pays Off
Most character pipelines split the body into two texture sets: head and body. The head gets disproportionate screen time — close-ups, dialogue, cutscenes — so it earns its own 2K or 4K atlas rather than sharing texels with the torso.
A dedicated head atlas gives you higher texel density where it matters. A shared body atlas forces compromise; a head atlas dedicates the full UV space to ~2,500 triangles instead of 15,000. You also get independent LOD switching: drop the body to LOD2 while keeping the head at LOD0 for close camera distances. And you end up with cleaner material slots — one material per mesh in Unity and UE5 means one draw call. Two materials (head + body) is already the ceiling for most mobile and VR budgets.
The tradeoff is memory: two texture sets instead of one. For PC and console this is rarely an issue. For mobile, use a 2K head atlas with BC7/ASTC compression and a 1K body set.
Planning Your UV Layout Before You Unwrap
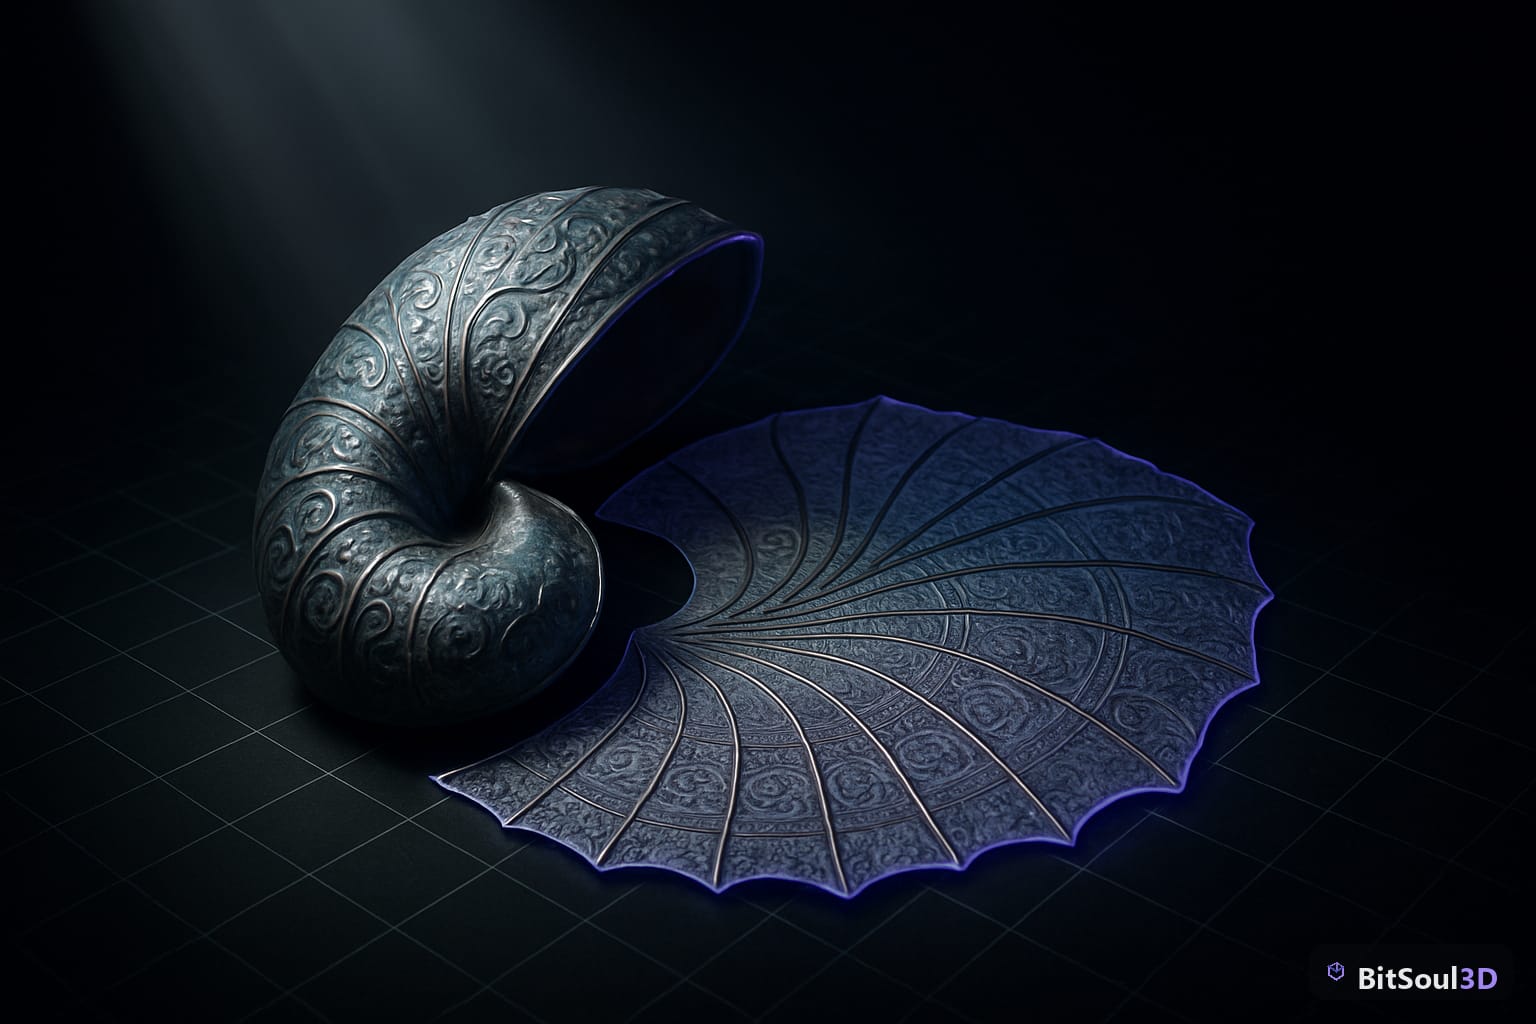
UV layout decisions made before unwrapping save hours of bake-fix iteration. Follow this checklist before touching a seam in Blender.
Identify high-priority UV islands: the face front (eyes, nose, mouth) should get 40–50% of the UV space; ears and sides of head 20–25%; back of head and neck 15–20% (lowest priority — rarely visible); scalp under hair (if hair is a separate mesh) can be overlapped or zeroed out.
For seam placement: put seams along hairlines, jaw edges, and behind the ears — natural occlusion boundaries that hide bake seams. Never place a seam across the nose bridge, eyelids, or lips — these deform under animation and seams will crack. Use a single loop cut around the neck base as the boundary between head and body meshes.
# Quick UV density normalization via Blender Python console
import bpy

obj = bpy.context.active_object
bpy.ops.object.mode_set(mode="EDIT")
bpy.ops.mesh.select_all(action="SELECT")
bpy.ops.uv.average_islands_scale()  # normalize island scales before packing
bpy.ops.uv.pack_islands(margin=0.005)  # 5px margin at 1024, 10px at 2048
bpy.ops.object.mode_set(mode="OBJECT")
Run average_islands_scale before packing to normalize texel density across islands. Then pack_islands with a 0.005 margin — at 2K resolution this gives a 10-pixel gutter between islands, preventing bleed during mip generation. For the face-front island, manually scale it up after packing: select just that island in the UV editor and scale to ~1.4x its packed size, then repack the remaining islands around it.
| UV Island | Recommended Coverage | Priority |
|---|---|---|
| Face front (forehead to chin) | 40–50% | High |
| Sides and ears | 20–25% | Medium |
| Back of head | 15–20% | Low |
| Neck and jawline | 10–15% | Medium |
| Scalp (if visible) | 5–10% | Low |
Baking the PBR Texture Set in Blender
Blenders Cycles bake pipeline produces game-ready PBR maps when set up correctly. The common failure mode is baking from the wrong source mesh or with incorrect ray distances — both produce shadow bleed and AO artifacts on the brow, eyelids, and nostrils.
Bake order matters. Always bake in this sequence: (1) Normal map first — tangent-space, Mikktspace, before AO distorts your shading reference. (2) Ambient Occlusion — uses the low-poly cage, independent of materials. (3) Roughness — bake from the high-poly material roughness socket. (4) Metallic — bake from the metallic socket (flat 0.0 for skin). (5) Albedo/Diffuse last — use Diffuse bake type with Color contribution only, no direct/indirect lighting.
Critical Cycles bake settings for character heads:
Bake Type:       Normal / Diffuse / Roughness / Metallic
Space:           Tangent
Extrusion:       0.02m (increase to 0.05m if shadow seams appear)
Max Ray Dist:    0.1m
Samples:         128 (AO)  |  64 (Diffuse)  |  1 (Roughness/Metallic)
For the normal map, ensure high-poly and low-poly share the same origin and are in the same Blender collection. Use Selected to Active bake mode with the high-poly as selected and the low-poly as active.
Dealing with eyelid and nostril artifacts: these concave areas trap AO rays. After baking, clone-stamp or hand-paint the inner eyelid AO to ~220/255 (very light) in Photoshop or Krita. The game engine real-time SSAO handles micro-occlusion at runtime — aggressive baked AO in concave areas causes dark bands that look wrong under dynamic lighting.
Export Settings and Engine Import
Export from Blender as GLB for Godot 4, FBX for Unity URP, or FBX for UE5. Textures should be exported as separate PNG files — do not embed them in the FBX.
| Texture | Unity URP | Unreal Engine 5 |
|---|---|---|
| Albedo | PNG → BC7 (auto) | PNG → BC7 |
| Normal | PNG → BC5 (mark as Normal Map) | PNG → DXT5nm |
| ORM packed (AO/Rough/Metal) | PNG → BC7 | PNG → BC7 |
| Emissive (optional) | PNG → BC7 | PNG → BC7 |
For Unity URP: set Normal Map texture type on the normal PNG — Unity compresses to BC5 automatically. Pack ORM into a single texture with R=Occlusion, G=Roughness, B=Metallic. Unity Lit shader reads this as a Mask Map. Assign the head material as a separate material slot on the character SkinnedMeshRenderer; do not merge with the body material.
For Unreal Engine 5: enable sRGB on the albedo texture, disable it on normal and ORM. Set normal map compression to Normalmap (DXT5nm) in texture settings. Use a single M_CharacterHead master material with a Material Instance per character variant — this avoids shader permutation explosion when you have many characters.
You can find production-ready character meshes and pre-atlased head texture sets at BitSoul marketplace, which stocks game-ready GLB and FBX files with correctly packed ORM textures ready to drop into your project.
Checklist: Character Head Atlas Pipeline
- Head separated as its own mesh (not merged with body)
- UV seams at hairline, jaw, behind ears — not across facial features
- Islands scaled with average_islands_scale before packing
- Face-front island manually upsized to 40–50% of UV space
- 0.005 UV margin (10px at 2K) between all islands
- Bake order: Normal → AO → Roughness → Metallic → Albedo
- Eyelid and nostril AO painted to 220+ post-bake
- Textures exported as separate PNG (not embedded in FBX)
- Normal marked as Normal Map type in engine
- ORM packed R=AO, G=Roughness, B=Metallic
- One material slot per mesh in engine
Get a Head Start With Production-Ready Meshes
A clean UV atlas is only as good as the mesh beneath it. Poorly triangulated eyelids, non-manifold ear geometry, and inconsistent edge flow all produce bake errors that no amount of post-processing will fix. If you are sourcing base meshes rather than modeling from scratch, BitSoul marketplace has rigged and unrigged character heads with clean topology, correct edge flow, and engine-ready export configurations — a reliable foundation for your texture work rather than fighting mesh problems first.
Get the UV layout right, bake in the correct order, pack your ORM map, and you will have a character head that looks sharp at 60fps with a single draw call.
Build with real assets: grab the 98-model Character Pack on the BitSoul marketplace and drop them straight into your project.