Hard surface modeling—mechanical props, weapons, vehicles, sci-fi panels—looks deceptively simple until your mesh hits the engine and shading artifacts multiply across every edge. This guide walks through the complete Blender workflow for game-ready hard surface props: planning topology, running booleans cleanly, locking in shading with bevels, and exporting to Unity and Unreal Engine 5 without surprises.
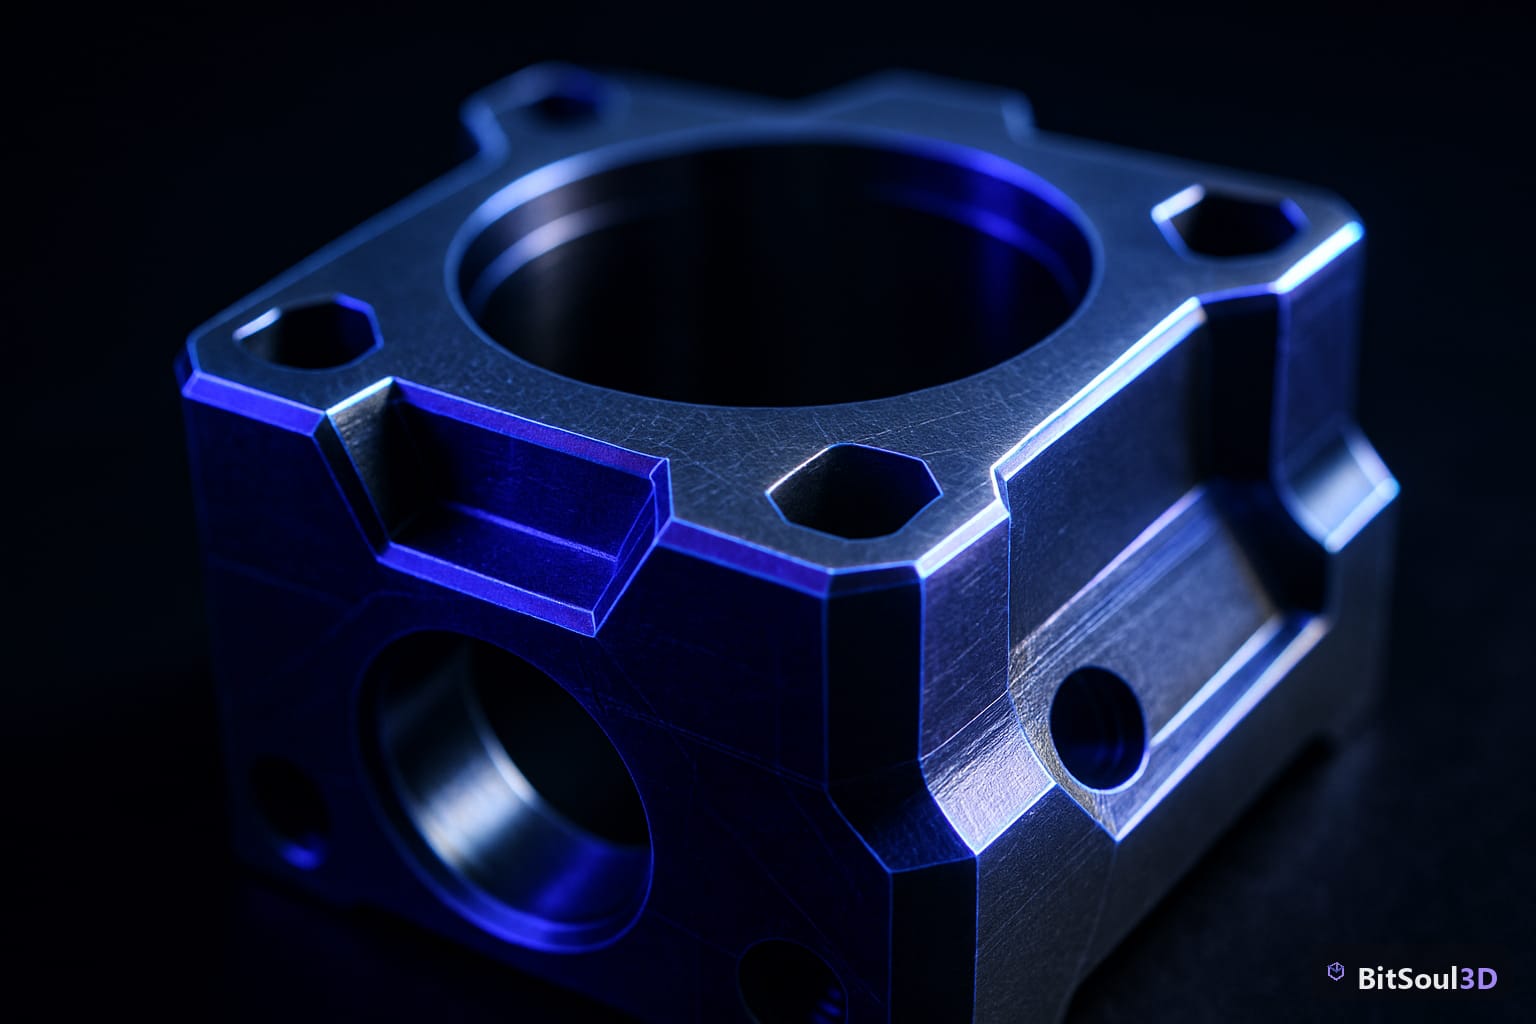
1. Plan Your Asset Before You Touch a Vertex
The single biggest mistake game artists make is jumping straight into modeling without a clear polygon budget and silhouette plan. Hard surface props for games live or die by their LOD0 triangle count and how readable the silhouette is at in-game distances.
Before opening Blender, define three things:
- Triangle budget: Mobile = 500–2,000 tris for a small prop. PC/console = 5,000–15,000 tris for a hero asset like a weapon or vehicle part.
- Silhouette complexity: Which angles does the player see most? Your edge loops should reinforce those views.
- Texture resolution: A 2048×2048 texture on a 1m³ prop gives roughly 2 texels/cm—good for near-player objects. Drop to 1024×1024 for background props.
Gather orthographic reference images (manufacturer renders, concept art, or photos) and set them up as Blender Background Images (Properties → Object Data → Background Images when in camera view). Locking your proportions to reference early saves costly topology rework later.
Also decide pre-bake or runtime shading: are you baking a normal map from a high-poly sculpt, or relying on a real-time bevel shader in UE5? The answer changes your entire modeling approach—high-to-low workflows need dense high-poly geometry; direct-to-game assets need clean subdivision-friendly topology.
2. Booleans and the Remesh Workflow
Booleans are the fastest way to add mechanical cutouts and panel indentations to hard surface props—but raw Blender booleans produce n-gons and non-manifold geometry that will cause shading and LOD errors inside game engines.
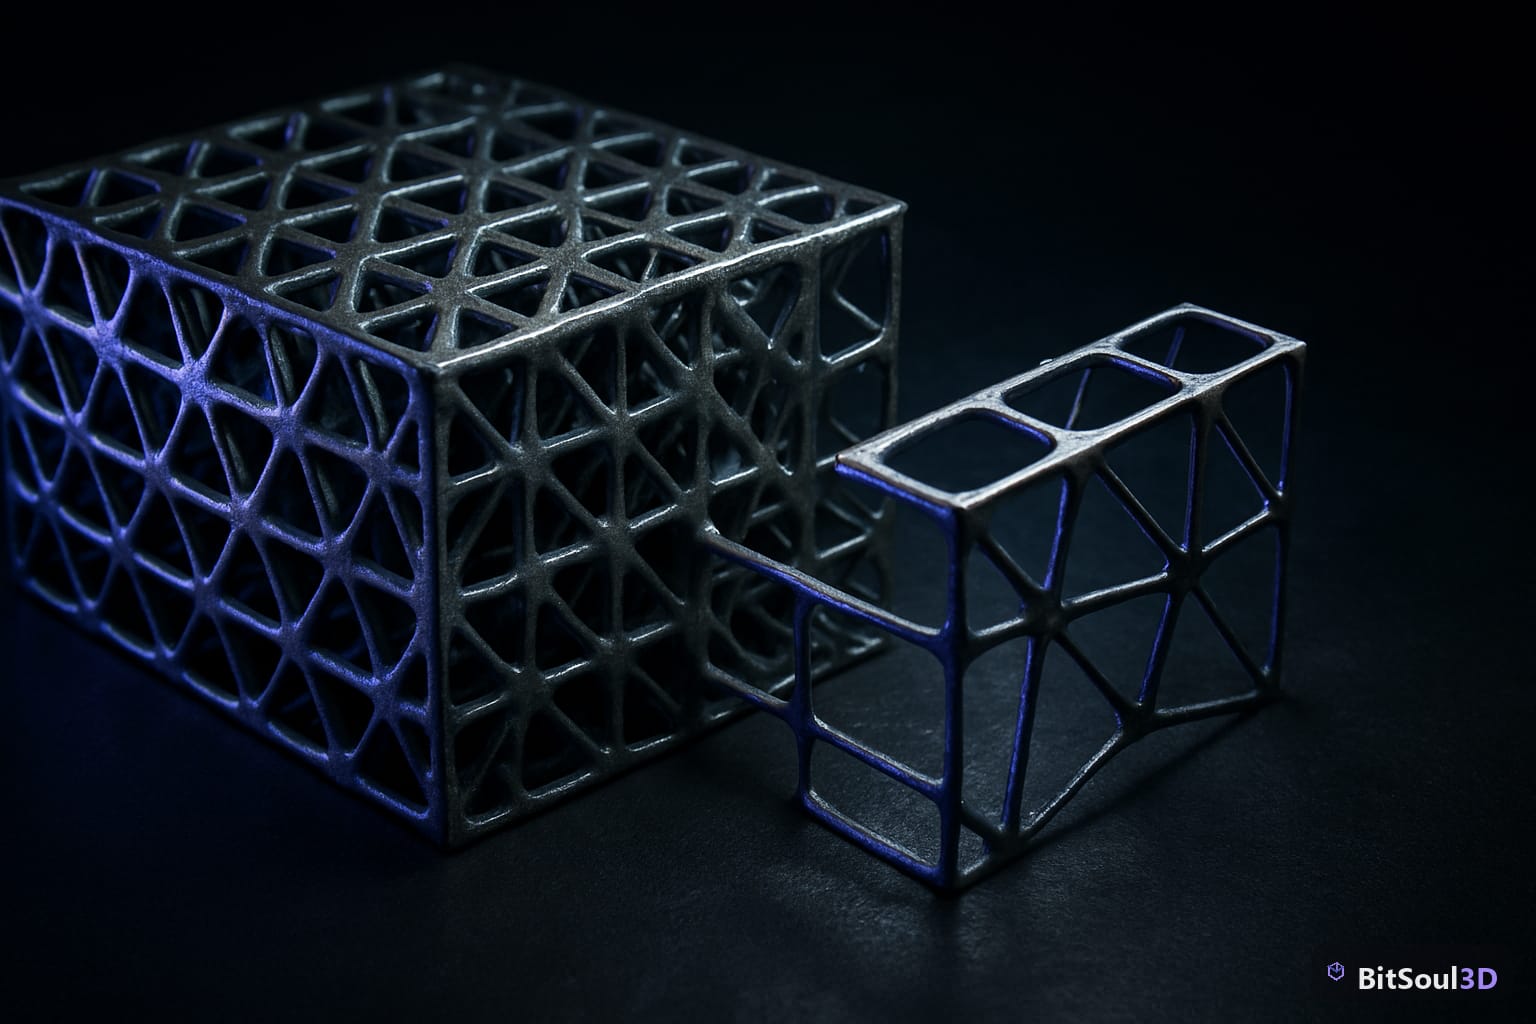
The professional workflow:
- Keep your boolean cutter as a separate object. Use the
Bool Tooladd-on (bundled with Blender, enable in Preferences → Add-ons) for non-destructive stacking. - Apply only when topology is final. After applying, run
Mesh → Clean Up → Merge by Distance(threshold 0.001) to remove duplicate vertices. - Manually resolve n-gons. Select faces with more than 4 sides using
Select → Select All by Trait → Faces by Sides(greater than 4). Dissolve or cut these into quads and tris. - Validate with Mesh Analysis. In the Overlay menu enable Mesh Analysis → Distortion. Any red patches need attention before export.
For very complex boolean chains, the Remesh → Voxel workflow is faster: boolean everything destructively on a 0.01m voxel grid, then use QuadRemesher or Instant Meshes to re-quad the surface. This trades some detail control for speed on complex shapes.
# Blender Python: apply all boolean modifiers in stack
import bpy

obj = bpy.context.active_object
for mod in [m for m in obj.modifiers if m.type == 'BOOLEAN']:
    bpy.ops.object.modifier_apply(modifier=mod.name)

print(f"Applied booleans on {obj.name}")
3. Edge Loops and Bevels for Clean Shading
Shading on hard surface game assets breaks at three places: n-gons adjacent to booleans, missing support loops at hard edges, and incorrect Auto Smooth angles. Fix all three before export.
Support loops: Every hard edge needs two support edge loops 1–3 edge widths away. These tighten the subdivision surface falloff and give the bevel shader a clean gradient to work with. In edit mode, select a hard edge, Ctrl+R to add a loop, and slide it to ~0.02–0.05 BU from the edge.
Bevel modifier (non-destructive): Add a Bevel modifier set to Angle mode (30°–45° for most props) before applying. This is cleaner than hand-beveling every edge and makes iteration fast. Set Segments = 2 for game assets to keep triangle counts low.
Auto Smooth: In the mesh properties, enable Auto Smooth and set the angle to 30°. This tells Blender which edges split the normal smoothing, mimicking what game engines do with smoothing groups. In Unity and UE5, hard edges are controlled by the FBX smoothing groups embedded during export—so your Auto Smooth angle directly maps to engine behavior.
| Edge Type | Bevel Segments | Auto Smooth Angle |
|---|---|---|
| Very sharp (machined) | 1 | 20° |
| Standard hard surface | 2 | 30° |
| Soft industrial curve | 3 | 45° |
| Organic transition | 4+ | 60°+ |
Finally, check face orientation (Overlay → Face Orientation). Every face must be blue (outward-facing normals). Flip any red faces with Mesh → Normals → Flip.
4. Exporting Hard Surface Props to Unity and Unreal Engine 5
Blender's FBX and GLB exporters have different defaults for each engine. Using the wrong settings causes scale issues (the classic 100× import scale), broken normals, and missing materials.
For Unity (FBX):
File → Export → FBX
- Scale: 0.01 (compensates Blender's metric vs Unity's meter)
- Apply Unit: ON
- Apply Transform: ON
- Mesh: Smoothing = Face (writes smoothing groups)
- Geometry: Tangent Space = ON
In Unity, set the imported mesh's Normals to Import and Tangents to Calculate Mikkt. Match your Blender Auto Smooth angle in the Unity mesh import → Smoothing Angle field.
For Unreal Engine 5 (FBX or GLB):
File → Export → FBX
- Scale: 1.0 (UE5 expects cm; set scene unit scale to 0.01 in Blender)
- Apply Unit: ON
- Apply Transform: ON
- Mesh: Smoothing = Edge (more reliable in UE5)
- Geometry: Tangent Space = ON
In UE5 import settings, enable Recompute Normals = false (use imported normals), Import Tangents = true, and set LOD Group to SmallProp or LargeProp depending on world-space size.
GLB for Godot 4: Export via File → Export → glTF 2.0, Format = GLB, Include Mesh Data → Normals + Tangents, UVs. Set +Y up in the Transform section.
5. Surface Finish: Normal Maps vs Geometry Detail
For game props under 10,000 triangles, surface detail like bolt heads, panel screws, and engraved text should live in the normal map—not the mesh. Use a high-poly version with actual geometry, bake in Blender (Cycles, 2048px, 32 samples per pixel is sufficient), and apply the normal map in Unity's Standard material or UE5's master material instance.
For hero assets with Nanite enabled in UE5, you can push geometry detail further—but only for assets within the camera near-field. Background props still benefit from baked normals even with Nanite, since Nanite's virtualized geometry system still incurs memory cost per unique mesh.
The rule: if the detail reads at gameplay distance, put it in geometry. If it only reads up close, bake it.
Need pre-made hard surface props optimized for Unity and UE5? Browse the BitSoul marketplace for game-ready mechanical assets with PBR textures, LOD sets, and engine-specific exports.
Start Shipping Better Props
Hard surface modeling in Blender rewards systematic work: plan your budget, control your booleans, lock in shading before export, and match your exporter settings to the target engine. Skip any one of these and you'll debug shading artifacts in-engine instead of shipping.
Browse the BitSoul marketplace to download vetted hard surface game assets and shortcut your production timeline.
Need drop-in assets for this workflow? Grab the 67-model Weapons Bundle on the BitSoul marketplace and drop them straight into your project.