Every AAA game ships facial animation using the same underlying system — morph targets. Whether it's a subtle eyebrow raise in a cutscene or a dramatic death expression, morph targets are doing the work. Blender calls them shape keys. Unity and Unreal Engine 5 call them blend shapes or morph targets. The technology is identical; only the pipeline differs.
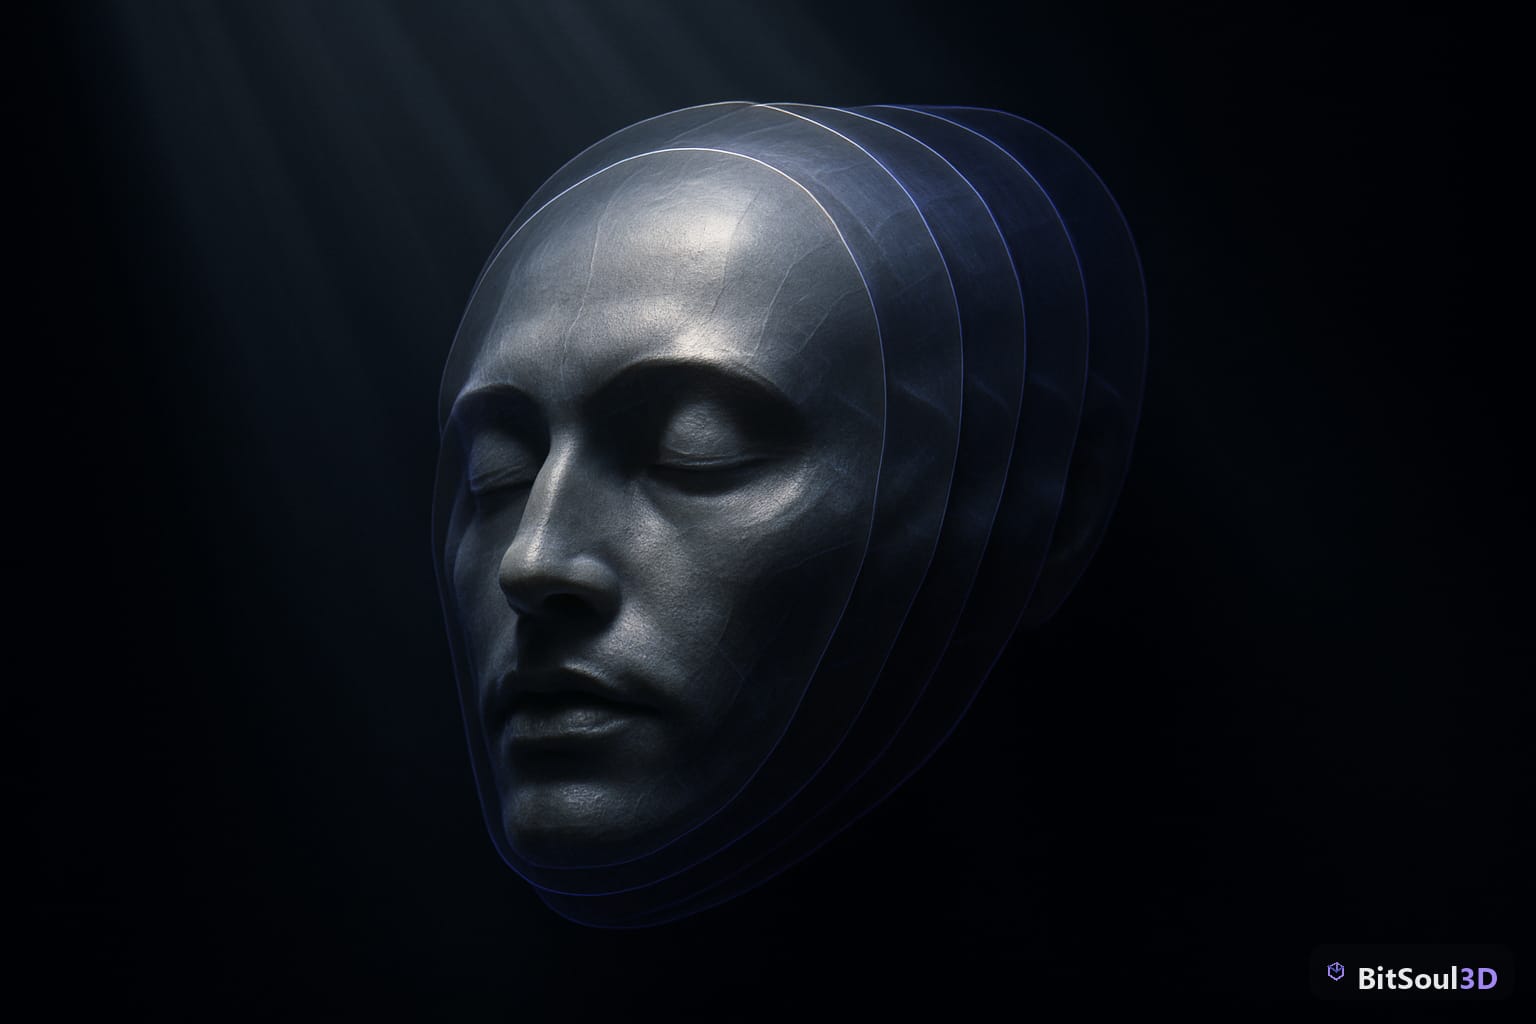
This guide walks the full workflow: authoring shape keys in Blender, exporting via FBX and GLB, and driving them at runtime in both Unity and UE5. Every step is production-tested.
What Are Shape Keys and Why Do They Beat Bones for Faces
Shape keys store per-vertex position offsets from a base mesh. Where bone-driven rigs move groups of vertices by rotating joints, shape keys move each vertex independently along a custom path. This matters for faces because facial musculature produces non-linear deformation — a smile does not simply rotate a jaw bone, it pulls the cheeks, compresses the lips, and crinkles the eyes along organic curves that no bone hierarchy replicates cleanly.
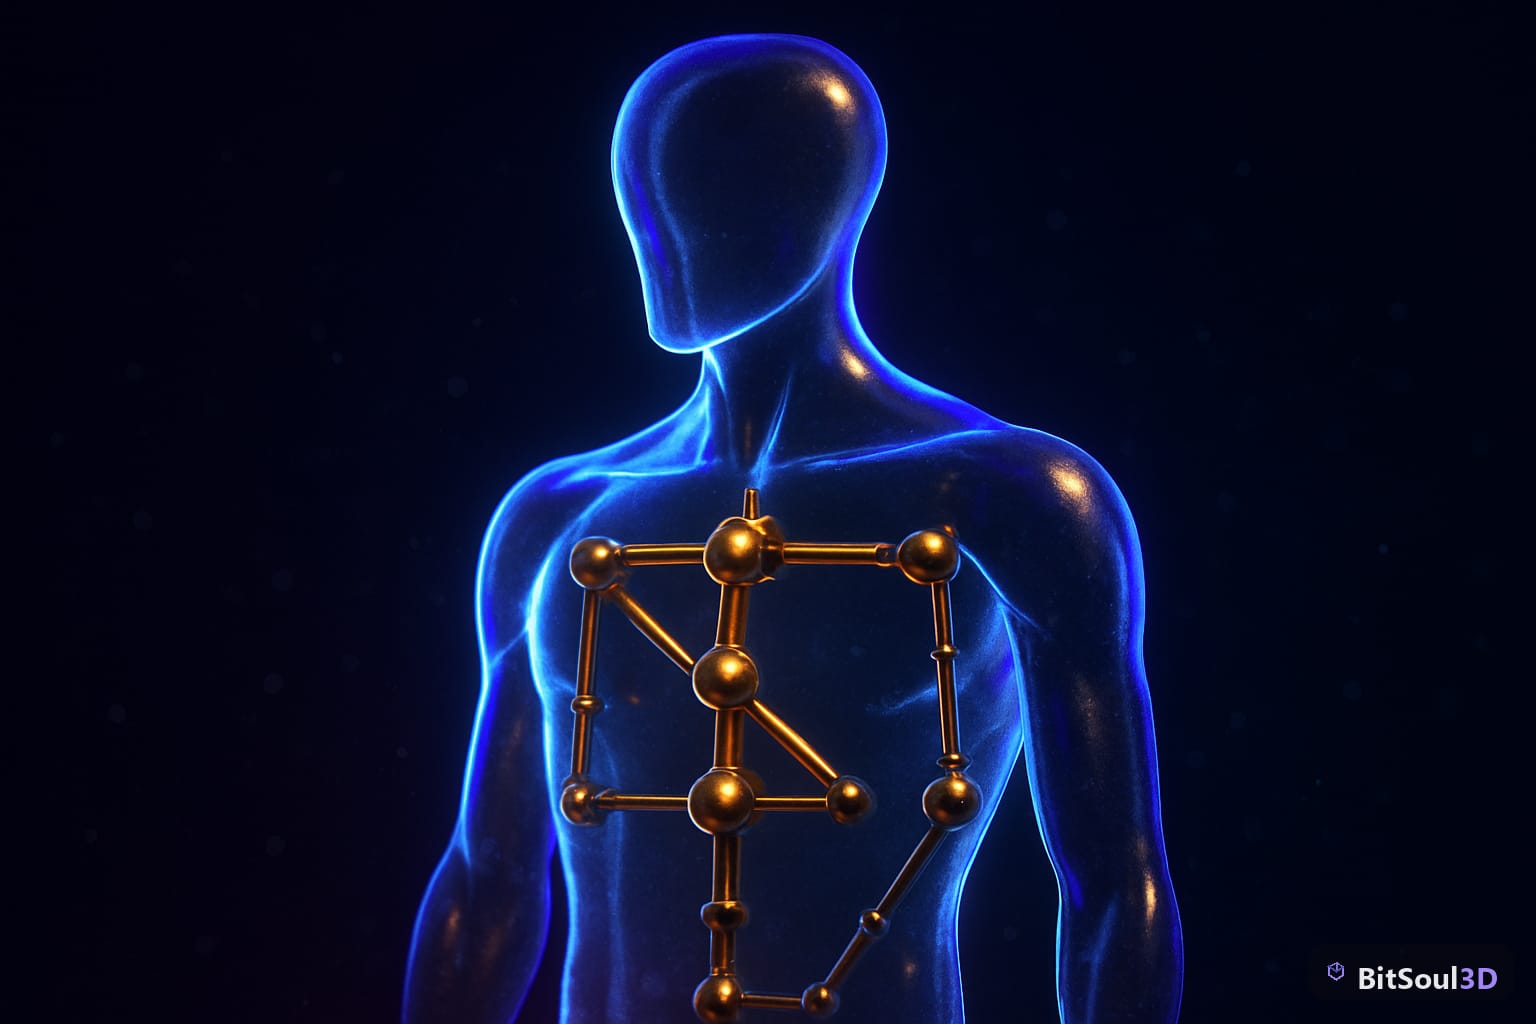
The practical advantages:
| Feature | Bone Rig | Shape Keys / Morph Targets |
|---|---|---|
| Per-vertex control | Limited | Full |
| Non-linear deformation | Hard | Native |
| Runtime blend weight | Via IK solvers | Direct float 0–1 |
| Memory cost | Low | Higher (per-key vertex delta) |
| Animation curve support | Yes | Yes |
| ARKIT compatibility | No | Yes (blendshape names) |
For body deformation — arms, legs, torso — bones win on performance. For faces, morph targets are the professional standard.
Authoring Shape Keys in Blender
Open your character mesh in Object Mode. In the Properties panel, navigate to the Object Data Properties tab (the mesh icon) and locate the Shape Keys section.
Basis key first: click the + button to create the Basis key. This is your resting mesh — never edit it after adding other keys, or all your offsets will drift.
Adding expression keys: click + again to add a new key. Give it a descriptive name that matches your engine convention, for example mouthSmile_L, browInnerUp, eyeBlinkLeft. Switch into Edit Mode with the new key selected and sculpt or grab-move vertices into the target expression.
# Useful Python snippet: list all shape keys on the active object
import bpy
obj = bpy.context.active_object
if obj.data.shape_keys:
    for kb in obj.data.shape_keys.key_blocks:
        print(f"{kb.name}: value={kb.value:.2f}")
Naming conventions matter. Unity's ARKit blendshape mapping and UE5's MetaHuman naming both expect specific strings. If you're building a face for live expression blending, match ARKit's 52-blendshape list from the start. If you're building a stylized game face, use descriptive prefixes (brow_, mouth_, eye_) so animators can discover keys by filtering.
Driver-controlled previews: add drivers to your shape key values, driven by custom bone properties on your rig. This lets animators use familiar bone controls while the shape keys run underneath — the standard production approach for facial rigs.
Exporting Shape Keys from Blender
Blender supports two export paths for shape keys: FBX and GLB/GLTF.
FBX export: in the export dialog, ensure Armature and Mesh are both checked under Include. Under Geometry, enable Apply Modifiers only if you have non-destructive modifiers (this will bake the shape key stack — avoid if you need the keys intact). The critical checkbox is Export Shape Keys (enabled by default in recent Blender versions). FBX is the safest path for Unity and UE5 due to the longest support history.
GLB/GLTF export: shape keys export automatically as morph targets in the GLTF spec. In Blender's GLTF exporter, under the Mesh section, verify Export Morph Targets is checked. GLTF's morph targets are position, normal, and tangent deltas — all three are supported. This is the preferred format for Godot 4 and for web-based engines.
# Command-line GLB export with Blender (headless)
blender --background character.blend \
  --python-expr "
import bpy
bpy.ops.export_scene.gltf(
    filepath='/output/character.glb',
    export_format='GLB',
    export_morph=True,
    export_morph_normal=True
)
"
Scale and axis: as always with Blender exports, set Forward axis to -Z and Up axis to Y for Unity. For Unreal Engine 5 using FBX, Forward is -X and Up is Z. GLB exports for Godot use Blender's defaults.
Driving Morph Targets at Runtime in Unity
In Unity, imported shape keys appear as BlendShapes on the SkinnedMeshRenderer component. Each blend shape has an index and a weight from 0 to 100 (not 0–1 — a common gotcha).
using UnityEngine;

public class FaceController : MonoBehaviour
{
    [SerializeField] private SkinnedMeshRenderer faceRenderer;
    private int smileIndex;

    void Start()
    {
        // Find blend shape index by name
        smileIndex = faceRenderer.sharedMesh.GetBlendShapeIndex("mouthSmile_L");
    }

    public void SetSmile(float weight01)
    {
        // Unity weights are 0-100, not 0-1
        faceRenderer.SetBlendShapeWeight(smileIndex, weight01 * 100f);
    }
}
For ARKit face tracking with Unity's AR Face Manager, blend shape coefficients are provided as a Dictionary mapping ARKitBlendShapeLocation to float. Map them to your imported blend shapes by matching the ARKitBlendShapeLocation enum names to your Blender shape key names.
For animator-driven blend shapes, use an Animator component with float parameters mapped via Animation Clips that keyframe the SkinnedMeshRenderer blendShapeWeights property. This integrates cleanly with the Animator State Machine for cutscenes.
Driving Morph Targets in Unreal Engine 5
UE5 imports blend shapes automatically from FBX. They appear in the Morph Target Preview panel of the Skeletal Mesh editor. At runtime, morph target weights are driven via SetMorphTarget on the USkeletalMeshComponent.
// C++ — set morph target on a Skeletal Mesh Component
USkeletalMeshComponent* Mesh = GetMesh();
Mesh->SetMorphTarget(FName("mouthSmile_L"), 0.85f);
In Blueprints, use the Set Morph Target node — it takes the component reference, the morph target name as a Name, and the weight as a Float (0.0–1.0, unlike Unity's 0–100).
For performance, UE5 compresses morph target deltas in the Skeletal Mesh asset settings. Enable Use Morph Target Position Deltas Only when your keys do not include normal changes — this cuts memory per target significantly on large face meshes. You can also set per-target LOD cutoffs so morph targets disable on distant LODs where sub-pixel deformation would be invisible.
Performance Budgeting for Shape Keys
Each active morph target that has a non-zero weight costs a full vertex buffer pass on the GPU. Practical limits:
- Mobile: keep active morph targets below 8 per mesh at any frame
- PC and console: 20–30 active targets is manageable; beyond that, use pose caching
- Vertex count per key: under 3,000 for real-time face meshes on mobile
Deactivate morph targets by setting their weight to exactly 0 — both Unity and UE5 skip the deformation pass entirely at zero weight. Never leave an irrelevant target at 0.001 by accident.
For crowd characters or secondary NPCs, bake morph target animations to Vertex Animation Textures (VAT) and strip the live morph targets entirely. The BitSoul marketplace carries pre-optimized game-ready character packs that already respect these limits.
Checklist: Shape Key to Engine Pipeline
- Basis key created before all other keys
- All key names follow engine naming convention (ARKit, MetaHuman, or custom prefix)
- No modifiers applied that destroy key deltas
- Export format chosen (FBX for UE5, GLB for Godot and web, either for Unity)
- Axis and scale settings match target engine
- Blend shape weights verified in engine importer (0–100 Unity, 0.0–1.0 UE5)
- Zero-weight targets deactivated in runtime code
- LOD cutoffs set for morph targets on mobile
- ARKit mapping validated if using face tracking
Shape keys are the most direct path to expressive, production-quality facial animation. Set the naming conventions correctly at the authoring stage and the engine integration becomes mechanical. Browse rigged character assets ready for blend shape workflows at the BitSoul marketplace — assets are pre-checked for clean topology and correct export settings.
Build with real assets: grab the 98-model Character Pack on the BitSoul marketplace and drop them straight into your project.