Hand-placing individual road or fence segments is one of the most tedious jobs in environment art. You end up with hundreds of actors, misaligned joints, and a level that breaks the moment a designer wants to reroute a path. UE5's SplineMeshComponent solves this by deforming a single static mesh along any spline at runtime—no baking, no preprocessing, just clean procedural curves updated live in the editor.

This guide walks through the full pipeline: designing a game-ready modular segment in Blender with the correct axis conventions, wiring the Blueprint logic that spawns and bends mesh components along a spline, tuning tangent handles for smooth curvature, and keeping performance solid with proper LODs and collision.
What Is a SplineMeshComponent?
A SplineMeshComponent is a static mesh that UE5 linearly interpolates—"bends"—between two points and two tangent vectors. The engine distorts the mesh's vertices at render time using the spline segment's start and end transforms. The result looks like a smoothly curved object even though the source mesh is perfectly straight.
The key insight is that a SplineMeshComponent is not a particle or an instanced mesh—it's a unique component per spline segment, which has performance implications we'll cover. The typical workflow is:
- Place a SplineComponent on an actor to define the path.
- At construction time, loop over every segment of the spline.
- Add a
SplineMeshComponentper segment, set its start/end positions and tangents, and assign your static mesh.
Because it runs in the construction script, the entire chain rebuilds live whenever you drag a spline point in the viewport—instant feedback with no bake step.
Designing Your Modular Asset in Blender

The asset you feed into a SplineMeshComponent has strict requirements. Get these wrong and the deformation will twist, flip, or misalign at every segment joint.
Axis convention. UE5 bends the mesh along whichever axis you set as the forward axis (default: X). Build your segment in Blender so it runs along the +X axis from X = 0 to X = 1. A 1-metre road segment should span from (0, 0, 0) to (1, 0, 0) in Blender's coordinate space before export.
Pivot at origin. Place the pivot point (object origin) at the start face of the mesh—(0, 0, 0). The start face must be flush with the YZ plane. This ensures UE5 stitches adjacent segments seamlessly.
Segment length. Use exactly 1 Unreal unit = 1 cm scaling. A 1-metre segment (common for fences) should be 100 Blender units on the X axis before export. Apply scale (Ctrl+A → Scale) before exporting so no transform data is embedded.
Topology at the end caps. The start and end faces need matching vertex layouts so UE5 can weld them visually. Use a grid of horizontal edge loops rather than triangulated caps—this keeps deformation clean when the bend is extreme.
UVs. Unwrap so the U axis runs along the length (X) of the mesh. This means textures flow correctly around curves rather than stretching perpendicular to the bend direction. Use a 1:1 texel ratio for the lateral cross-section, then tile along U.
Export as GLB or FBX with Y Forward / Z Up (UE5's import dialog handles the rotation). Import into UE5 with "Generate Missing Collision" disabled—you'll set custom collision below.
Building the Spline Actor in UE5 Blueprints
Create a new Blueprint Actor. Add a SplineComponent as the root. In the Construction Script, add the following logic:
// Construction Script pseudocode (Blueprint node equivalent)
int32 NumSegments = Spline->GetNumberOfSplinePoints() - 1;
for (int32 i = 0; i < NumSegments; i++)
{
    USplineMeshComponent* SMC = NewObject<USplineMeshComponent>(this);
    SMC->SetStaticMesh(RoadMesh);
    SMC->SetMobility(EComponentMobility::Static);
    SMC->SetForwardAxis(ESplineMeshAxis::X);

    FVector StartPos, StartTangent, EndPos, EndTangent;
    Spline->GetLocationAndTangentAtSplinePoint(
        i, StartPos, StartTangent, ESplineCoordinateSpace::Local);
    Spline->GetLocationAndTangentAtSplinePoint(
        i + 1, EndPos, EndTangent, ESplineCoordinateSpace::Local);

    SMC->SetStartAndEnd(StartPos, StartTangent, EndPos, EndTangent, true);
    SMC->RegisterComponent();
    SMC->AttachToComponent(
        RootComponent, FAttachmentTransformRules::KeepRelativeTransform);
}
The critical call is GetLocationAndTangentAtSplinePoint—pass the Local coordinate space so positions are relative to the actor, not the world. Setting ForwardAxis to X matches the Blender export convention above.
For variable segment meshes (e.g., alternating road and bridge segments), drive the mesh reference from a TMap<int32, UStaticMesh*> indexed by segment number, or from a data asset that maps spline point tags to mesh variants. You can find pre-built modular road and fence kits on the BitSoul marketplace to prototype this system quickly before investing in custom assets.
Tangent Control and Smooth Bending
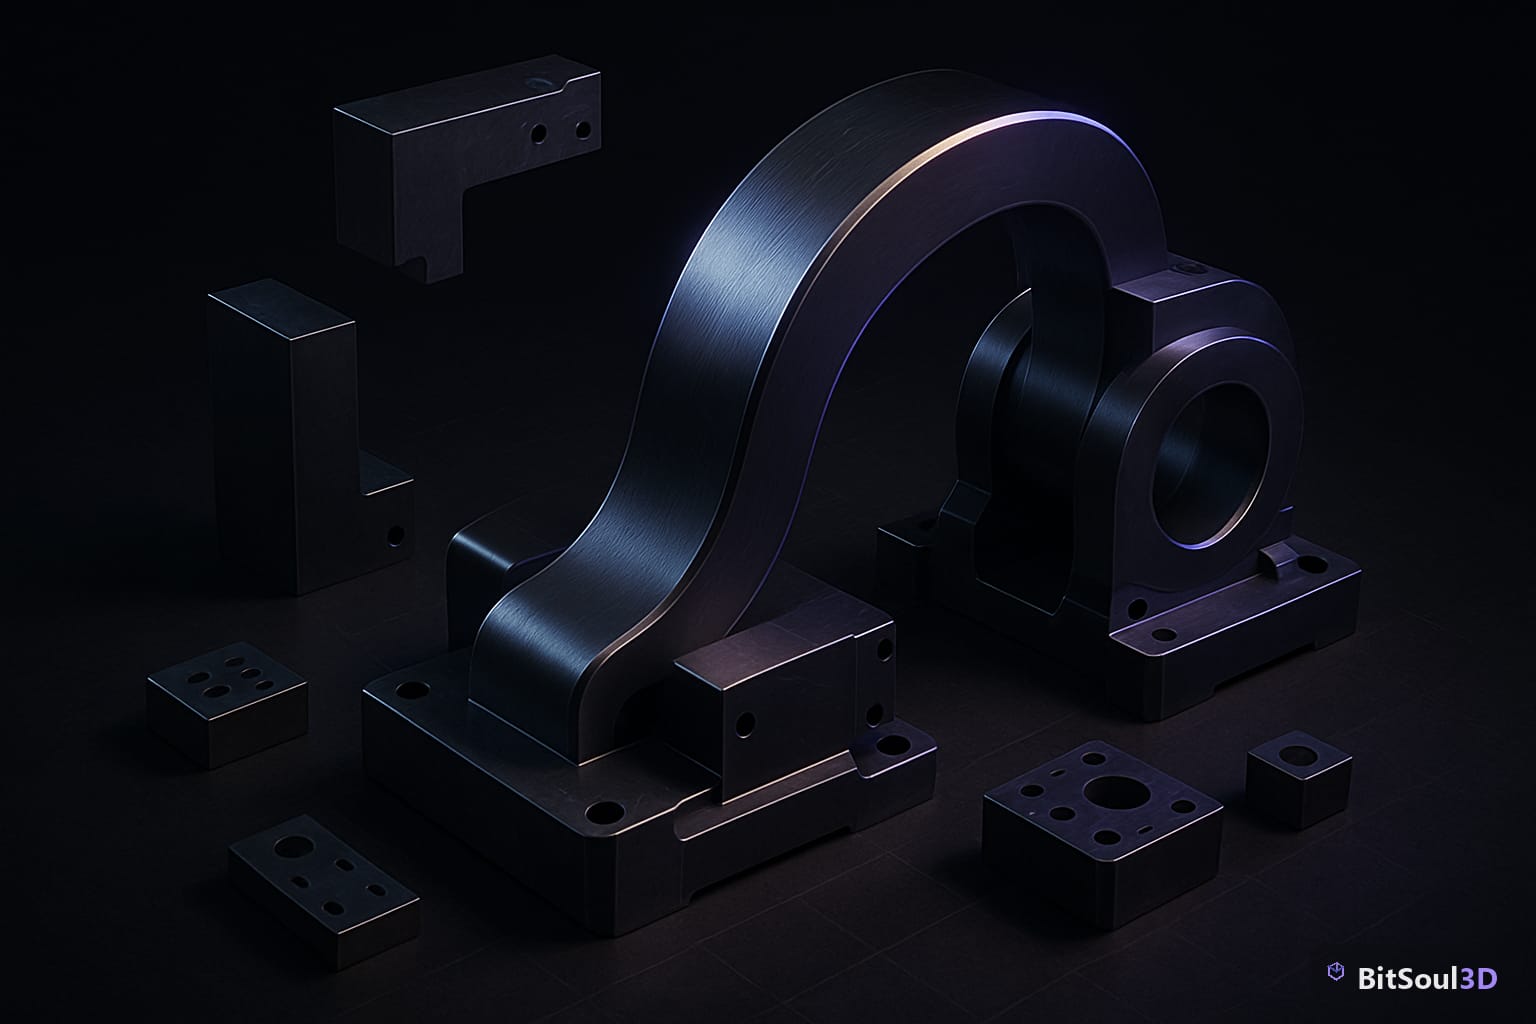
Spline tangents control how aggressively a segment bends. The default Unreal spline uses Catmull-Rom interpolation, which computes tangents automatically from neighbouring points. For most roads this is good enough, but you'll want manual control in tight corners.
In the Details panel of your Spline actor, select a spline point and change its type from Curve to CurveClamped or Linear. CurveClamped prevents the overshoot that can occur when points are close together. Linear gives hard corners—useful for walls or walkways that intentionally turn at right angles.
For organic paths, keep tangent magnitude roughly proportional to the distance between adjacent points. A reliable rule: set tangent length to one-third of the distance to the next point. This approximates a Bezier curve with balanced handles and eliminates the S-curve artefacts that appear when tangents are too long relative to segment spacing.
| Spline Point Type | Behaviour | Best For |
|---|---|---|
| Curve | Auto tangents, smooth | Organic paths, rivers |
| CurveClamped | Auto, no overshoot | Roads, railways |
| CurveCustomTangent | Manual handles | Precise bends, ramps |
| Linear | Straight segments | Walls, hallways |
| Constant | Discontinuous | Rarely needed |
Collision, LODs, and Runtime Performance
Each SplineMeshComponent is a separate render primitive and a separate collision body. For a long road with 200 segments, that's 200 draw calls and 200 collision shapes by default. Here's how to manage this.
Collision. Don't rely on convex hull collision on a bent mesh—it won't fit the deformed shape. Author a simple box collision mesh in Blender (a flattened box slightly larger than the road cross-section), name it with the UCX_ prefix, and import it alongside the visual mesh. For large splines, disable per-component collision entirely and use a single BoxComponent stretched to the spline's bounding box for broad-phase rejection, plus a Navigation Modifier Volume for navmesh accuracy.
LODs. Author two LOD levels in Blender: LOD0 at full resolution, LOD1 at 40–50% triangle count with a simplified cross-section. Import both as separate meshes and assign the LOD1 mesh to a second SplineMeshComponent array that becomes visible beyond a configurable screen-size threshold. Alternatively, use UE5's built-in auto-LOD generator on the static mesh before wiring it into the spline system.
Draw call batching. SplineMeshComponent instances cannot be batched with standard GPU instancing because each carries a unique deformation transform. For very long splines (500+ segments), consider switching to a Hierarchical Instanced Static Mesh (HISM) for straight sections and reserving SplineMeshComponent only for curved segments. This hybrid approach can cut draw calls by 60–70% on dense road networks.
Runtime vs. Editor-Only. If your spline meshes never change during gameplay, set their mobility to Static and let Lumen/lightmap systems process them normally. If the path can change at runtime (procedurally generated worlds), use Movable mobility and keep segment count under 100 per actor to avoid GPU saturation.
Get Your Spline Assets from BitSoul
Spline mesh systems are only as good as the segment meshes feeding them. A well-made road or fence module—correct X-axis alignment, clean end caps, tight UV layout—will bend perfectly across any curve. A poorly made one will twist, gap, or stretch at every joint.
If you need a head start, BitSoul's marketplace stocks game-ready modular environment kits in GLB and FBX formats, pre-aligned to UE5's spline conventions. Use them to validate your Blueprint before committing to custom production—or ship them directly if the art style fits.
The complete checklist before your first spline test:
- Mesh runs along +X axis, origin at start face
- Scale applied in Blender (
Ctrl+A → Scale) - U axis flows along mesh length
- UCX_ collision mesh included (or disabled intentionally)
- LOD1 mesh at 40–50% triangle count
- Forward axis set to X in
SetForwardAxis - Spline point types set per use case (CurveClamped for roads)
- Mobility set to Static if no runtime changes needed
Need drop-in assets for this workflow? Grab the 70-model Food Bundle on the BitSoul marketplace and drop them straight into your project.