Real-time lighting looks great until your frame budget collapses. Baked lightmaps solve this by pre-computing global illumination at build time, leaving the GPU free for gameplay logic, particles, and draw calls that actually need real-time processing.
Why Bake Lightmaps Instead of Using Real-Time Lights?
Real-time lights recalculate shadows and indirect bounces every frame. On mobile or mid-range hardware, even two or three dynamic area lights can halve your frame rate. Lightmaps trade flexibility for raw performance: the GI is computed once and stored as a texture, so sampling it at runtime costs almost nothing.
The trade-off is clear-cut:
| Lighting Mode | Runtime GPU Cost | GI Quality | Dynamic Objects |
|---|---|---|---|
| Real-Time | High | Limited | Full support |
| Baked | Near zero | High (full GI) | No (static only) |
| Mixed | Medium | High (static GI) | Partial support |
For environment props, architectural meshes, and level geometry — the vast majority of what you'd find on BitSoul's asset marketplace — baked lighting is almost always the right call. Dynamic characters and projectiles still get lit by light probes, which work alongside your baked lightmaps.
Setting Up Your Scene for Lightmap Baking in Unity
Before you touch the Lighting window, every static mesh needs to be flagged correctly.
Mark meshes as Contribute GI: Select your mesh in the Scene hierarchy, open the Inspector, click the Static dropdown (top-right), and enable Contribute GI. This tells Unity's Progressive Lightmapper to include the object in bake calculations. If you skip this, the mesh will neither receive nor cast baked shadows.
Configure your lights:
- Set directional, spot, and area lights to Baked or Mixed mode in the Light component's Mode dropdown.
- Avoid leaving important lights on Real-time if you intend to bake — they won't contribute to the lightmap.
Open the Lighting window: Go to Window → Rendering → Lighting. Under the Scene tab, set Lighting Mode to Baked Indirect for a straightforward first bake. Make sure Auto Generate is OFF — you want manual control over when bakes trigger.
Click Generate Lighting and Unity will kick off the Progressive Lightmapper. On a mid-spec CPU, a simple room scene bakes in under two minutes. Complex outdoor environments with many bounces can take 20–40 minutes — this is where a good asset workflow pays off.
Lightmap UV Channel: The Most Common Mistake
This is where most developers lose hours. Unity requires a dedicated UV channel (UV2) for lightmaps — separate from the diffuse/albedo UV (UV0). If your imported asset doesn't have a UV2, Unity can generate one automatically, but the results are often suboptimal: overlapping shells, wasted atlas space, seam artifacts.
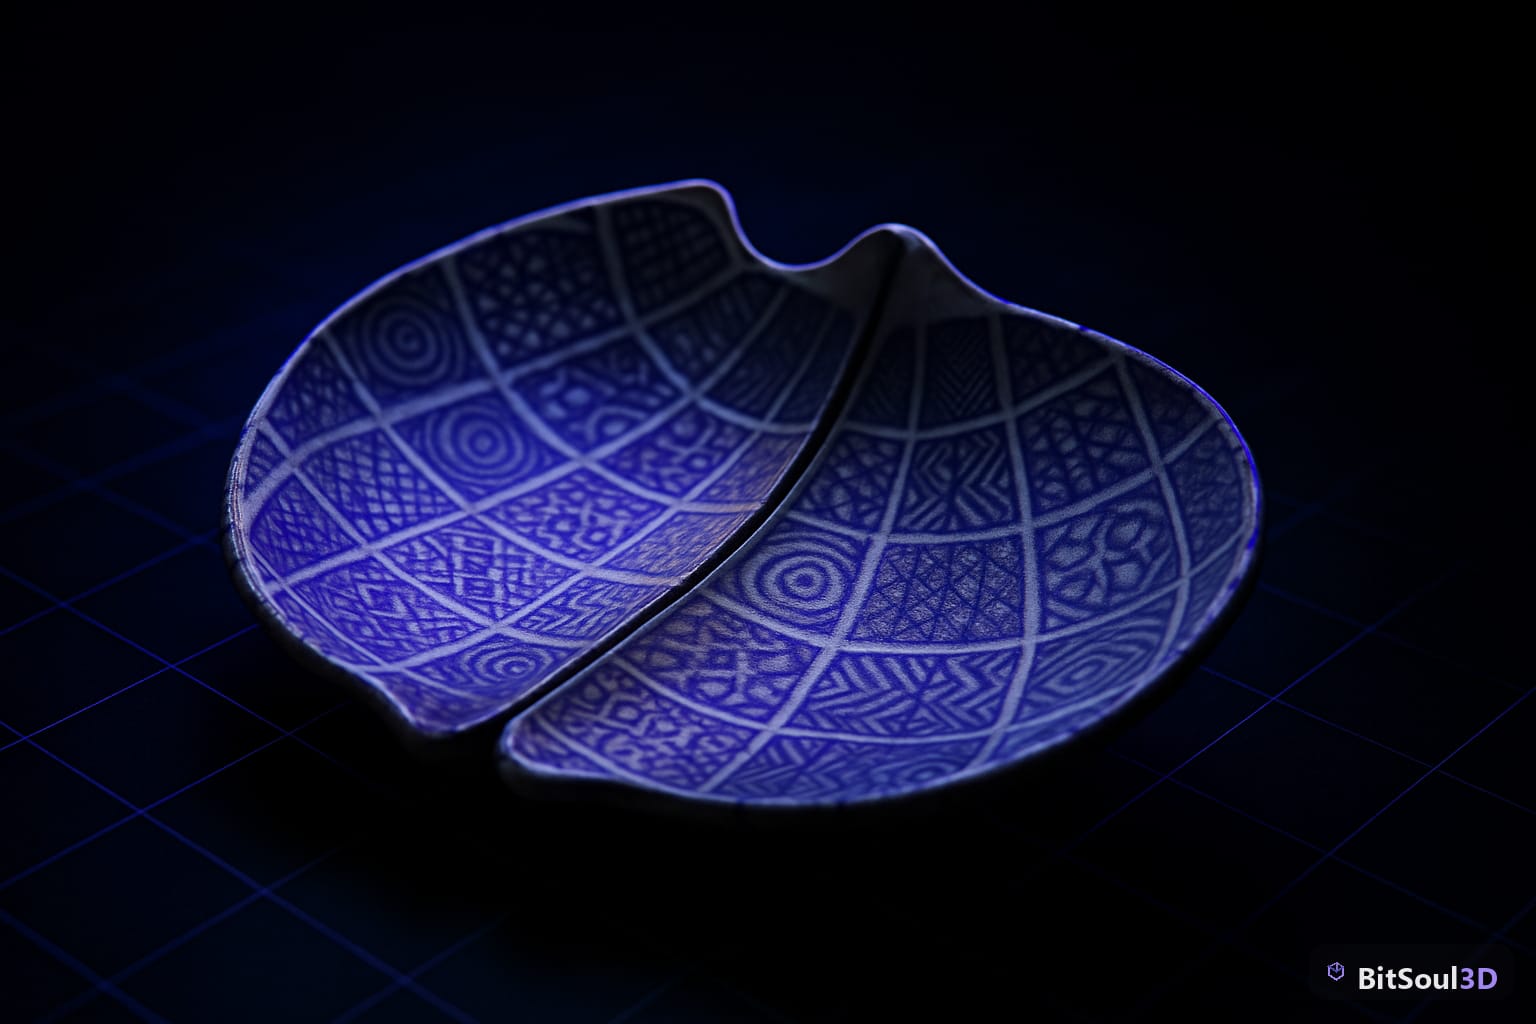
The better approach is to bake proper lightmap UVs in Blender before export:
# Blender Python: add a UV2 channel and unwrap for lightmaps
import bpy

obj = bpy.context.active_object
mesh = obj.data

# Add second UV map if it doesn't exist
if len(mesh.uv_layers) < 2:
    mesh.uv_layers.new(name="LightmapUV")

# Select the lightmap UV layer
mesh.uv_layers["LightmapUV"].active = True

# Smart UV Project for lightmap-friendly layout (no overlaps)
bpy.ops.object.mode_set(mode='EDIT')
bpy.ops.mesh.select_all(action='SELECT')
bpy.ops.uv.smart_project(angle_limit=66, island_margin=0.02)
bpy.ops.object.mode_set(mode='OBJECT')
Key UV2 rules for lightmaps:
- No overlapping islands — mirrored UVs are fine for diffuse textures but will cause lightmap bleeding if duplicated in UV2.
- Island margin of at least 2 texels at your target resolution (e.g., 4px margin for a 512×512 lightmap).
- All islands within 0–1 UV space — Unity won't use UVs outside this range for lightmapping.
In Unity's mesh import settings (FBX Import → Model tab), set Generate Lightmap UVs to ON only as a fallback. Prefer hand-authored UV2 from Blender whenever geometry is complex.
Choosing the Right Lighting Mode
Unity's Mixed lighting mode is the most powerful and least understood option:
- Baked: All light contribution pre-computed. Zero runtime cost. Fully static — no dynamic shadow casting.
- Mixed (Subtractive): Bakes GI and static shadows, but the main directional light still renders dynamic shadows in real time. Good for mobile.
- Mixed (Shadowmask): Stores static shadow information in a mask texture. Dynamic objects cast real-time shadows that blend into the baked result. Best visual quality.
- Real-Time: Nothing baked. Full GPU cost every frame.
For most third-person or first-person games, Mixed (Shadowmask) hits the sweet spot: environments look great with full GI, and your characters cast proper shadows without per-frame recalculation of every static shadow.
Optimizing Lightmap Resolution and Atlas Packing
Lightmap resolution is set per-object. Larger meshes covering more screen area need higher resolution; small props can often share a 64×64 or even 32×32 budget.
Lightmap Scale in the mesh renderer (Inspector → Lightmapping section) is a multiplier on the scene's Lightmap Resolution (set in the Lighting window under Lightmapper). The default global resolution is 40 texels/unit — for most scenes, 20–30 is sufficient.
A practical checklist before every final bake:
- All static environment meshes have Contribute GI enabled
- UV2 channels authored in Blender with no overlaps and 2px+ margins
- Lightmap Scale tuned per object (large floors: 1.0–2.0, small props: 0.1–0.25)
- Compress Lightmaps enabled in Lighting window (saves ~75% VRAM)
- Directional Mode set to Non-Directional for mobile, Directional for PC/console
- Light Probes placed for dynamic object coverage
- Final bake run with GPU Lightmapper if available (3–10x faster than CPU)
Properly baked scenes regularly achieve 60+ FPS on hardware that would buckle under equivalent real-time lighting — with better visual quality due to full multi-bounce GI.
Ship Faster with Pre-Optimized Assets
Setting up lightmap UVs and baking workflows from scratch adds hours to every new environment. Browse BitSoul's marketplace for game-ready 3D assets that ship with clean UV2 channels, correct import settings, and verified GLB/FBX exports — so you spend time building your game, not wrestling with lightmap artifacts.
Need drop-in assets for this workflow? Grab the 98-model Character Pack on the BitSoul marketplace and drop them straight into your project.