Your cutscene looks great in Blender's viewport but falls apart the moment you hit Play in Unity. The camera stutters, the path is off, and the timing is completely wrong. Camera animation for game cinematics is a discipline in itself—and most tutorials skip the engine integration half entirely.
Setting Up Your Camera Rig in Blender
A bare camera object is fine for still renders, but for cinematic animation you want a proper rig. The most reliable approach is to parent the camera to an Empty (plain axes) and animate the Empty rather than the camera directly. This separates position/path movement from camera-specific properties like focal length and DOF.
Basic rig setup:
# Blender Python snippet to parent camera to empty
import bpy

# Select camera, then empty (active)
cam = bpy.data.objects['Camera']
empty = bpy.data.objects['CameraTarget']

cam.parent = empty
cam.parent_type = 'OBJECT'
Add a Track To constraint on the camera pointing at a second Empty (CameraTarget). Now you can animate the rig's position independently from where the camera looks. This is the foundation for every dolly shot, crane move, and orbit.
For cutscenes with multiple shots, use Markers in the Timeline to define cut points and bind different camera objects to each marker (Ctrl+B in the Timeline). Blender will switch cameras at render time—and this data carries through to engine sequencers via NLA strips.
| Rig Setup | Best For | Engine Compatibility |
|---|---|---|
| Single camera + Empty parent | Simple fly-throughs | Unity, UE5, Godot |
| Camera + Track To constraint | Subject-following shots | Unity, UE5 (bake first) |
| Follow Path + camera | Dolly/rail shots | UE5 Sequencer (bake) |
| Multi-camera + markers | Edited cutscenes | Unity Timeline (manual) |
Animating Dolly Shots and Camera Paths
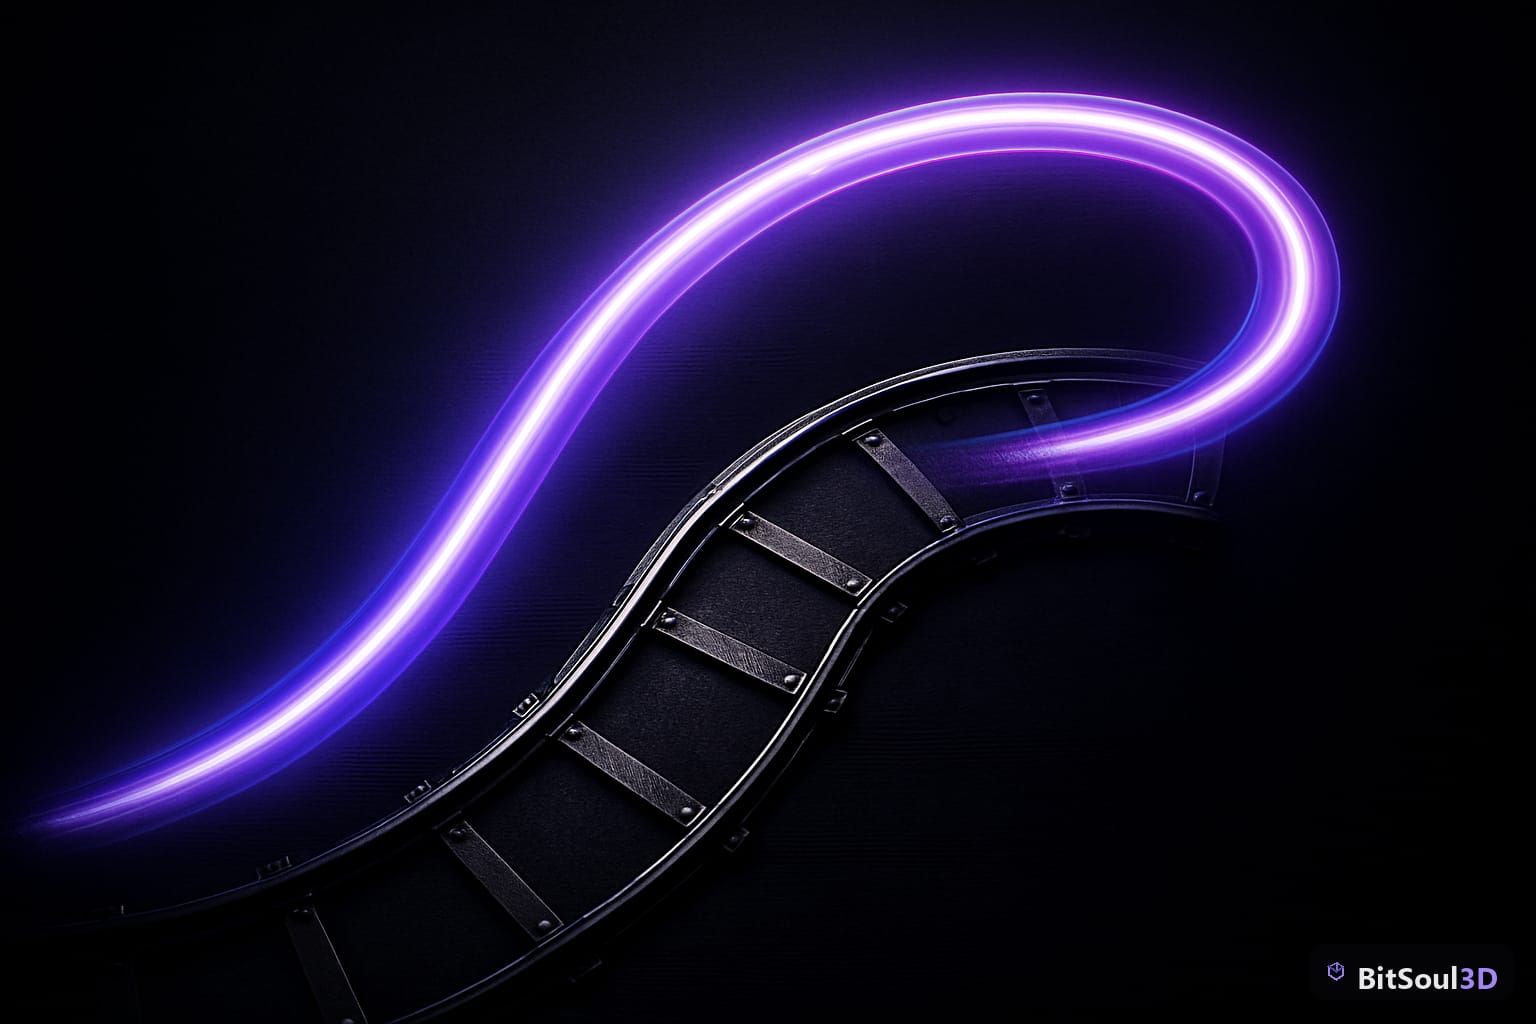
The Follow Path constraint is Blender's dedicated tool for rail-style camera movement. Draw a Bézier curve for your dolly track, add a Follow Path constraint to your camera Empty, and set the curve as the target. Adjust the Offset keyframes to control timing along the path.
Tips for smooth dolly animation:
- Enable Fixed Position on the constraint and keyframe the Offset value manually—this gives you easing control the auto-follow method lacks.
- Set curve handles to Auto Smooth (
V → Auto) to eliminate velocity spikes at control points. - Use the Graph Editor to apply Ease In/Out on the Offset F-curve. A simple Bezier ease on a 120-frame move transforms a mechanical slide into a cinematic push.
For handheld feel, add a Noise modifier to the camera's X/Y rotation F-curves in the Graph Editor. Keep the Scale around 0.3–0.8° and Strength below 0.5—enough to feel organic, not enough to cause motion sickness.
The NLA (Non-Linear Animation) Editor is your friend for reusable camera moves. Bake each camera action (opening push, character reveal, closing pull-back) as a separate NLA strip. You can then reorder, blend, and reuse these clips without touching keyframes—especially useful when your level designer asks for the same reveal shot from a different angle.
Exporting Camera Animations to Unity and Unreal Engine 5
This is where most workflows break. Here are the rules:
Constraints must be baked before export. Unity and UE5 do not understand Blender constraints. Before you export:
Object → Animation → Bake Action
  ✓ Selected Only
  ✓ Visual Keying
  ✓ Clear Constraints
  Frame range: your full animation
  Step: 1
This converts every constraint-driven frame into explicit keyframe data on the camera object itself.
For Unity:
Export as FBX with Baked Animation enabled. In Unity, drag the FBX into your scene and use the Timeline window (Window → Sequencing → Timeline) to create an Animation Track. Drag the camera clip onto the track. Check that Loop Time is disabled on the clip's import settings if it's a one-shot cutscene.
For Unreal Engine 5:
Export the baked camera as FBX. In UE5, create a Level Sequence (Cinematics → Add Level Sequence), then use Import → FBX into Sequencer. Map the FBX camera to your scene camera actor. UE5's Sequencer will recreate the full keyframe data including focal length if you exported camera properties via the FBX camera export option in Blender.
Blender FBX Export Settings (Camera):
  Apply Scalings: FBX Units Scale
  Forward: -Z Forward
  Up: Y Up
  ✓ Baked Animation
  Simplify: 0 (keep all keyframes)
For Godot 4, export as GLTF 2.0 (.glb). Godot reads GLTF camera animations natively—no baking workarounds required. Import the GLB and the AnimationPlayer node will contain your camera tracks automatically.
Optimizing Cutscenes for Real-Time Performance
A 120-frame camera animation at 60fps generates 7,200 keyframe samples after baking. That's fine. The bigger performance killers are elsewhere:
Reduce keyframe density with Simplify. After baking, run Graph Editor → Key → Decimate (Ratio) with a value of 0.05–0.1. This removes redundant keyframes on straight-line segments while preserving curve shape. A 7,200-key curve can often be reduced to 300–400 keys with zero visual difference.
Separate cutscene cameras from gameplay cameras. Never animate your main gameplay camera directly. Keep a dedicated cutscene camera that gets activated via script at the start of the sequence. This prevents accidental bleed between gameplay input and cinematic curves.
Pre-render vs. real-time trade-offs:
| Approach | File Size | Quality | Interactivity |
|---|---|---|---|
| Pre-rendered video | Large (100MB+) | Highest | None |
| Real-time sequencer | Minimal | Engine-limited | Full (skip, pause) |
| Hybrid (pre-render + RT) | Medium | High | Limited |
For most indie games, real-time sequencer is the correct choice—players can skip, platforms don't have to stream video, and you can iterate without re-rendering. Reserve pre-rendered video for opening cinematics or trailers where you need final image quality.
Closing: Bring Your Cinematic Cameras to Life
Camera animation is one of the highest-impact skills you can add to your game development pipeline. A well-executed dolly shot or crane move communicates budget and polish that pure gameplay can't achieve on its own.
The full pipeline—Blender rig → Follow Path → baked FBX/GLTF → Unity Timeline or UE5 Sequencer—is stable and production-proven. Master it once and you'll have a repeatable system for every cinematic you build.
If you need pre-rigged environments, character meshes, and props to populate your cutscene shots, the BitSoul Marketplace has hundreds of game-ready assets in GLB and FBX format—ready to drop into the same workflow described above. Browse the full collection at https://bitsoulhosting.com/marketplace and cut your pre-production time in half.
Build with real assets: grab the 98-model Character Pack on the BitSoul marketplace and drop them straight into your project.