Every game character needs a skeleton that deforms cleanly, retargets without drama, and imports into your engine without mangling the hierarchy. Most artists hit the same wall: the rig looks fine in Blender, then falls apart the moment it lands in Unity or UE5. This guide walks the full pipeline — armature construction, weight painting, IK setup, and engine export — so you ship characters that actually work.
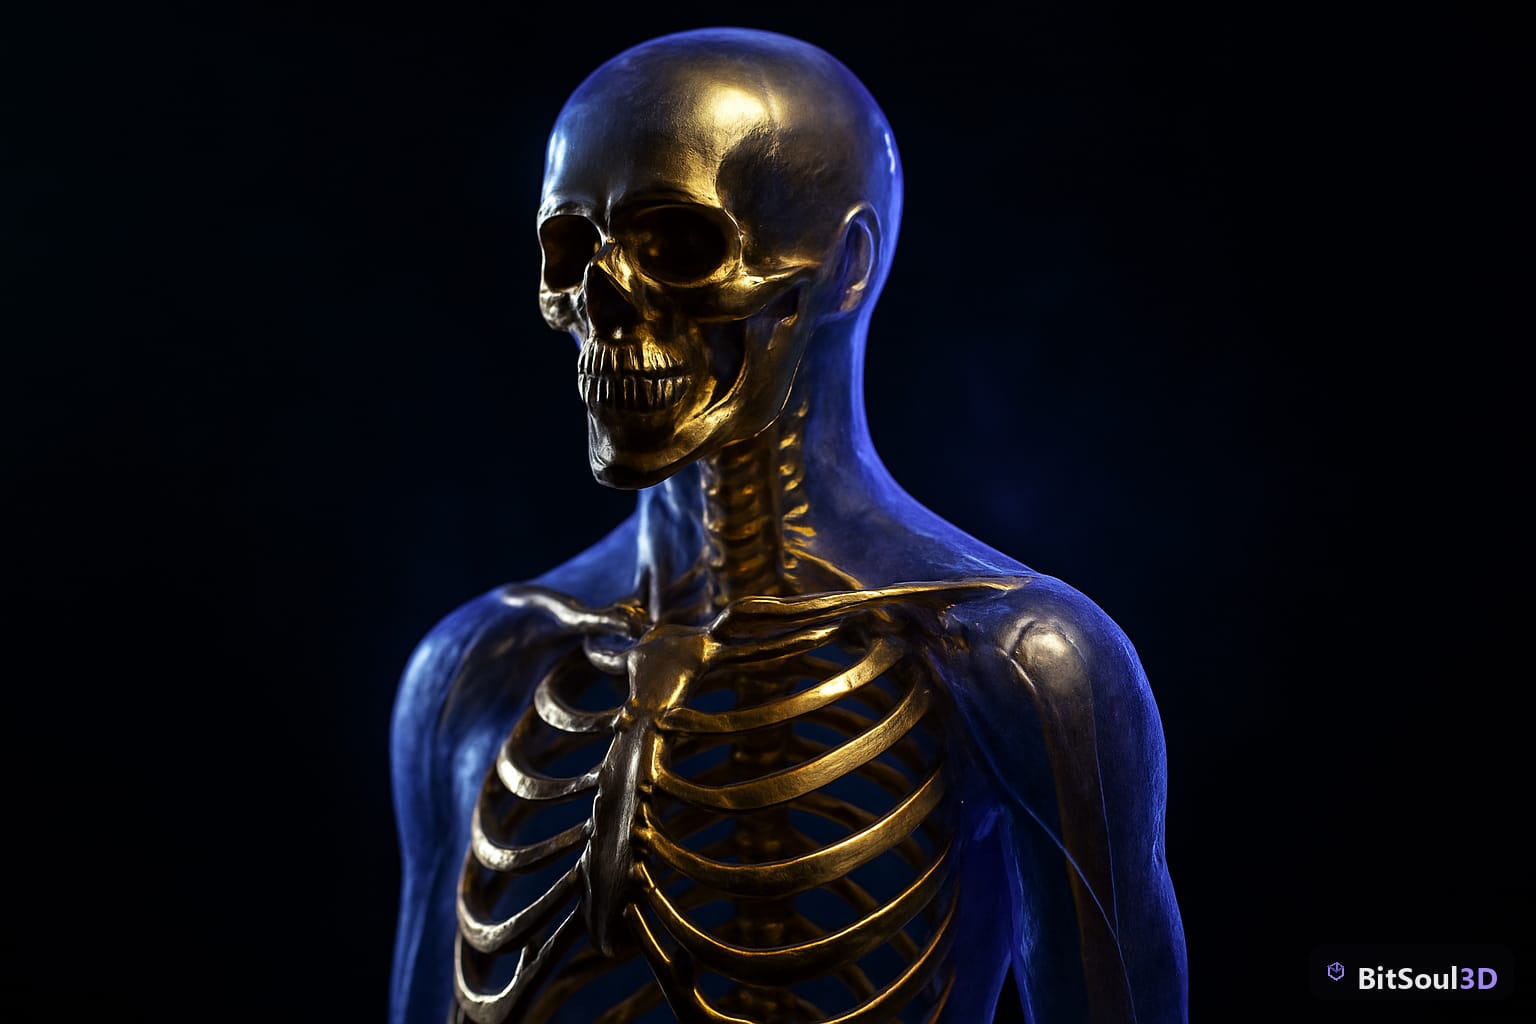
Building the Armature: Bone Hierarchy and Naming Conventions
Start in Edit Mode with a single bone at the world origin. Humanoid rigs have one universal rule: every chain must trace back to a root bone placed at the character center of mass, typically at the pelvis. Engines use this root to drive root motion and physics — without it, animation clips will either drift or refuse to bake correctly.
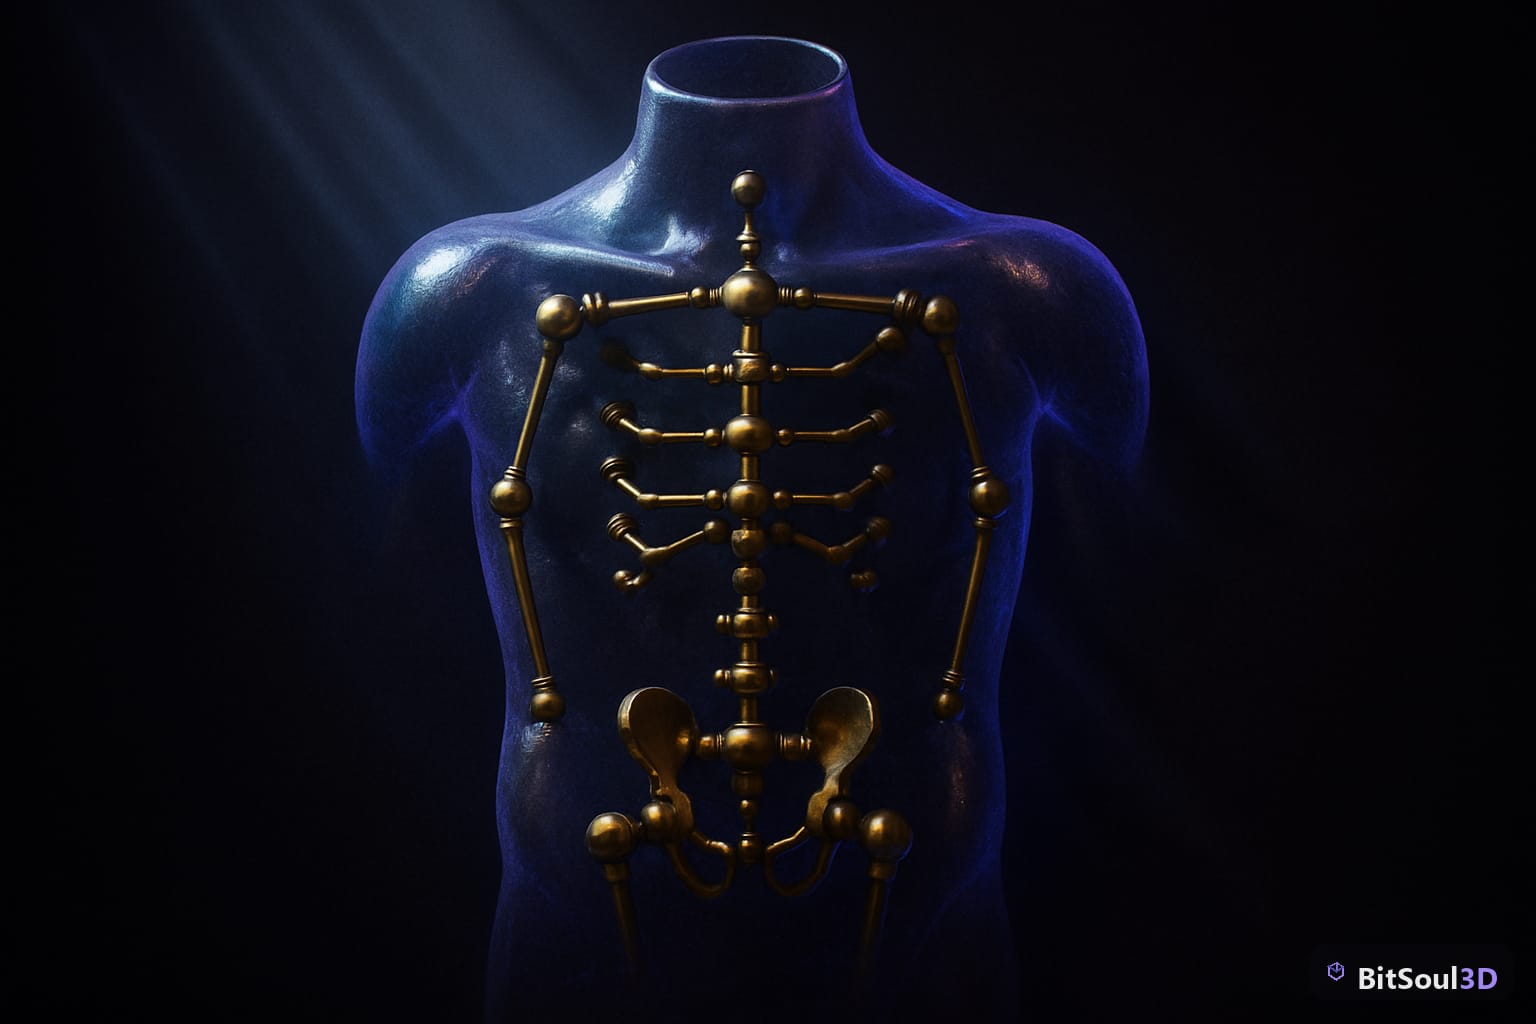
Bone naming is where most retargeting pipelines break. Unity Humanoid Avatar and UE5 IK Retargeter both expect specific names or close mappings. Use this baseline:
| Blender Bone Name | Unity Humanoid | UE5 Equivalent |
|---|---|---|
| root | Root | root |
| pelvis | Hips | pelvis |
| spine_01 | Spine | spine_01 |
| spine_02 | Chest | spine_02 |
| neck_01 | Neck | neck_01 |
| head | Head | head |
| upperarm_l | LeftUpperArm | upperarm_l |
| lowerarm_l | LeftLowerArm | lowerarm_l |
| hand_l | LeftHand | hand_l |
| thigh_l | LeftUpperLeg | thigh_l |
| calf_l | LeftLowerLeg | calf_l |
| foot_l | LeftFoot | foot_l |
Mirror naming with _r suffix for right-side bones. Use Armature > Symmetrize after modeling the left half — it auto-generates mirrored names. Always keep your character in a T-pose or A-pose during armature construction; the bind pose bakes into the exported file and engines use it as the animation reference frame.
Add a dedicated ik_hand_l, ik_foot_l, and ik_pole_l bone chain for IK controls, but mark them as non-deforming (Bone Properties > Deform unchecked). Only deform bones export with mesh influence — control bones stay in Blender.
# Blender Python: rename bones to engine-compatible names
import bpy

armature = bpy.data.objects["Armature"]
bpy.context.view_layer.objects.active = armature
bpy.ops.object.mode_set(mode="EDIT")

rename_map = {
    "Bone": "root",
    "Bone.001": "pelvis",
    "Bone.002": "spine_01",
}

for old_name, new_name in rename_map.items():
    if old_name in armature.data.edit_bones:
        armature.data.edit_bones[old_name].name = new_name

bpy.ops.object.mode_set(mode="OBJECT")
print("Bones renamed.")
Painting Reliable Skin Weights
Automatic weights (Ctrl+P > With Automatic Weights) get you 70% of the way there on a clean mesh. The remaining 30% is manual correction, and that is where most rigs ship broken.
Key rules for clean weight painting: Normalize always — every vertex must sum to 1.0 across all bone influences. Run Weights > Normalize All before export. Limit influences to 4 — engines cap bone influences per vertex at 4 on mobile and 8 on PC. In Blender: Weights > Limit Total, set Max Influences to 4. Isolate problem zones — shoulder, crotch, and wrist deformations break most often. Use the weight gradient tool with Subtract mode to clean bleed between bones. Mirror weights — paint one side, then Weights > Mirror Vertex Group to copy to the opposite side.
For characters with complex cloth or accessories, add dedicated deform bones rather than relying on distant bone falloff. A skirt_l_01, skirt_l_02 chain weighted tightly to fabric geometry deforms far better than stretching thigh weights across a skirt panel.
IK Chains and Pole Targets for Limbs
IK in Blender separates into two layers: the control rig (what animators use) and the deform skeleton (what exports). For game pipelines, you bake control rig motion onto deform bones before export — IK constraints themselves never leave Blender.
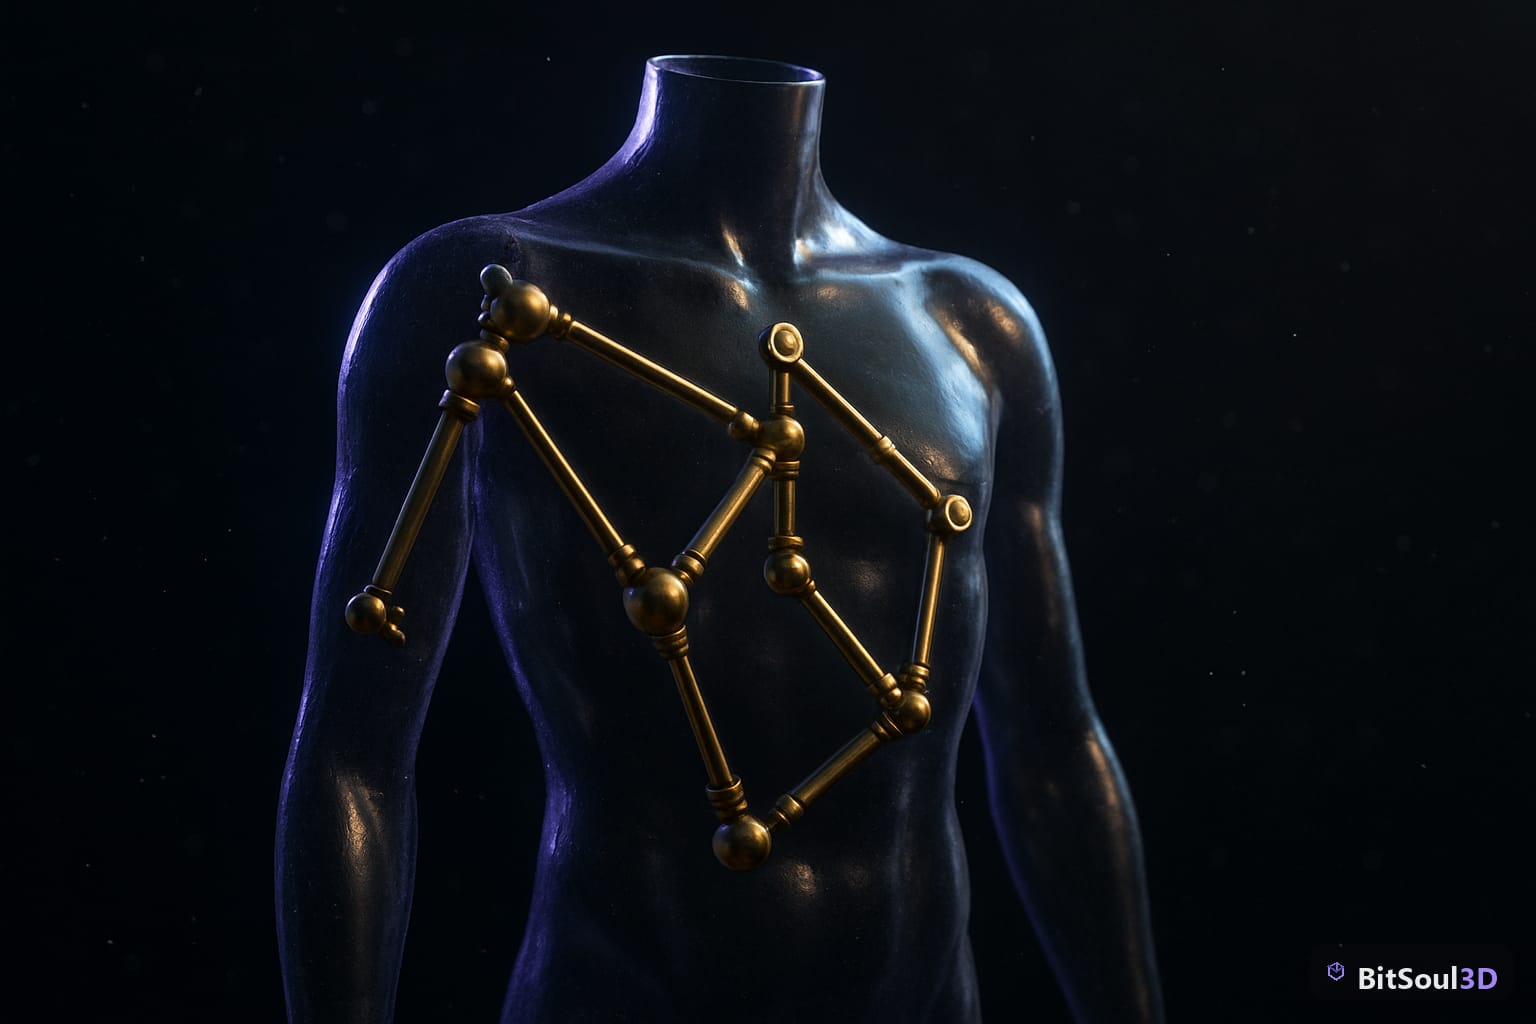
Setup for a leg IK chain:
1. Create ik_foot_l bone (non-deform) at foot position, not parented to skeleton
2. Add IK constraint to calf_l, target = ik_foot_l, chain length = 2
3. Create ik_pole_l bone (non-deform) behind the knee at 45 degree offset
4. Set IK constraint > Pole Target = ik_pole_l, Pole Angle = -90 degrees
5. Add Copy Rotation constraint on foot_l targeting ik_foot_l for foot plant
Arm IK follows the same pattern with ik_hand_l and ik_pole_l placed in front of the elbow. Pole angle for arms is typically 0 degrees — test by posing the elbow forward and confirming no flip.
Before exporting, bake all IK to FK: in Pose Mode select All, then Pose > Animation > Bake Action with Visual Keying ON and Clear Constraints ON. This flattens all IK/FK math into pure keyframe data on the deform skeleton — the only thing engines can actually read.
Exporting to Unity, Unreal Engine 5, and Godot 4
Export format choice depends on your target engine. Unity and Unreal Engine 5 both work best with FBX — GLB support exists in both but FBX is more thoroughly tested for humanoid avatar pipelines. Godot 4 has first-class GLB support and is the recommended format for that engine; FBX requires a separate importer plugin.
Blender FBX export settings for Unity and UE5: set Forward to -Z Forward and Up to Y Up, enable Apply Transform, enable Bake Animation, disable NLA Strips and All Actions (export clips individually), and disable Add Leaf Bones since Unity and UE5 do not need them.
Blender GLB export settings for Godot 4: use glTF 2.0 format, enable Apply Modifiers, set Animations to Actions as Clips, and enable Export Deformation Bones Only under Skinning.
For assets you plan to sell or reuse, check out BitSoul marketplace — many listings include pre-rigged humanoids in both FBX and GLB so you can skip armature construction and go straight to texturing or animation.
Troubleshooting Common Rigging Failures
Even clean rigs hit snags at import. Twisted bones on import are usually caused by mismatched roll angles — in Edit Mode, select all bones and use Recalculate Roll > Global +X Axis to normalize. Weights lost or garbled on import almost always trace to a mismatch between vertex group names and bone names (case-sensitive). A bone named Thigh_L and a vertex group named thigh_l are different objects. Cross-reference both lists before export.
If a T-pose bakes incorrectly in Unity Humanoid, check that the bind pose has arms truly parallel to the X axis. A-pose characters need Pose > Apply > Apply Pose as Rest Pose in Blender followed by manual avatar mapping in Unity. Scale arriving as 100x in the engine means transforms were not applied — select both mesh and armature, press Ctrl+A > Apply All Transforms, then re-export. Missing bones in UE5 skeletal hierarchy happen when bones have no vertex influences; right-click them in the Skeleton editor and set to Required.
Build the Rig Once, Use It Everywhere
Humanoid rigging has a high upfront cost that pays dividends across every animation clip, retarget, and engine port that follows. Get the bone hierarchy right, lock in naming conventions from the start, bake IK to FK before export, and your skeleton will survive any pipeline it encounters.
Need production-ready rigged humanoids to accelerate your project? Browse the BitSoul marketplace for game-ready characters with clean deform skeletons, normalized weights, and multi-engine export packages.
Build with real assets: grab the 98-model Character Pack on the BitSoul marketplace and drop them straight into your project.