High-poly sculpting followed by normal map baking is the industry-standard method for adding surface detail to low-poly game characters and props — without paying the GPU cost of millions of polygons. Blender's Multires modifier makes this workflow self-contained: you sculpt, decimate, bake, and export without ever leaving the application. Here is the complete pipeline.
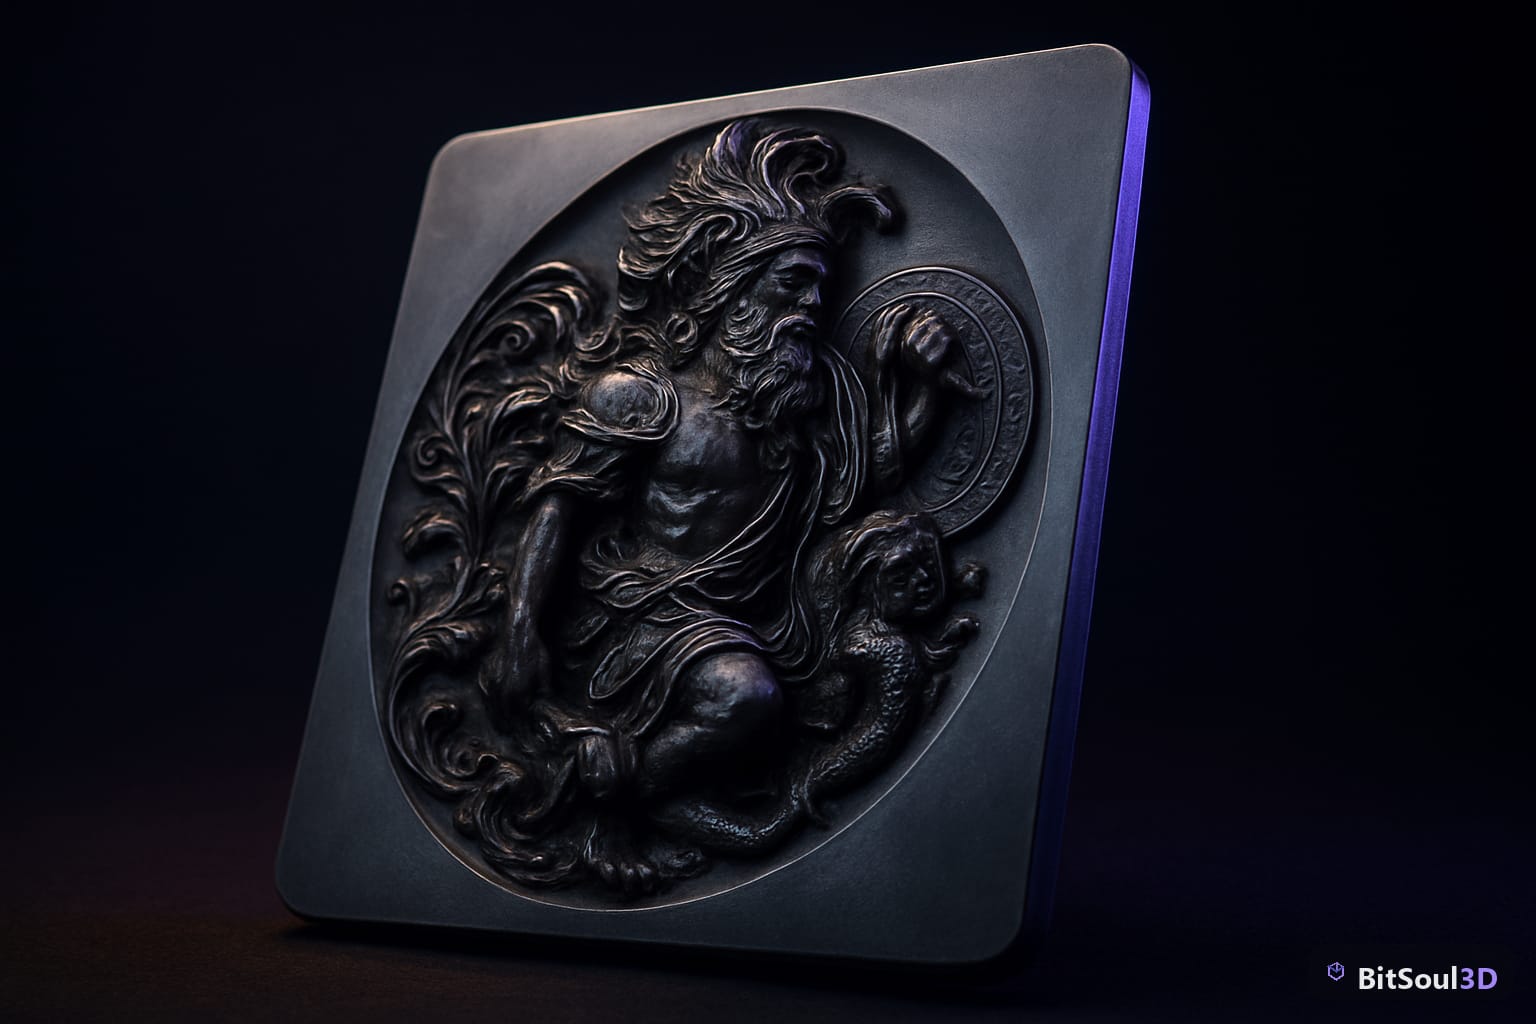
Why Multires Outperforms Subdivision for Normal Map Baking
Blender offers two ways to subdivide a mesh for sculpting: the Subdivision Surface modifier and the Multires modifier. For normal map baking, Multires is the superior choice. The key difference is that Multires stores each subdivision level independently, so you can sculpt on level 6 and still access your clean level 1 base mesh in the same object. You never have to maintain two separate files.
Subdivision Surface, by contrast, is a non-destructive preview modifier — it doesn't actually store sculpt data per level, which means baking from it requires you to apply the modifier first and keep a manual copy of the low-poly. This creates version-control headaches at scale.
Multires also integrates directly with Blender's Bake panel (Properties > Render > Bake). When you set the bake type to Normal and check Selected to Active, Blender reads the high-res Multires geometry and projects it onto the low-poly UV-unwrapped mesh automatically. No external cage file required for basic setups.
When to choose Multires:
- Organic characters, creatures, and props with fine surface detail
- Workflows where you want all sculpt levels in one .blend file
- Teams using Blender's built-in bake pipeline
When to consider Dynamesh/ZBrush alternatives:
- Very high polygon counts (50M+) where Blender's memory management struggles
- Pipelines already centered on Substance Painter for detail baking
Setting Up Your Base Mesh and Multires Stack
Start with a clean, game-ready low-poly mesh. Polygon count at the base level depends on your target platform, but a standard character torso sits between 1,500 and 4,000 triangles. Before adding Multires, the mesh must be fully UV-unwrapped — baking writes detail into UV space, so seams placed after the fact will break your normal map.
Setup checklist:
| Step | Action | Why |
|---|---|---|
| 1 | Apply all transforms (Ctrl+A > All Transforms) | Prevents scale baking errors |
| 2 | Unwrap UVs with proper seams | Bake target requires UV layout |
| 3 | Add Multires modifier | Controls subdivision levels |
| 4 | Set Render level to 6, Sculpt level to 6 | Enough detail for pores/wrinkles |
| 5 | Add a blank Normal Map texture node in Material | Bake destination |
In the shader editor, add an Image Texture node connected to nothing (don't plug it into the BSDF). Select it so it's active — Blender bakes into the active, unconnected image texture node. Create a new 4096×4096 image named char_normal_bake.
Once the modifier is in place, subdivide incrementally. Go to level 2 first, rough in major forms, then push to level 4 for medium-frequency details like muscle planes and wrinkles, and finally to level 6 for skin pores and fine scratches. Jumping straight to level 6 on a first pass produces chaotic results because you have no underlying form to support the detail.
Sculpting Details at High Resolution
At Multires level 6, a 3,000-triangle base mesh will produce around 12 million polygons of sculpt geometry. Blender's sculpt mode handles this reasonably well on a modern GPU with Multires Displacement Smear enabled in preferences.
Key brushes for game character detail:
- Crease (
Shift+C): sharp fold lines, eyelid edges, knuckle creases - Draw Sharp: pores, stitching lines, engraving detail
- Scrape/Peaks (
Shift+P): flatten raised areas while preserving bump - Smooth (
Shifthold): blend transitions without destroying detail
Use Dyntopo sparingly or not at all with Multires — they conflict. If you need to add geometry mid-sculpt, increase the Multires level instead.
For skin, a practical workflow is to sculpt wrinkles at level 4, bake an AO pass, then import that AO as a brush alpha at level 6 to drive pore placement. This gives anatomically consistent pore density without random stamping.
Symmetry: Enable X-axis sculpt symmetry in the header toolbar. Disable it only for intentional asymmetric details like scars.
Baking Normals from Multires to a Low-Poly Mesh
Blender's built-in Multires baker is faster and more integrated than the Selected-to-Active general baker for this specific use case. Find it at:
Properties > Object Data Properties > Geometry Data > Bake Multires Normals
Settings:
Bake Type:     Tangent
Extrude:       0.05 m (start here, adjust per mesh)
Ray Distance:  0 (use extrude instead)
Selected to Active: OFF (Multires baker handles this internally)
Output image:  char_normal_bake (4096×4096)
Click Bake Multires Normals. On a 12M polygon mesh, expect 30–120 seconds depending on hardware. The result is written directly into the image texture node you left selected.
After baking:
- In the Image Editor, go to
Image > Save Asand export as a 16-bit PNG or EXR for maximum precision - Save your .blend with the image packed (
Image > Pack) - Lower the Multires viewport level to 1 to confirm the normal map is doing the visual work
Fixing Common Baking Errors and Cage Adjustments
Normal map baking errors fall into three categories: seam bleeding, self-intersection artifacts, and inverted normals.
Seam bleeding appears as dark or colored fringe around UV seam edges. Fix it by increasing the Margin setting in the bake panel to 16–32 px for a 4K texture, and by running UV > Pack Islands with a margin that respects this bleed zone.
Self-intersection artifacts (black splotches on convex areas) mean the extrude value is too low — rays from the low-poly surface are hitting the wrong side of the high-poly geometry. Increase Extrude to 0.08–0.15 m and re-bake.
Inverted normals (flat-looking or reversed lighting) have two causes:
- Mesh normals are flipped on the low-poly: fix with
Mesh > Normals > Flip - Wrong tangent space: Blender bakes in OpenGL tangent space (green channel up). Unity expects OpenGL by default; Unreal Engine 5 expects DirectX (green channel flipped). In Unreal, enable Flip Green Channel in the texture asset's import settings, or flip in Photoshop/GIMP before import.
Importing and Testing in Unity, Unreal Engine 5, and Godot 4
Export the low-poly mesh as GLB from Blender (File > Export > glTF 2.0). Apply the Multires modifier at level 1 before export — do not export the high-res geometry.
Unity URP:
Create a Lit material. Plug your baked normal map into the Normal Map slot. Set compression to BC7 (PC) or ASTC 6x6 (mobile). Normal maps must be set to texture type Normal Map in the import inspector — Unity will automatically convert the green channel.
Unreal Engine 5:
Drag the GLB into the content browser. Double-click the normal map texture asset and enable Flip Green Channel if baked in Blender. In the material editor, connect the texture to the Normal pin through a TextureSample node.
Godot 4:
Import GLB via the FileSystem panel. Godot uses OpenGL tangent space natively, so Blender-baked normals require no channel adjustments. In your StandardMaterial3D, set the Normal Map slot and leave Normal Map Depth at 1.0 as a starting point.
Quick validation checklist:
- Lighting from a directional light at 45° shows correct bump direction
- Seam edges are invisible at normal viewing distance
- No black splotches on curved convex surfaces
- Asset draw call count matches low-poly triangle budget
Building a Reusable Multires Bake Template
Once you have a working pipeline, save a master .blend as a template with:
- Pre-configured Multires modifier (levels 1/4/6)
- Material with unconnected image texture node ready to bake
- Render settings locked to Cycles CPU/GPU with bake margin 32px
- A Python script to automate the bake-save-export cycle
Here is a minimal automation script:
import bpy

def bake_and_export(obj_name, output_path):
    obj = bpy.data.objects[obj_name]
    bpy.context.view_layer.objects.active = obj

    # Bake normals via multires
    bpy.ops.object.bake(type='NORMAL')

    # Save baked image
    img = bpy.data.images['char_normal_bake']
    img.filepath_raw = output_path + '/char_normal.png'
    img.file_format = 'PNG'
    img.save()

    # Export low-poly GLB
    bpy.ops.export_scene.gltf(
        filepath=output_path + '/char_lowpoly.glb',
        export_apply=True,  # applies modifiers at level 1
        export_format='GLB'
    )

bake_and_export('Character_LowPoly', '/tmp/export')
Run this via blender --background char_template.blend --python bake_export.py in your CI pipeline to batch-process characters without opening the GUI.
You can find game-ready base meshes and starter character rigs to use as your Multires bake targets at the BitSoul marketplace, which catalogs free and premium GLB/FBX assets sorted by polygon count and rig type.
Conclusion
The Multires baking workflow in Blender is one of the most efficient paths from sculpt detail to a game-engine-ready normal map. By keeping all subdivision levels in a single object, integrating directly with Blender's native bake panel, and exporting a clean low-poly GLB, you cut the round-trip time between concept and engine test significantly.
For assets ready to drop into your project — characters, props, and environment pieces with clean UVs and LOD sets — browse the BitSoul marketplace and skip straight to the baking step.
Build with real assets: grab the 98-model Character Pack on the BitSoul marketplace and drop them straight into your project.