Painting textures by hand is slow. UV-unwrapping complex props, then carefully brushing every surface in a 2D editor works—but it does not scale, and it does not iterate. Blender's Shader Editor offers a faster path: build your material from procedural nodes, preview it in real time in the viewport, then bake it down to a single set of PBR images that any game engine can consume. This guide walks through the complete workflow.
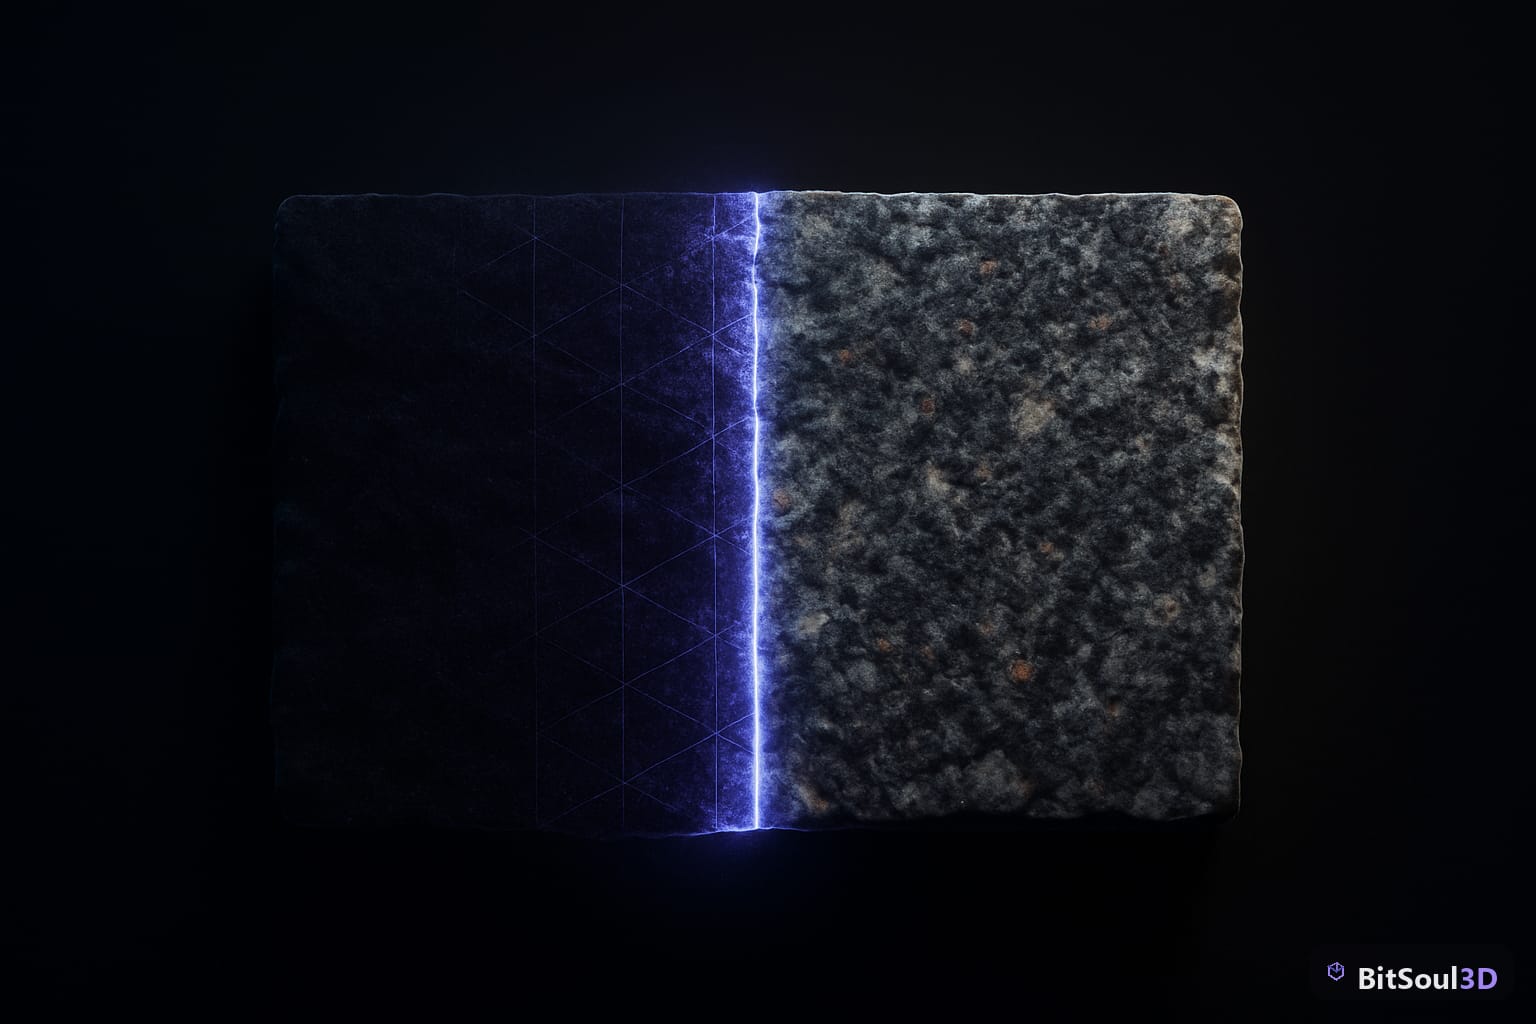
Why Procedural Textures Beat Hand-Painted for Many Game Assets
Procedural textures are generated mathematically—they have no fixed resolution until you bake them. That means you can adjust scale, detail level, and variation without redoing any work. Need the same rock material but grittier? Dial up the roughness noise. Need it tiling at half the scale? Change one node value. Contrast that with hand-painted textures, where any change means reopening your image editor and repainting.
For environment props—rocks, concrete, metal panels, wooden crates—procedural materials are often faster to produce and easier to maintain than image-based ones. The trade-off: complex organic surfaces like skin or fabric still benefit from hand-painting. For everything else, procedural is worth learning.
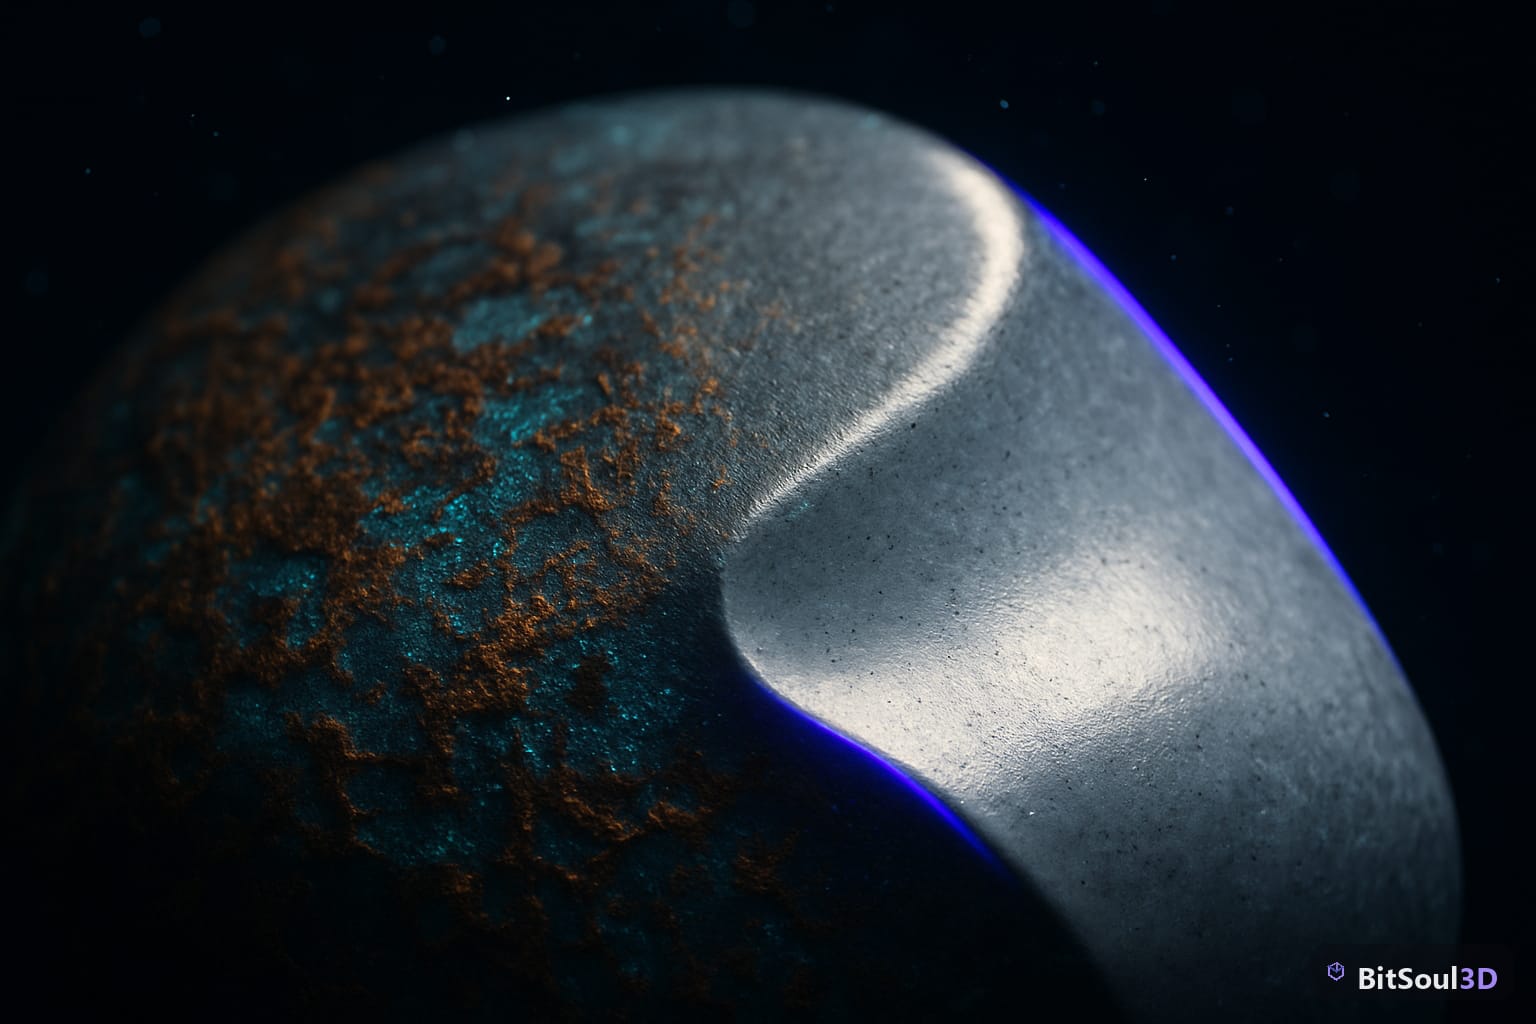
The concrete wall above is a perfect candidate for a procedural material: irregular surface variation, subtle color shifts, micro-detail scratches. All of this is reproducible with Blender's noise and texture nodes—no painting required.
Setting Up the Shader Editor for Game Asset Work
Open Blender and switch a panel to the Shader Editor. Select your mesh, add a material, and set the Render Engine to Cycles (required for baking—EEVEE does not support it). Your node graph starts with a Principled BSDF connected to the Material Output.
The core nodes for procedural work:
| Node | Purpose |
|---|---|
| Noise Texture | Organic variation, roughness maps, surface imperfection |
| Voronoi Texture | Cell patterns, cracked stone, weathered metal |
| Wave Texture | Wood grain, water ripples, striped materials |
| Gradient Texture | Edge wear, grunge masks, color transitions |
| Color Ramp | Map float values to specific colors or grayscale ranges |
| Mix Color | Blend two materials or mask between layers |
| Texture Coordinate | Control UV, object-space, or world-space mapping |
| Mapping | Scale, rotate, and offset texture coordinates |
Always start your graph with a Texture Coordinate to Mapping to your texture chain. This gives you independent control over scale and tiling without touching the mesh UVs.
Building a Procedural Stone Material
Here is a minimal stone material that produces a diffuse color, roughness, and normal variation entirely from nodes:
# Node connections (Shader Editor)
Texture Coordinate (UV)
  -> Mapping (Scale: 3.0, 3.0, 3.0)
  -> Noise Texture (Scale: 8, Detail: 12, Roughness: 0.6)
      -> Color Ramp [0.3 dark gray -> 0.7 light gray]  -> Principled BSDF Base Color
      -> Color Ramp [0.4 black -> 1.0 white]            -> Principled BSDF Roughness

Voronoi Texture (Scale: 20, Randomness: 0.8, Feature: Distance)
  -> Color Ramp [0.0 white -> 0.3 black -> 1.0 white]
  -> Bump (Strength: 0.4)
  -> Principled BSDF Normal
The Noise Texture drives both color and roughness—lighter areas of the noise become smoother (lower roughness), mimicking how polished stone reflects light differently than pitted areas. The Voronoi drives the bump, creating cell-crack detail without any sculpting.
To add color variation—streaks of rust, mineral deposits—feed a second Noise Texture at a larger scale into a Mix Color node blending between your base stone color and a brownish-orange. Use a Color Ramp to keep the streaks subtle.
Baking Procedural Nodes to PBR Texture Maps
Game engines do not run Blender's node graphs at runtime. You need to bake the procedural output to image textures before export. Here is the baking workflow:
Step 1 — UV unwrap your mesh. Even procedural materials need a UV map for baking. Use Smart UV Project (U key in Edit Mode) for props with no visible seam constraints. Set Island Margin to 0.02 to prevent bleeding.
Step 2 — Create image nodes for each map. In the Shader Editor, add an Image Texture node (do not connect it to anything). Create a new 2048x2048 or 4096x4096 image. Name it clearly: rock_basecolor, rock_roughness, etc. Select this node before baking—Blender bakes to the selected image node.
Step 3 — Set bake type and run. In Render Properties under Bake:
- Diffuse (with only Color contribution): bakes Base Color
- Roughness: bakes roughness channel
- Normal: bakes normal map in OpenGL format
- Emit: useful for baking any value output (metallic, AO)
For metallic and AO, use an Emission-based workaround: temporarily wire your Metallic output into an Emission node, bake as Emit, then restore.
Step 4 — Export maps. Save baked images as PNG (16-bit for normal maps, 8-bit for color and roughness). Import into Unity or Unreal Engine 5 and assign to a standard material.
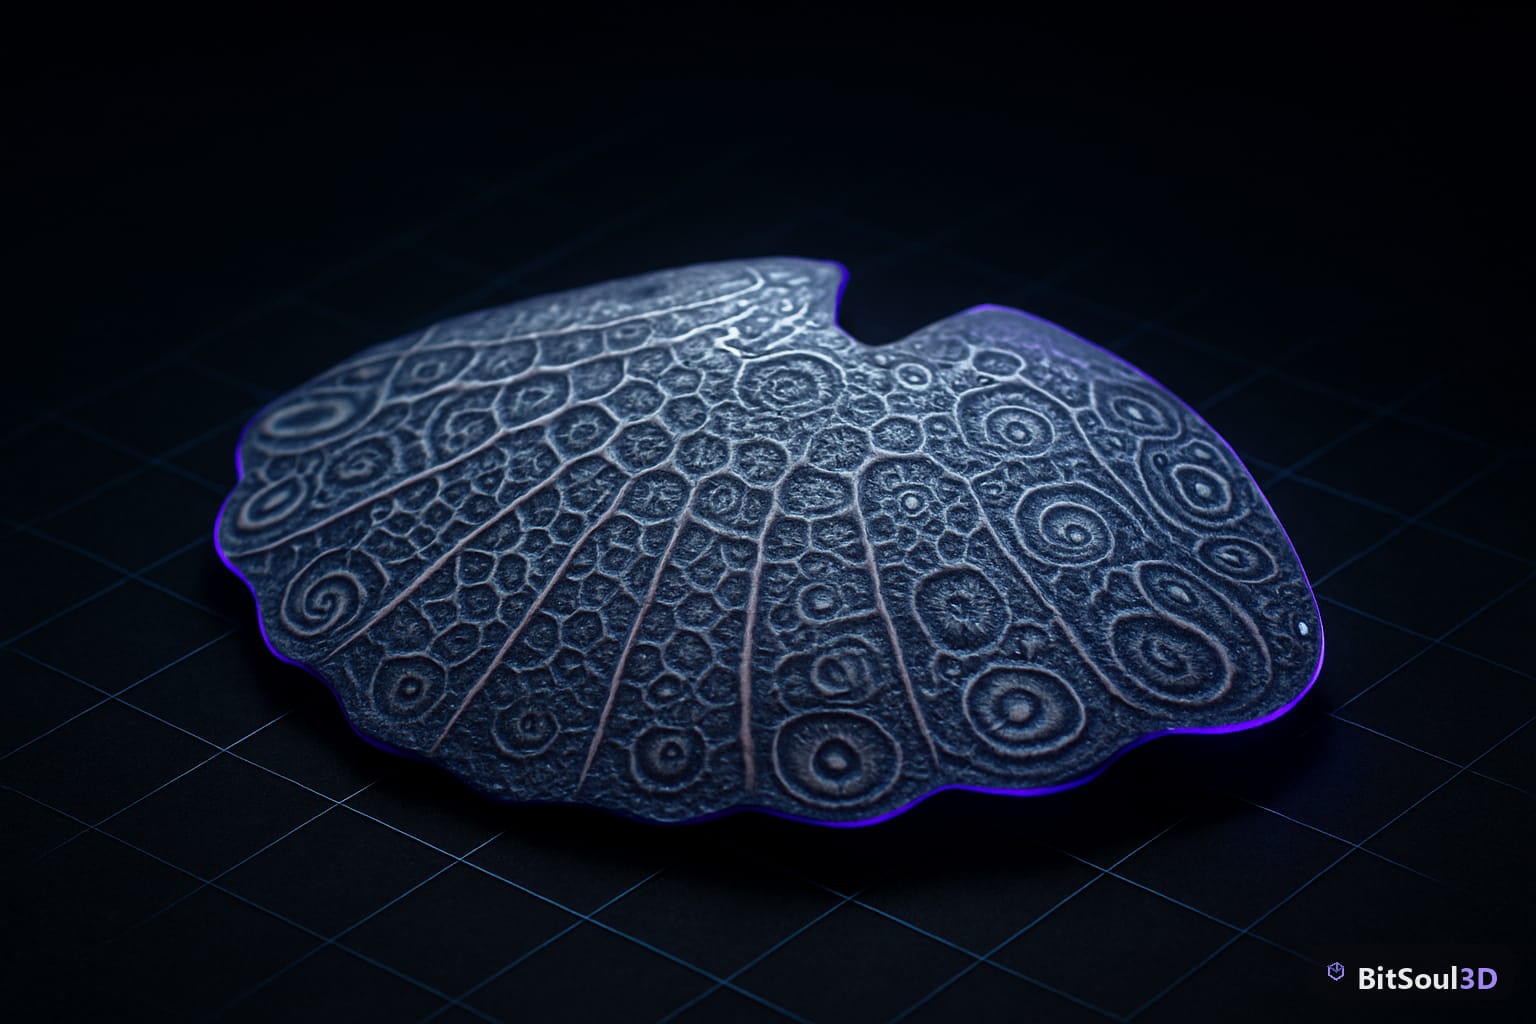
Color mixing like this—smooth gradients and organic variation—is exactly what the Mix Color node and Color Ramp enable procedurally, without touching an image editor.
Engine-Specific Gotchas
Unity URP: Import your normal map and set its Texture Type to Normal Map in the inspector. Unity uses DirectX-style normals (Y-channel flipped). If your normals look inverted, enable DirectX format in the Blender Normal Map node before baking, or flip the green channel on import.
Unreal Engine 5: UE5 expects a combined ORM texture (Occlusion in R, Roughness in G, Metallic in B). After baking AO, Roughness, and Metallic separately, channel-pack them before import. The Blender compositor or an external image editor works well for this.
Godot 4: Godot's StandardMaterial3D reads separate maps without channel packing. Import your baked textures and assign them directly in the Surface properties.
Selling Procedural-Baked Assets on the Marketplace
Assets built with procedural workflows tend to have cleaner, more consistent texturing than hand-painted equivalents—and they are faster to produce at scale. If you are building a prop pack for BitSoul's marketplace, consider baking multiple material variants from the same procedural graph: clean stone, weathered stone, snow-dusted stone. Three assets, one node setup.
For buyers, the baked maps work identically to any other PBR asset. There is no runtime dependency on Blender, no special import step. Browse ready-to-use textured props at BitSoul Marketplace.
Quick Reference Checklist
- Set render engine to Cycles before baking
- UV unwrap mesh before baking (Smart UV Project is fine for props)
- Add unconnected Image Texture node and select it as bake target
- Bake Diffuse, Roughness, Normal, and Metallic as separate passes
- Save normal maps as 16-bit PNG
- Flip green channel for DirectX (Unity); channel-pack ORM for Unreal Engine 5
- Test in-engine before publishing to marketplace
Procedural texturing is one of the highest-leverage skills in a game artist's toolkit. Start with a concrete wall or a wood plank, build up the node graph, bake once, and ship.
Need drop-in assets for this workflow? Grab the 98-model Character Pack on the BitSoul marketplace and drop them straight into your project.