Most rigging problems in game characters aren't weight paint issues — they're constraint issues. When a character's elbow pops, a shoulder clips through the neck, or a foot slides on uneven terrain, the fix is almost always a missing or misconfigured bone constraint. Blender's constraint system is deep enough to build production-quality rigs, and when you understand which constraints to reach for and why, your rig quality jumps immediately.
This guide covers the four constraints you'll use on nearly every humanoid game rig: Inverse Kinematics, Copy Rotation, Damped Track, and Stretch To. We'll also cover how to bake all constraints before exporting to Unity or Unreal Engine 5.
Why Bone Constraints Matter for Game Rigs
A bone constraint is a rule attached to a bone that drives its transform based on another object, bone, or target. Without constraints, animators must keyframe every joint manually — including secondary bones like fingers, jaw, and spine segments that should follow a driving bone automatically.
For game characters specifically, constraints serve two roles: they speed up animation by reducing the number of bones that need manual keyframing, and they enforce physical plausibility so elbows don't bend backwards or feet don't float off the ground.
Blender's constraint stack evaluates top-to-bottom, so order matters. A Copy Rotation above an IK constraint will fight the IK solver. Get into the habit of auditing your constraint stack order before debugging what looks like a weight paint problem — it's often the stack.
Constraint evaluation order checklist:
- Copy Location / Copy Rotation: place above IK if you want the copy to override IK
- Inverse Kinematics: mid-stack, after any copy constraints on the IK target
- Stretch To / Damped Track: last in the stack, after position is resolved
- Child Of: always at the top of the stack when used
IK Chain Setup with the Inverse Kinematics Constraint
Inverse Kinematics solves an entire bone chain — arm, leg, spine — from a single target position. You place a target bone at the hand or foot, set the IK chain length, and Blender calculates the rotations for every bone in the chain automatically.
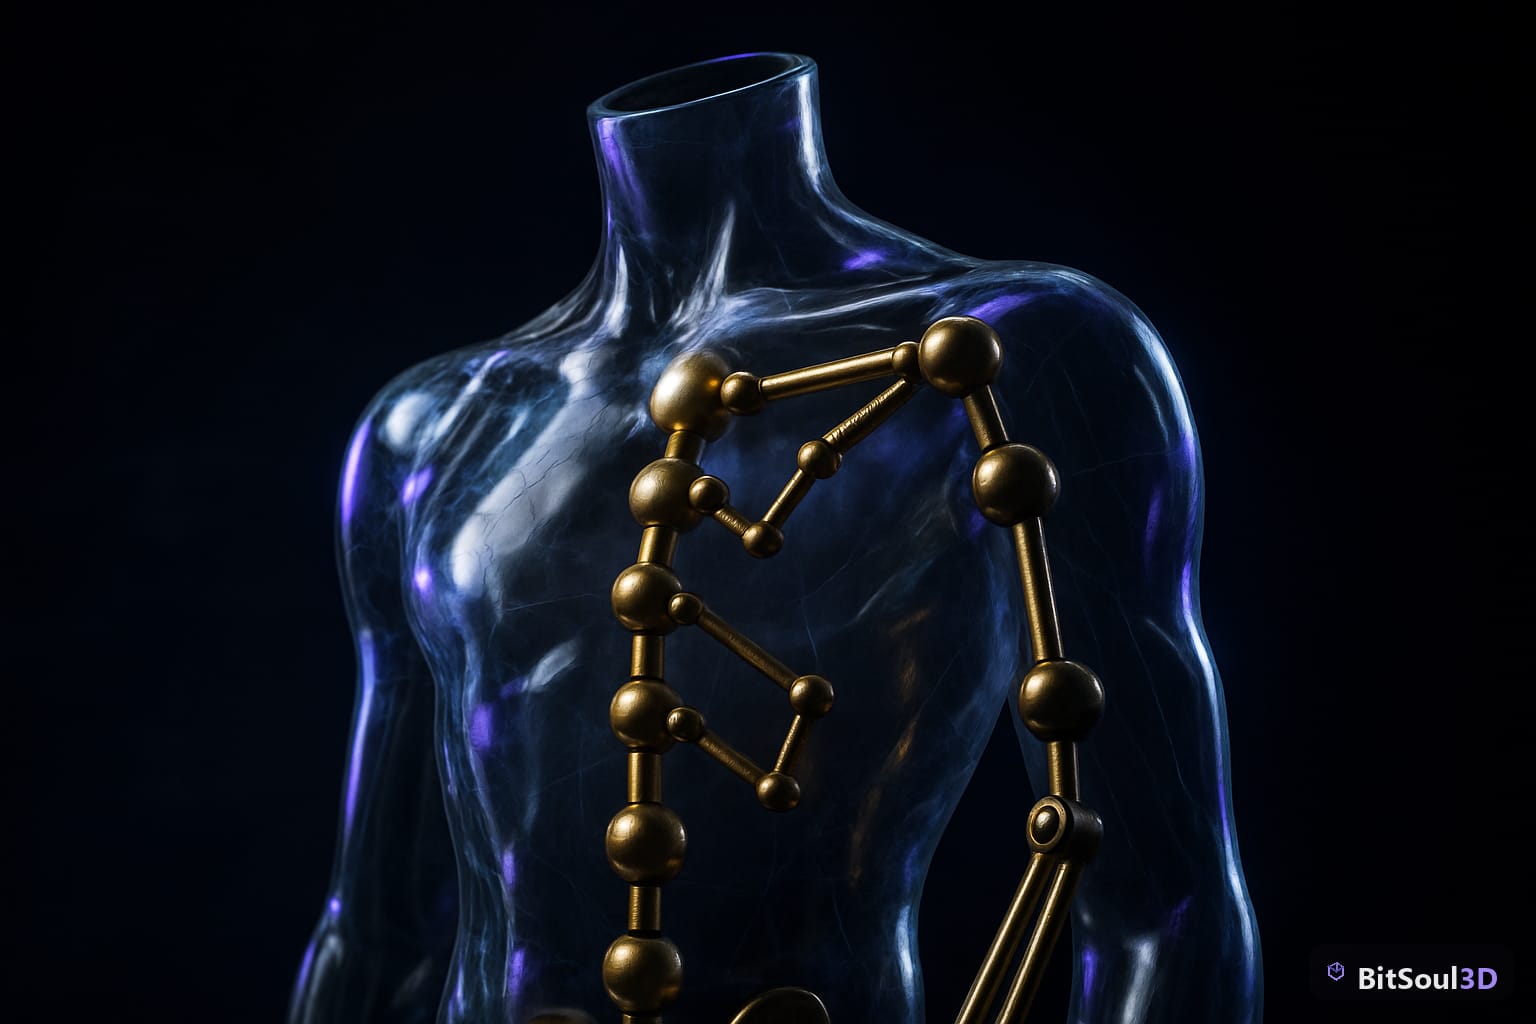
Add the IK constraint to the last bone in the chain (the hand bone, not the upper arm). Set Chain Length to the number of bones you want solved — typically 2 for an arm (forearm + upper arm), 3 for a leg if you include the thigh.
Pole targets are critical for predictable elbow and knee direction. Without a pole target, the IK solver will find a mathematically valid solution but it may flip unpredictably when the limb crosses certain angles. Create a separate bone (or empty) positioned in front of the knee or behind the elbow, assign it as the pole target, and set the Pole Angle to align the joint correctly — usually 0°, 90°, or -90° depending on your bone roll.
# Blender Python: add IK constraint to the forearm bone
import bpy

obj = bpy.data.objects['Armature']
pose_bone = obj.pose.bones['forearm.R']

constraint = pose_bone.constraints.new('IK')
constraint.target = obj
constraint.subtarget = 'hand_ik.R'
constraint.pole_target = obj
constraint.pole_subtarget = 'elbow_pole.R'
constraint.pole_angle = 1.5708  # 90 degrees in radians
constraint.chain_count = 2
For an IK/FK switch, add a custom bone property (a float from 0 to 1) on the control bone, then drive the IK constraint's Influence with that property. Animators can blend between FK control and IK solving per-keyframe.
Copy Rotation and Damped Track for Secondary Motion
Not every bone in a game character needs full IK solving. Secondary bones — jaw, fingers, clavicle, spine segments — benefit from Copy Rotation, which drives a bone's rotation directly from another bone's rotation, with an optional influence factor.
The clavicle is the classic use case. When the upper arm rises, the clavicle should follow automatically. Add a Copy Rotation constraint to the clavicle bone, target the upper arm, and set Influence to around 0.3. The clavicle follows the arm motion at 30% strength — enough to prevent shoulder clipping without forcing animators to keyframe it manually.
Damped Track points a bone's axis toward a target and is perfect for eye tracking, tail follow, or any bone that needs to stay aimed at a moving object. Unlike Copy Rotation, Damped Track resolves to the shortest arc rotation, so it never flips.
# Add Copy Rotation to clavicle following upper arm
pose_bone = obj.pose.bones['clavicle.R']
constraint = pose_bone.constraints.new('COPY_ROTATION')
constraint.target = obj
constraint.subtarget = 'upper_arm.R'
constraint.influence = 0.3
constraint.use_x = True
constraint.use_y = False  # Only follow X and Z, ignore roll
constraint.use_z = True
Stretch To and Maintain Volume for Cartoony Deformation
The Stretch To constraint stretches a bone toward a target, scaling it along its primary axis. When combined with Maintain Volume, the bone compresses its cross-section as it stretches, preserving apparent volume — this is the classic squash-and-stretch used in stylized and cartoon game characters.
Stretch To is most useful on spine and neck bones for characters that need exaggerated reach animations, on tentacle or tail rigs, and for facial bones in expressive characters. Set Rest Length to the bone's default length so Blender knows the neutral state.
| Constraint | Best Use Case | Key Setting |
|---|---|---|
| Inverse Kinematics | Arms, legs, spines | Chain Length, Pole Target |
| Copy Rotation | Clavicle, fingers, jaw follow | Influence (0.2–0.5 typical) |
| Damped Track | Eyes, head tracking, tails | Track Axis |
| Stretch To | Cartoon spines, tentacles | Maintain Volume: XZ mode |
| Child Of | Props parented to hands | Inverse button after setup |
For realistic characters, keep Stretch To off the limb bones — stretching joint bones breaks anatomical plausibility. Use it only on spine, neck, or dedicated stretch bones that sit between the main deform bones.
Exporting Constrained Rigs to Unity and Unreal Engine 5
Game engines don't understand Blender bone constraints. When you export to FBX or GLB, the engine receives only keyframe data — the constraint evaluation must be baked into actual keyframes before export.
In Blender's NLA Editor:
- Select the armature, enter Pose Mode
- Go to Pose > Animation > Bake Action
- Enable Only Selected Bones, Visual Keying, and Clear Constraints
- Set frame range to cover your full animation
- Bake — this creates a new action with all constraint results baked as explicit keyframes
For Unity, export with Add Leaf Bones disabled. Unity adds its own leaf bones and double-leaf-bones cause animation glitches. For Unreal Engine 5, set scale to 1.0 and ensure your armature has no unapplied transforms before baking.
If you're selling assets or distributing rigs through BitSoul's marketplace, include both the constrained source .blend file and a pre-baked FBX/GLB. Buyers on different engines will need the baked version, but riggers will want the source to modify the constraint setup.
Pre-export checklist:
- All constraints baked with Visual Keying enabled
- Armature transforms applied (Ctrl+A → All Transforms)
- No zero-length bones (causes export warnings in both Unity and UE5)
- IK pole targets excluded from deform if not needed as bones
- Test import in a fresh engine scene before publishing
Common Constraint Mistakes and How to Fix Them
IK flipping mid-animation — usually a missing pole target, or the pole target is co-planar with the bone chain. Move the pole target further from the chain (2–3x bone length away works reliably).
Copy Rotation causing bone to snap 180° — the source and target bones have different rest orientations. Enable Offset on the Copy Rotation constraint to use relative rotation instead of absolute.
Stretch To making bones invisible — Rest Length is set to 0. Open the constraint and click the Reset button next to Rest Length to recalculate from the current bone length.
Engine import losing constraint effects — constraints were not baked before export. Always bake with Visual Keying checked; without it Blender bakes the local transforms, not the constraint-evaluated result.
Bone constraints are the difference between a rig that's technically correct and one that's actually usable in production. The four covered here — IK, Copy Rotation, Damped Track, and Stretch To — cover the vast majority of humanoid and stylized character rigs. Get these right and you'll spend far less time debugging animation artifacts in the engine.
Ready to put your rigged characters to work? Browse game-ready character assets and rigged models on the BitSoul marketplace to find base meshes, export-ready rigs, and animation packs built for Unity and Unreal Engine 5.
Build with real assets: grab the 98-model Character Pack on the BitSoul marketplace and drop them straight into your project.