A beautifully sculpted character can tank your game's performance if the underlying mesh is a mess. Bad topology — random triangle fans, unnecessary edge loops, N-gons where joints need to deform — leads to broken skinning, ugly shading artifacts, and unnecessarily high draw costs. The fix isn't always decimation. It's understanding why topology matters and building clean meshes from the start.
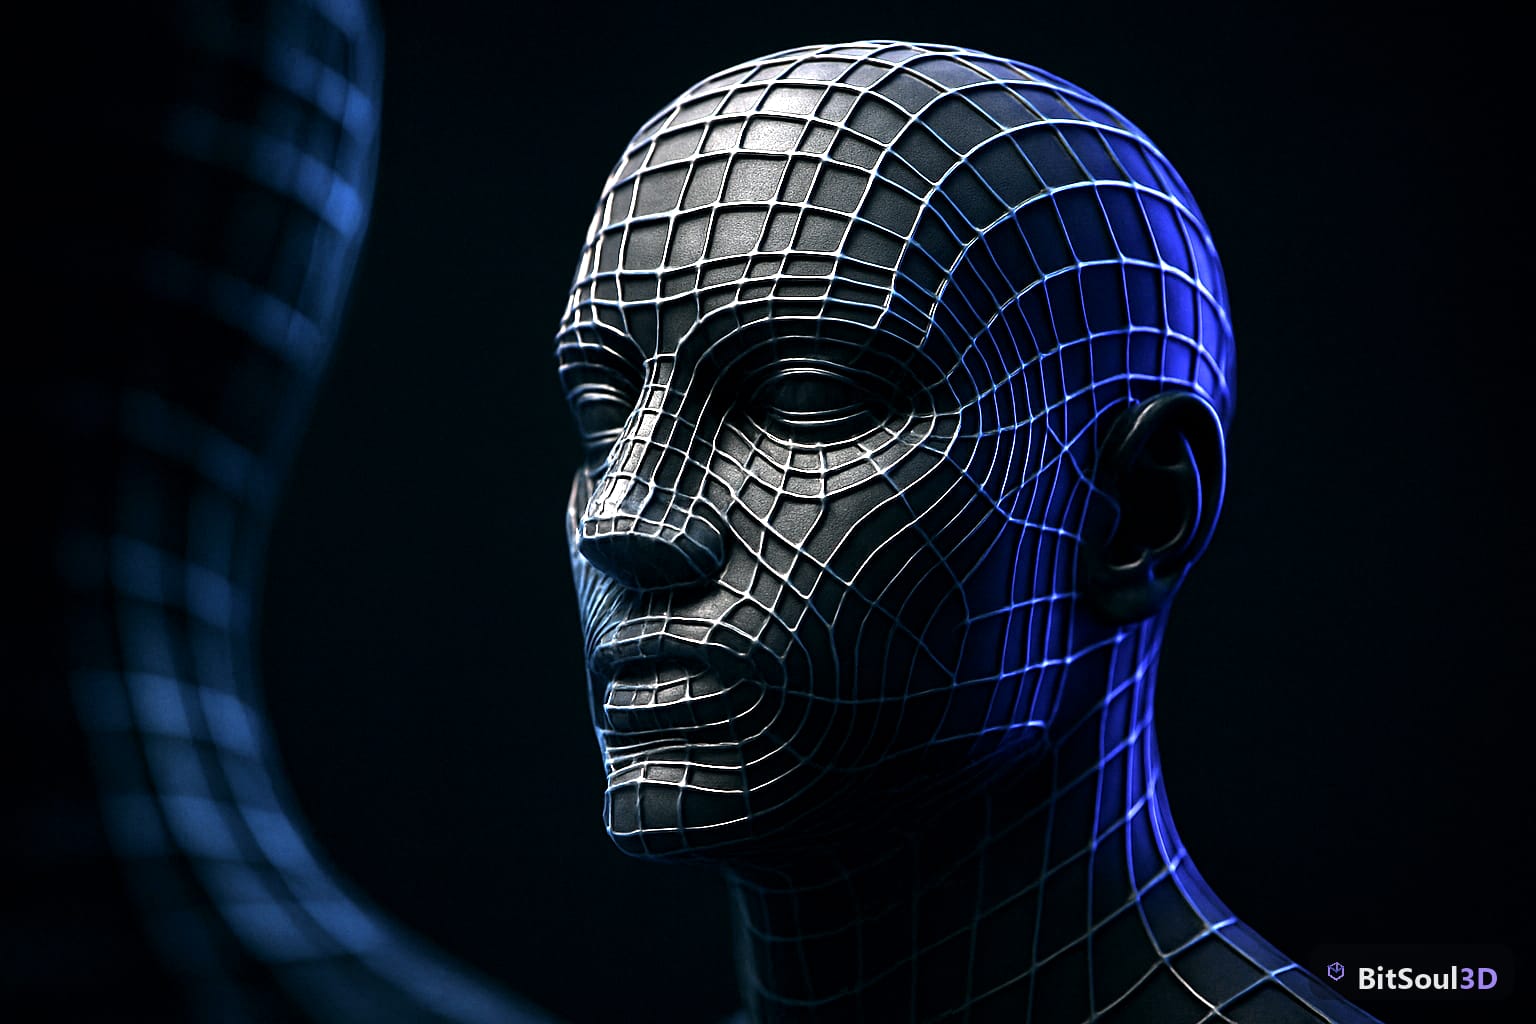
Why Topology Matters for Game Character Performance
Game engines don't care how your mesh looks in Blender's edit mode viewport — they care how many triangles get pushed to the GPU every frame. But topology quality affects more than just triangle count. Edge loops placed correctly around joints (shoulders, elbows, knees, jaw) determine whether a mesh deforms cleanly or collapses into a pinched mess when animated. N-gons and triangles in the middle of an otherwise quad mesh cause unpredictable normal interpolation, which shows up as shading seams especially under dynamic lighting.
From a performance standpoint, a character mesh that uses 8,000 well-placed triangles will almost always outperform a 5,000-triangle mesh with poor topology — because the 5,000-tri version often requires more overdraw, more texture distortion, and more draw calls to compensate for UV islands that couldn't be packed efficiently.
Engine importers also care: Unity and Unreal's automatic LOD generation works significantly better on clean quad-dominant meshes. Nanite in UE5, for instance, clusters geometry for virtual geometry streaming — a mesh full of irregular triangles produces worse cluster boundaries and degrades Nanite efficiency.
Edge Flow Principles for Deformable Character Meshes

Edge flow refers to the directional path edge loops follow across a mesh surface. For static props, edge flow matters mostly for shading. For characters, it's critical for deformation.
Key edge flow rules for game characters:
- Joints need concentric loops. At the elbow, knee, and shoulder, you want 2–3 parallel edge loops running perpendicular to the bone axis. These give the mesh the geometry it needs to compress and stretch during animation without pinching.
- Avoid poles in deforming areas. A pole (a vertex with 3 or 5 edges instead of the standard 4) creates a distortion point. Keep poles in flat, non-deforming areas — the top of the skull, the center of the chest.
- Follow muscle anatomy loosely. You don't need a medically accurate mesh, but edge loops that roughly follow deltoid, pectoral, and quadricep lines give your rigger cleaner deformation with far less corrective shape key work.
- Face topology is its own discipline. The mouth, eyes, and brows each need dedicated loop rings so expressions can move without the skin cracking. A minimum of two loops around each eye and three around the mouth is standard for any character with facial animation.
Tools in Blender that help: Loop Cut and Slide (Ctrl+R) for adding loops, LoopTools addon (bundled, just enable it) for relaxing and circularizing loop shapes, and the Symmetrize function to keep both halves consistent.
Retopology Workflows in Blender
If you're working from a sculpt — ZBrush, Blender Sculpt Mode, or imported high-poly — you need to retopologize before the mesh is game-ready. The goal is to trace clean quads over the high-poly surface.
Shrinkwrap method (fast, manual): Create a new mesh object, enable Snap to Face Project in the overlay options, and model quads directly on top of the sculpt. The Shrinkwrap modifier (applied after) keeps everything flush to the surface. This gives you full control over every edge loop placement.
Instant Meshes (free, external): Export your sculpt as OBJ, run it through Instant Meshes with a target face count, and import the result. Quality varies — it handles organic shapes well but often needs manual cleanup around joints and fingers. Good for a starting point, not a final mesh.
RetopoFlow (paid Blender addon): Adds a suite of retopology tools including Contours (for laying loops around limbs) and Patches (for filling quad patches between existing loops). Worth the cost for character artists who retopo regularly.
After retopo, apply the Shrinkwrap modifier and bake your high-poly normals, AO, and curvature onto the low-poly. This is what makes a 6,000-poly character look like it has the surface detail of a 500,000-poly sculpt.
# Blender Python: Add Shrinkwrap modifier to retopo mesh
import bpy

obj = bpy.context.active_object
mod = obj.modifiers.new(name="Shrinkwrap", type='SHRINKWRAP')
mod.target = bpy.data.objects["HighPoly_Character"]  # your sculpt
mod.wrap_method = 'PROJECT'
mod.use_negative_direction = True
mod.use_positive_direction = True
Triangle Budget by Platform and Engine
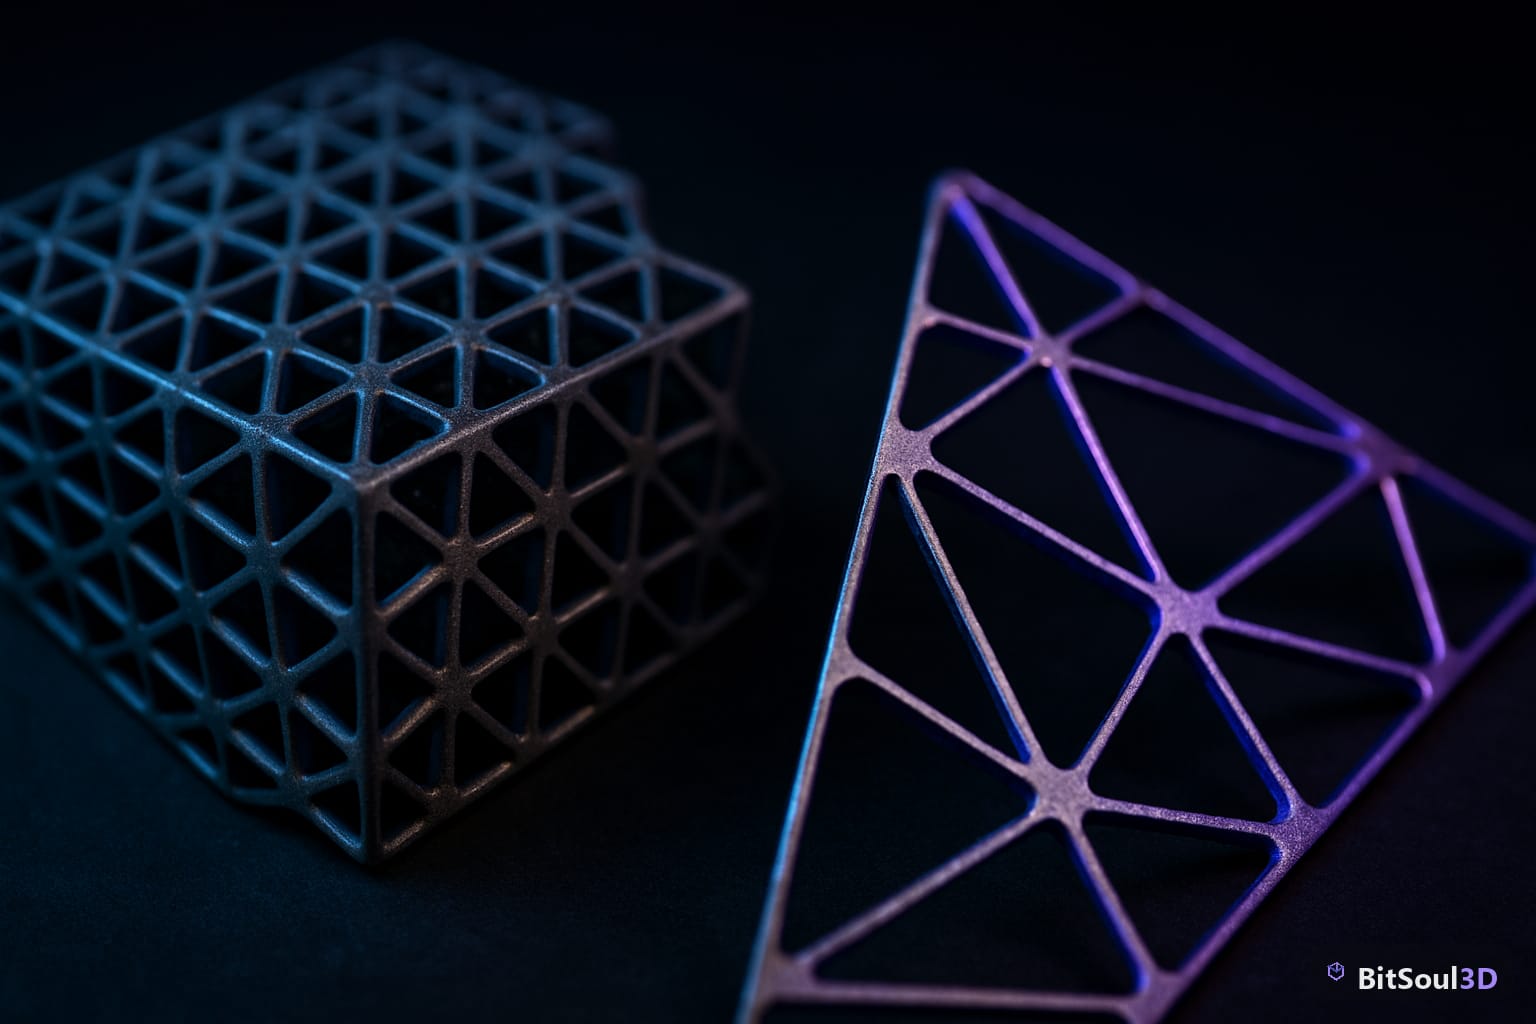
There's no universal "correct" triangle count — it depends entirely on your target platform, rendering budget, and how many characters appear on screen simultaneously. Use these ranges as starting points:
| Character Type | Mobile | PC / Console (indie) | AAA PC / Console |
|---|---|---|---|
| Background NPC | 500–1,500 | 2,000–5,000 | 10,000–20,000 |
| Secondary character | 1,500–3,000 | 5,000–10,000 | 20,000–40,000 |
| Hero / player character | 3,000–6,000 | 10,000–20,000 | 40,000–100,000+ |
| Face (of above) | 800–1,200 | 2,000–4,000 | 8,000–15,000 |
In Unity, check triangle counts via the Scene Stats overlay (toggle in the top-right of the viewport). Set quality tiers in the LOD Group component — typically LOD0 at full res, LOD1 at 50%, LOD2 at 25%.
In Unreal Engine 5, use the LOD Settings in the Skeletal Mesh editor. UE5's auto-LOD uses Quadric Error Metrics decimation, which respects hard edges but can mangle fine topology — always preview each LOD before shipping. With Nanite enabled for static meshes, you can push much higher polygon counts, but Nanite is not available for skeletal (animated) meshes as of UE5.4.
In Godot 4, LODs for imported GLB meshes are generated automatically based on screen coverage if you enable Generate LODs in the import settings. For characters, set the LOD bias in the GeometryInstance3D properties to fine-tune when transitions trigger.
Exporting Optimized Character Meshes
The export format and settings determine whether the engine sees your clean topology or a mangled conversion artifact.
GLB / GLTF 2.0 is the recommended format for Godot 4 and increasingly for Unity. It preserves materials, armatures, shape keys, and animations in a single binary file. In Blender, export with Apply Modifiers enabled and Export Deform Bones Only to strip control-rig bones that the engine doesn't need.
FBX remains the standard for Unity and Unreal Engine 5. Key settings:
- Apply Unit Scale and Apply Transform to avoid the notorious 100x scale issue in Unity
- Bake Animation if exporting NLA actions
- Smoothing: Face — let the engine handle normals via the mesh's normal map rather than relying on FBX-embedded smoothing groups
Mesh cleanup checklist before export:
- Apply all transforms (Ctrl+A → All Transforms)
- Remove doubles (Merge by Distance, threshold 0.0001)
- Check for flipped normals (Overlay → Face Orientation, blue = outward)
- Triangulate manually in Blender before export to control triangle direction
- Confirm UV islands have no overlaps (except intentional mirrored UVs)
- Clear custom split normals if baking normals from high-poly
You can find game-ready character meshes with clean topology already set up for Unity, Unreal, and Godot at the BitSoul marketplace — useful as reference meshes or direct starting points for your project.
Closing: Build It Right, Build It Once
Clean topology isn't just about aesthetics — it's engineering. An optimized character mesh with proper edge flow deforms better, LODs more predictably, bakes cleaner, and ships faster. Invest time in retopology and export settings early, and you'll avoid expensive rework after your character is already rigged and animated.
Browse game-ready character assets with optimized topology at BitSoul marketplace to see professional examples of how these principles apply in production meshes.
Build with real assets: grab the 98-model Character Pack on the BitSoul marketplace and drop them straight into your project.