You spent 40 hours sculpting the most detailed character your portfolio has ever seen. Every pore, every wrinkle, every strand of hair — perfect. Then you import it into Unity and your frame rate collapses to single digits. This is the retopology problem, and it affects every 3D artist who works between sculpting tools and real-time engines. The fix isn't to compromise your sculpt — it's to build a second, optimized mesh that borrows all the detail from the first.
What Retopology Actually Is (And Why You Can't Skip It)
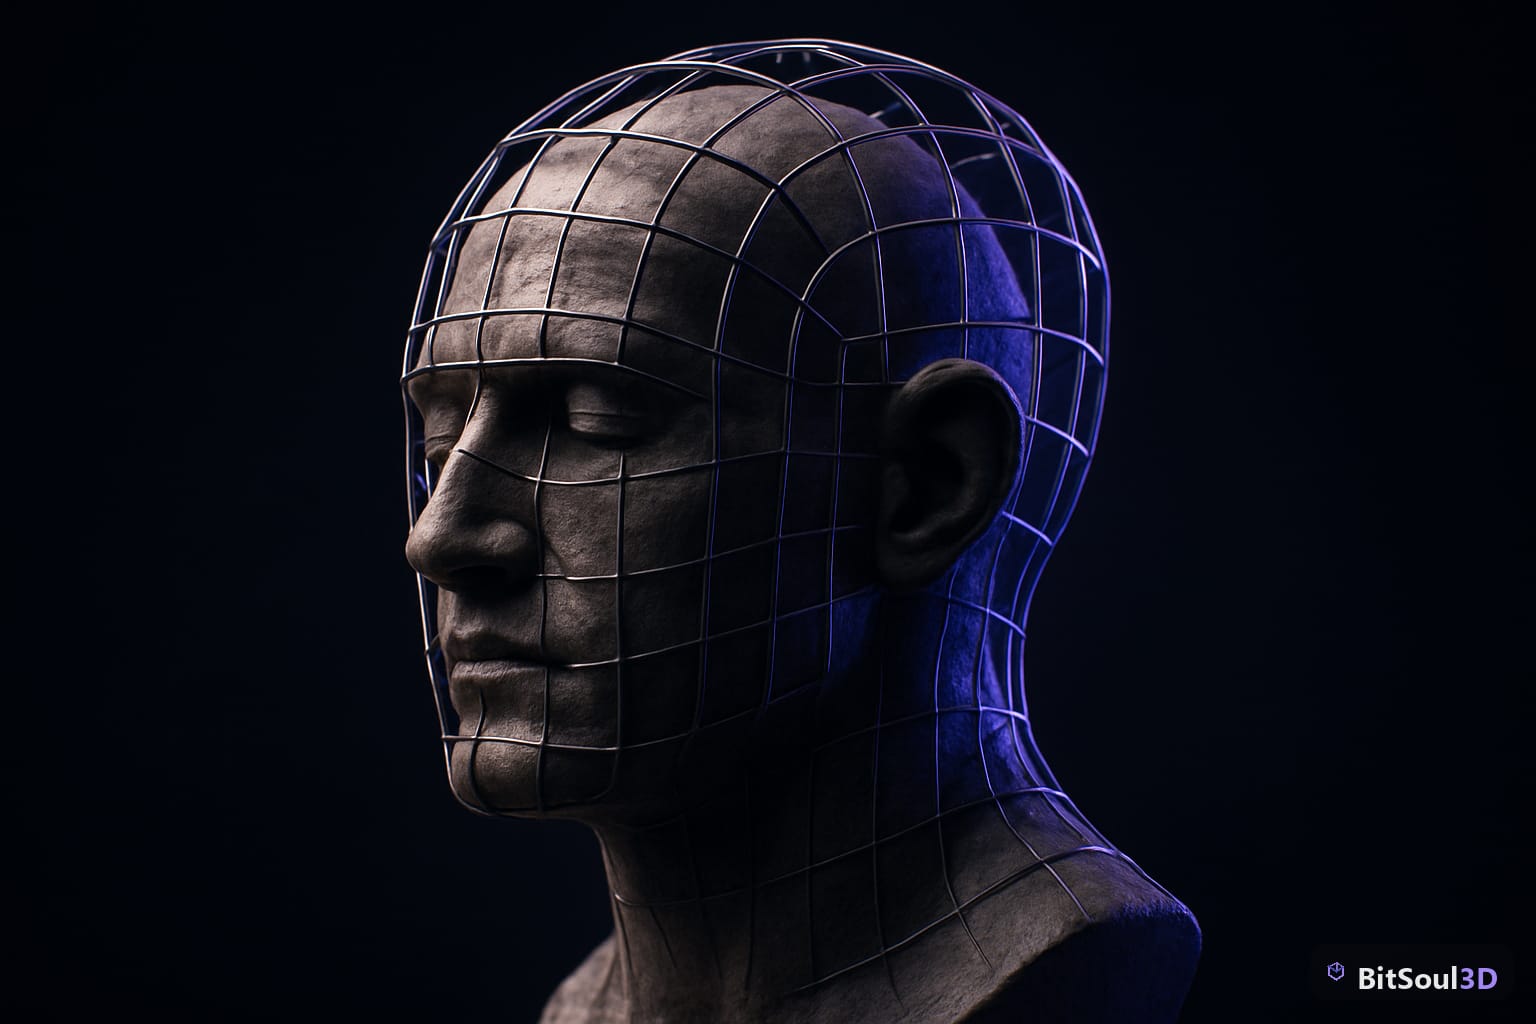
Retopology is the process of creating a new, low-polygon mesh that conforms to the surface of a high-polygon sculpt. The high-poly mesh — often millions of polygons from ZBrush, Blender's Sculpt Mode, or Nomad — exists purely as a reference. Your game engine never sees it. The low-poly retopo mesh is what ships in the final asset, and the surface detail gets transferred via a normal map bake.
Game engines care deeply about polygon count and edge flow. A 4-million-polygon sculpt will not animate correctly even if you decimate it to 10,000 polygons, because decimation creates chaotic, irregular topology that deforms badly at joints. Proper retopology means clean quad-dominant loops that follow muscle groups, facial structure, and articulation points — so the mesh deforms predictably when driven by an armature.
Skipping retopology means one of three outcomes: a mesh too heavy to run in real-time, a mesh that breaks on animation, or a mesh that takes textures poorly because UV islands don't align with natural seams. None of these ship.
Setting Up Blender for Efficient Retopology
Blender has a solid built-in retopology toolkit once you know where to look. Start by importing your high-poly sculpt (or keeping it in the same file) and enabling the Snap and Shrinkwrap modifiers — these are what allow your new mesh to hug the surface of the original automatically.
Key Blender settings for retopology:
- X-Ray Mode (
Alt+Z): See through your new mesh to the high-poly beneath. - Face Snapping: Set Snap to Face Project and enable Project Onto Self. Your new vertices will snap directly onto the high-poly surface as you place them.
- Shrinkwrap Modifier: Apply this to your retopo mesh targeting the high-poly. It keeps the entire mesh glued to the surface automatically.
- LoopTools Add-on: Enable this free built-in add-on (
Edit > Preferences > Add-ons). The Relax, Circle, and Space tools are invaluable for evening out edge spacing.
# Quick Blender Python snippet to enable snapping for retopology via script
import bpy

bpy.context.scene.tool_settings.use_snap = True
bpy.context.scene.tool_settings.snap_elements = {'FACE_PROJECT'}
bpy.context.scene.tool_settings.use_snap_project = True
bpy.context.scene.tool_settings.use_snap_self = False
bpy.context.scene.tool_settings.use_snap_backface_culling = False
print("Retopology snap settings applied.")
For the actual drawing workflow, the Poly Build tool (Shift+Click in Edit Mode) is the fastest option in Blender — you draw faces one quad at a time directly on the high-poly surface. Combine it with the F key to fill edge loops and you can cover large flat areas quickly.
Polygon Budget Guidelines by Platform
One of the most common mistakes is retopologizing without a target poly count. Here are practical budgets based on where your asset will run:
| Platform | Main Character | NPC / Background | Prop (large) |
|---|---|---|---|
| PC / Console AAA | 20,000–80,000 | 5,000–15,000 | 2,000–8,000 |
| PC / Console Indie | 5,000–20,000 | 1,500–5,000 | 500–3,000 |
| Mobile (high-end) | 1,500–5,000 | 500–2,000 | 200–800 |
| VR (standalone) | 2,000–6,000 | 500–1,500 | 200–500 |
These are triangles in engine (Blender shows quads, which each become 2 tris on export). Always check the triangle count in your exporter before finalizing. In Blender: Mesh > Statistics in Overlay settings shows tri count directly in Edit Mode.
For most indie games targeting Steam or itch.io, a hero character at 8,000–15,000 triangles is a safe, professional target that textures well and animates cleanly.
Critical Loop Placement for Character Animation
Topology isn't just about polygon count — it's about where the polygons are. Deformation quality at joints is entirely determined by edge loop placement. These are the non-negotiable loops for a bipedal character:
Face: Loops around the mouth (2 minimum), loops around each eye socket, a loop following the jaw line. The mouth needs loops concentric to the lips — radial geometry around the opening so lip sync deformation doesn't pinch.
Shoulders: This is the hardest joint in character rigging. You need enough geometry to handle the extreme range of motion — typically 3–5 loops in the upper chest/deltoid zone. Too few loops and the armpit collapses on raise.
Elbows and Knees: 3 edge loops minimum at each joint — one at the center, one above, one below. These loops compress on the inside of the bend and stretch on the outside, giving the illusion of muscle bulge.
Wrists and Ankles: 2–3 loops, oriented so they can handle both rotation and flexion without shearing the geometry.
A practical test: after blocking in your retopo, rig it with a quick Auto Weights armature and pose every joint to its maximum range. Shading artifacts reveal exactly where loops are missing or misplaced. Fix them before baking — it's far faster than correcting after textures are applied.
Baking the Normal Map: Transferring Detail from High to Low
Once your retopo mesh is complete, the normal map bake is what brings all the sculpted detail back. In Blender:
- UV Unwrap the low-poly mesh first — clean seams along natural boundaries (spine, inner arm, hairline)
- Set up a Cycles bake with the high-poly as the Selected to Active source
- Set Ray Distance to approximately 0.01–0.05m (adjusted to your scale)
- Bake to a 4096×4096 texture for hero characters, 2048×2048 for NPCs
Export the normal map as 16-bit PNG to avoid banding artifacts in gradients. In Unity, make sure the texture import setting is set to Normal Map (not Default). In Unreal, the normal map import automatically detects the DirectX/OpenGL orientation — Blender uses OpenGL (Y+), which Unreal expects natively. Unity uses DirectX (Y-), so you may need to flip the green channel in your texture export settings.
Selling polished, bake-ready character assets? The BitSoul marketplace is where game developers source production-ready character meshes with clean topology documentation included. Buyers increasingly specify poly count and bake source in their requirements.
Exporting Clean Assets for Unity and Unreal
Before export, apply all modifiers except armatures. In Blender's FBX exporter:
- Scale: Apply scale to 1.0 before export (
Ctrl+A > Scalein Object Mode) - Forward / Up Axis: For Unity use
-Z Forward, Y Up; for Unreal use-Y Forward, Z Up - Smoothing: Set to Face (not Edge) for compatibility
- Mesh: Enable Apply Modifiers, disable Loose Edges
For GLB export targeting Godot or web-based viewers, use the GLTF 2.0 exporter with Include > Selected Objects and embed your normal map texture directly in the GLB for a single portable file.
The entire retopology-to-export pipeline — sculpt reference, clean quad mesh, baked maps, and correct export settings — is what separates an asset that looks professional in every engine from one that requires hours of cleanup after purchase. If you're building an asset library for sale, documenting this pipeline per asset makes your listings stand out on the BitSoul marketplace.
Start Retopologizing Smarter
Retopology has a learning curve, but the payoff is assets that animate well, texture cleanly, and run at performance budgets every engine can handle. Set a poly target before you start drawing. Use Blender's snap tools to stay on surface. Place loops where joints need them. Bake the normal map. Export with the right axis settings.
Ready to list your game-ready character assets? Browse what's selling and upload your own work at BitSoul marketplace — the destination for developers who need production-quality 3D assets without the guesswork.
This post is part of the Ultimate Guide to Free 3D Game Assets — BitSoul's complete reference for formats, texturing, rigging, optimization, and engine integration.
Build with real assets: grab the 98-model Character Pack on the BitSoul marketplace and drop them straight into your project.