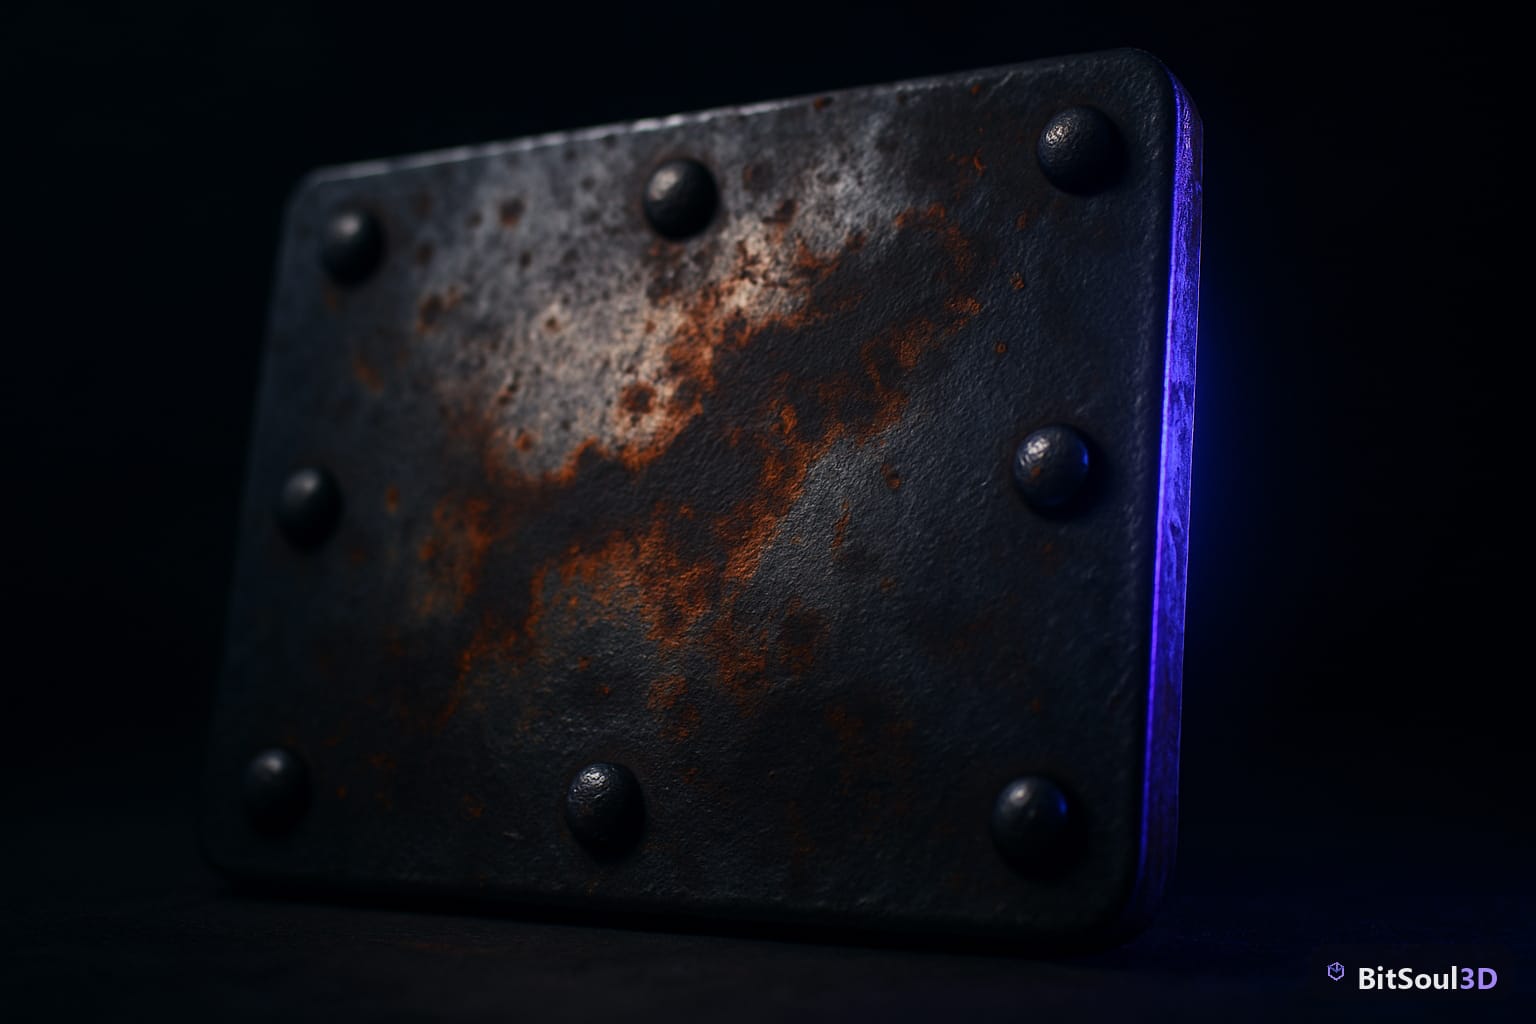
Remeshing an asset every time you want to add a scratch, a blood splat, or a spray-paint tag is a workflow killer. Decals solve this in Unreal Engine 5 by projecting a material onto existing geometry at runtime — no UV changes, no mesh edits, no extra draw calls per unique surface. If you're not using them, you're working harder than you need to.
What Are Decals and Why Do They Belong in Your Pipeline?
A decal in UE5 is a deferred material that projects onto scene geometry within a defined box volume. Think of it as a stamp: you position an actor, orient the projection direction, and UE5 handles blending onto whatever geometry the box intersects — a floor, a wall, a character, or all three at once.
This has concrete workflow advantages over baking detail into base textures:
- Reusability: one blood_splat decal actor can be instanced hundreds of times across a scene with no additional memory per instance.
- Modularity: artists can iterate on surface storytelling (damage states, environmental wear) without touching the source asset.
- LOD compatibility: decals project onto simplified LOD meshes seamlessly since projection is geometry-agnostic.
- Runtime flexibility: spawn decals via Blueprint in response to gameplay events — bullet holes, footprints, magic runes.
Decals are rendered in the deferred pass after base geometry, so they respect lighting, receive shadows (with Dbuffer decals), and interact correctly with SSR and SSAO.
Setting Up a Decal Material in UE5
In the Content Browser, right-click → Material. Set Material Domain to Deferred Decal and Blend Mode to Translucent. For physically correct results, set Decal Blend Mode to DBuffer Translucent Color, Normal, Roughness — this writes into the DBuffer and persists through base pass, meaning your decal will receive directional lighting and affect roughness on the target surface.
A minimal decal material needs three input connections:
// Decal material node setup (pseudo-code / node description)
TextureSampleParameter2D("DecalAlbedo")     → Base Color
TextureSampleParameter2D("DecalNormal")     → Normal
TextureSampleParameter2D("DecalORM")        → Occlusion / Roughness / Metallic
TextureSampleParameter2D("DecalMask").R     → Opacity
Expose DecalAlbedo, DecalNormal, and DecalMask as Material Parameter Collection entries so you can swap textures per instance via Material Instances without creating new materials. This is the difference between 1 draw call per decal type versus 1 per unique decal.

Avoid Translucent blend mode for DBuffer decals — it bypasses the deferred pass entirely and will not receive lighting correctly. Always verify your Decal Blend Mode matches the DBuffer settings in Project Settings → Rendering → DBuffer Decals (must be enabled).
Projecting Decals onto Complex Geometry
Add a Decal Actor to your level (Place Actors panel → search "Decal"), assign your material, then use the arrow gizmo to orient the projection direction — the arrow points in the direction the decal projects. The blue box defines the clipping volume; geometry outside it is unaffected.
For complex curved surfaces:
| Surface Type | Recommended Approach |
|---|---|
| Flat walls / floors | Standard Decal Actor, default settings |
| Curved/organic meshes | Enable Receives Decals on the mesh, reduce Decal box depth to minimize bleed |
| Character skin | Use Stain Decal Blend Mode; disable on skeletal mesh LOD 2+ |
| Transparent surfaces | Decals don't project onto translucent materials — bake into base instead |
| Foliage / two-sided meshes | Disable Receives Decals — projection artifacts are common |
For Blueprint-spawned decals (footprints, bullet holes), use SpawnDecalAtLocation or SpawnDecalAttached:
// Blueprint node / C++ equivalent
UGameplayStatics::SpawnDecalAtLocation(
    WorldContextObject,
    DecalMaterial,
    FVector(128.f, 128.f, 128.f),   // size
    HitLocation,
    HitNormal.Rotation(),
    LifeSpan                         // 0 = persistent
);
Set a Fade Out Duration on the decal component to prevent accumulation in high-action scenes.
Performance Considerations and Decal Budgeting
Decals are cheap but not free. Each decal issues a draw call during the deferred pass, and overdraw compounds when large decals overlap. Follow this budget framework:
| Scene Type | Max Simultaneous Decals | Max Decal Texture Resolution |
|---|---|---|
| Interior environment | 40–60 | 512×512 |
| Open world (streamed) | 80–120 (pooled) | 256×256 (atlas) |
| Character surface | 4–8 | 256×256 |
| VFX / gameplay spawned | Pool of 32, FIFO evict | 128×128 |
Key optimizations:
- Atlas decal textures into a single 2048×2048 sheet and use UV offsets in material instances. This consolidates draw calls dramatically.
- Cull distance: set
Max Draw Distanceon each decal actor. 1500–2000 units is appropriate for detail decals. - Sort order: set
Decal Sort Orderto avoid Z-fighting when stacking (e.g., dirt layer = 0, crack = 1, paint = 2). - Disable Receives Decals on any mesh where it's unnecessary — every eligible mesh participates in the decal pass.
Profile with UE5's GPU Visualizer (Ctrl+Shift+,) — filter by "Decal" in the timing hierarchy. If decal cost exceeds 0.5ms on your target hardware, reduce max simultaneous count or lower texture resolution.
Sourcing Decal-Ready Assets for Your Project
A well-prepared decal system depends on two things: quality decal texture packs and assets flagged to Receives Decals. When purchasing or downloading 3D props, verify the mesh has this property enabled in its Static Mesh settings — many optimized assets disable it by default to save render cost.
The BitSoul marketplace hosts game-ready GLB and FBX assets with known polygon budgets and material slot layouts, making it straightforward to plan your decal projection targets. Look for assets with flat or minimally curved surfaces in high-traffic areas (walls, floors, vehicles) — these yield the cleanest decal projections.
For decal texture content itself, common asset types to look for:
- Damage / wear sets (scratches, dents, bullet impacts)
- Environmental storytelling (footprints, tire tracks, liquid stains)
- Signage and markings (road paint, stencil graffiti, warning labels)
- Magical/VFX overlays (runes, energy burns, scorch marks)
Putting It Together: A Decal-Driven Environment
A fully decal-driven environment workflow looks like this:
- Source modular geometry (walls, floors, props) — ensure Receives Decals is on.
- Build a decal material library with 4–6 master materials covering dirt, damage, and markings.
- Create Material Instances per variant, using texture atlases where possible.
- Place persistent decals in the level for fixed storytelling detail.
- Set up a Blueprint decal pool for runtime-spawned events.
- Profile and tune cull distances and sort order.
The payoff is significant: a single modular wall mesh becomes a canvas for dozens of unique visual states without a single UV or mesh change. That's the kind of workflow efficiency that scales — whether you're shipping solo or on a team.
Explore the full library of game-ready props optimized for decal workflows at BitSoul Marketplace.
Need drop-in assets for this workflow? Grab the 94-model Animal Bundle on the BitSoul marketplace and drop them straight into your project.