Scattering thousands of trees, rocks, grass clumps, or debris across a game level sounds like a recipe for a slideshow. Most developers hit this wall early: they duplicate a MeshInstance3D node a few hundred times, frame rate collapses, and the profiler shows hundreds of individual draw calls. Godot 4's MultiMesh system solves this entirely — one draw call, thousands of instances, near-zero CPU overhead per object.
What Is MultiMesh and Why Does It Matter?
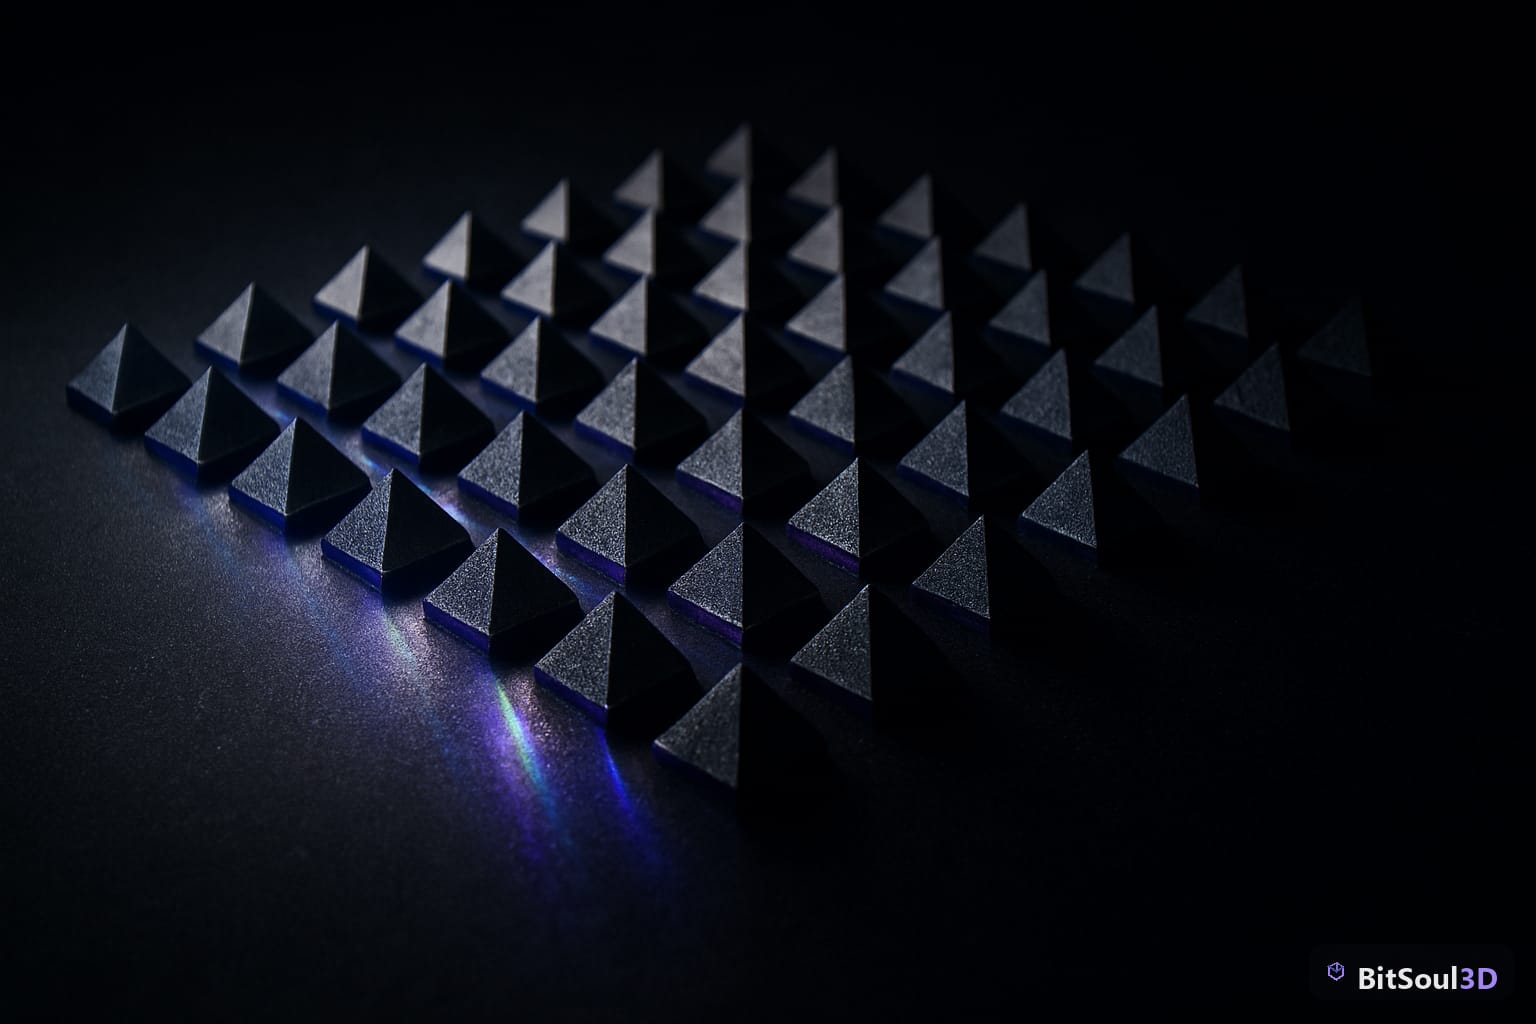
A MultiMesh is a resource that stores a single mesh geometry and an array of per-instance transforms (and optionally per-instance colors or custom data). MultiMeshInstance3D is the node that renders it. The GPU receives one mesh upload and one draw command, then stamps that mesh at every transform in the buffer simultaneously.
The performance difference is dramatic:
| Approach | 2 000 trees | Draw Calls | CPU Cost |
|---|---|---|---|
| Individual MeshInstance3D | ~8 ms/frame | 2 000 | High |
| MultiMeshInstance3D | ~0.4 ms/frame | 1 | Minimal |
MultiMesh shines for anything that repeats across a scene: foliage, crowd props, dungeon rubble, coins, bullets, particles that need mesh detail. It does not suit objects with unique materials, animated skeletons, or objects that need individual physics — use regular nodes for those.

Setting Up MultiMesh in the Godot 4 Editor
The quickest path is through the editor without writing a line of code:
- Add a MultiMeshInstance3D node to your scene.
- In the Inspector, click the MultiMesh property and choose New MultiMesh.
- Set Transform Format to
Transform3D(notTransform2D). - Set Instance Count to however many copies you want — start with 500 to test.
- Assign your mesh to the Mesh property (a GLB import, a
BoxMesh, whatever). - Optionally enable Use Colors or Use Custom Data if you need per-instance tinting.
Once the MultiMesh resource exists, you can populate transforms directly in GDScript at runtime, or bake them at editor time via a tool script.
You can also assign a material override on the MultiMeshInstance3D node itself — this replaces all surface materials on the mesh, useful for bulk tinting or switching shaders across all instances at once.
Populating Transforms with GDScript
Runtime population is the most common workflow. Here is a minimal scatter script that places instances randomly on a flat plane:
extends MultiMeshInstance3D

@export var count: int = 1000
@export var area_size: float = 50.0
@export var y_rotation_random: bool = true

func _ready() -> void:
    multimesh.instance_count = count
    var rng := RandomNumberGenerator.new()
    rng.randomize()

    for i in count:
        var x := rng.randf_range(-area_size * 0.5, area_size * 0.5)
        var z := rng.randf_range(-area_size * 0.5, area_size * 0.5)
        var basis := Basis.IDENTITY
        if y_rotation_random:
            basis = Basis(Vector3.UP, rng.randf_range(0.0, TAU))
        var t := Transform3D(basis, Vector3(x, 0.0, z))
        multimesh.set_instance_transform(i, t)
Key points:
- Set
instance_countbefore callingset_instance_transform— resizing the buffer mid-loop is expensive. Transform3Dtakes aBasis(rotation/scale) and anorigin(position). Combine non-uniform scale withbasis.scaled(Vector3(sx, sy, sz)).- Reads from
get_instance_transform(i)are fast — the buffer lives on CPU memory until flushed to GPU.
Terrain-Conforming Scatter
For outdoor scenes, you usually want instances to sit on terrain. Use a PhysicsDirectSpaceState3D raycast to find the surface height:
func _get_terrain_y(x: float, z: float) -> float:
    var space := get_world_3d().direct_space_state
    var query := PhysicsRayQueryParameters3D.create(
        Vector3(x, 100.0, z), Vector3(x, -100.0, z)
    )
    query.collision_mask = 1  # terrain layer
    var result := space.intersect_ray(query)
    return result["position"].y if result else 0.0
Call this inside your loop and substitute the Y in the Transform3D origin. For very large counts (10 000+), bake terrain heights to an array first, then iterate — avoid per-frame raycasts.

Per-Instance Colors and Custom Data
MultiMesh supports up to 8 floats of per-instance data. Enable Use Colors for a Color value per instance (4 floats), and Use Custom Data for another Color-packed 4 floats. In a StandardMaterial3D, tick Use Instance Vertex Color to read that color in the shader.
Common uses:
- Random tint variation on foliage (slight green/yellow/brown shift per plant)
- Health bar intensity on crowd enemies
- Animation phase offset baked into a custom float for a shader-driven sway effect
multimesh.use_colors = true
# After setting transforms:
for i in count:
    var tint := Color(randf_range(0.8,1.0), randf_range(0.7,1.0), randf_range(0.6,0.9))
    multimesh.set_instance_color(i, tint)
This passes zero extra draw calls. The GPU handles the per-instance data as part of the existing instanced draw.
Performance Checklist
Before you ship, run through these:
- Visible instance count vs. total count: MultiMesh does not frustum-cull individual instances by default. Use
visible_instance_countto hide instances beyond a certain index — pair with a simple distance sort. - Custom AABB: Set a tight
custom_aabbon the MultiMesh so Godot can cull the entire node when off-screen. - LOD strategy: Use two MultiMeshes — one high-poly for near range, one low-poly (or billboard) for far range — and toggle
visiblebased on camera distance. - Mesh complexity: MultiMesh scales draw-call count by 1, but GPU vertex processing still scales with instance count × vertex count. Keep per-mesh vertex counts low (< 500 verts for scattered foliage).
- Static vs. dynamic: If transforms never change after
_ready, callRenderingServer.multimesh_set_mesh()once and avoid per-frame writes to the buffer.
Sourcing Game-Ready Meshes for MultiMesh
MultiMesh is only as good as the mesh you feed it. Overly heavy assets — bloated normals, redundant UV islands, unsplit vertex counts — undo the instancing benefit by overwhelming the GPU.
The BitSoul Marketplace hosts 700+ free game-ready GLB models optimized for real-time engines: low poly counts, clean UV maps, PBR materials, and Godot-compatible exports. Download a rock or tree pack, import as GLB, drop the mesh into your MultiMesh resource, and you are rendering 10 000 instances in minutes.
For any prop meant for MultiMesh scatter:
- Target under 500 triangles for background scatter, under 2 000 for mid-range detail.
- Single material per mesh keeps the shader uniform.
- Merge UV islands to one tile where possible (no UDIM needed for scattered props).
Wrapping Up
MultiMesh is one of the highest-leverage performance tools in Godot 4 — a single resource change that can cut draw calls from hundreds to one and reclaim several milliseconds of frame time. The workflow is straightforward: create the resource, set your instance count, populate transforms in GDScript (or a tool script), and optionally feed per-instance color data for visual variety.
Combine MultiMesh with well-optimized game-ready assets from BitSoul Marketplace to build dense, detailed game worlds that run efficiently at 60+ FPS. Browse the full catalogue of free GLB assets and start filling your scenes today.
Build with real assets: grab game-ready nature 3D models on the BitSoul marketplace and drop them straight into your project.