Hard surface modeling is the backbone of game prop production. Every crate, weapon, vehicle, and sci-fi terminal you see in a shipped game started as a blockout in a viewport. This guide covers the full pipeline from rough blockout to export-ready mesh.
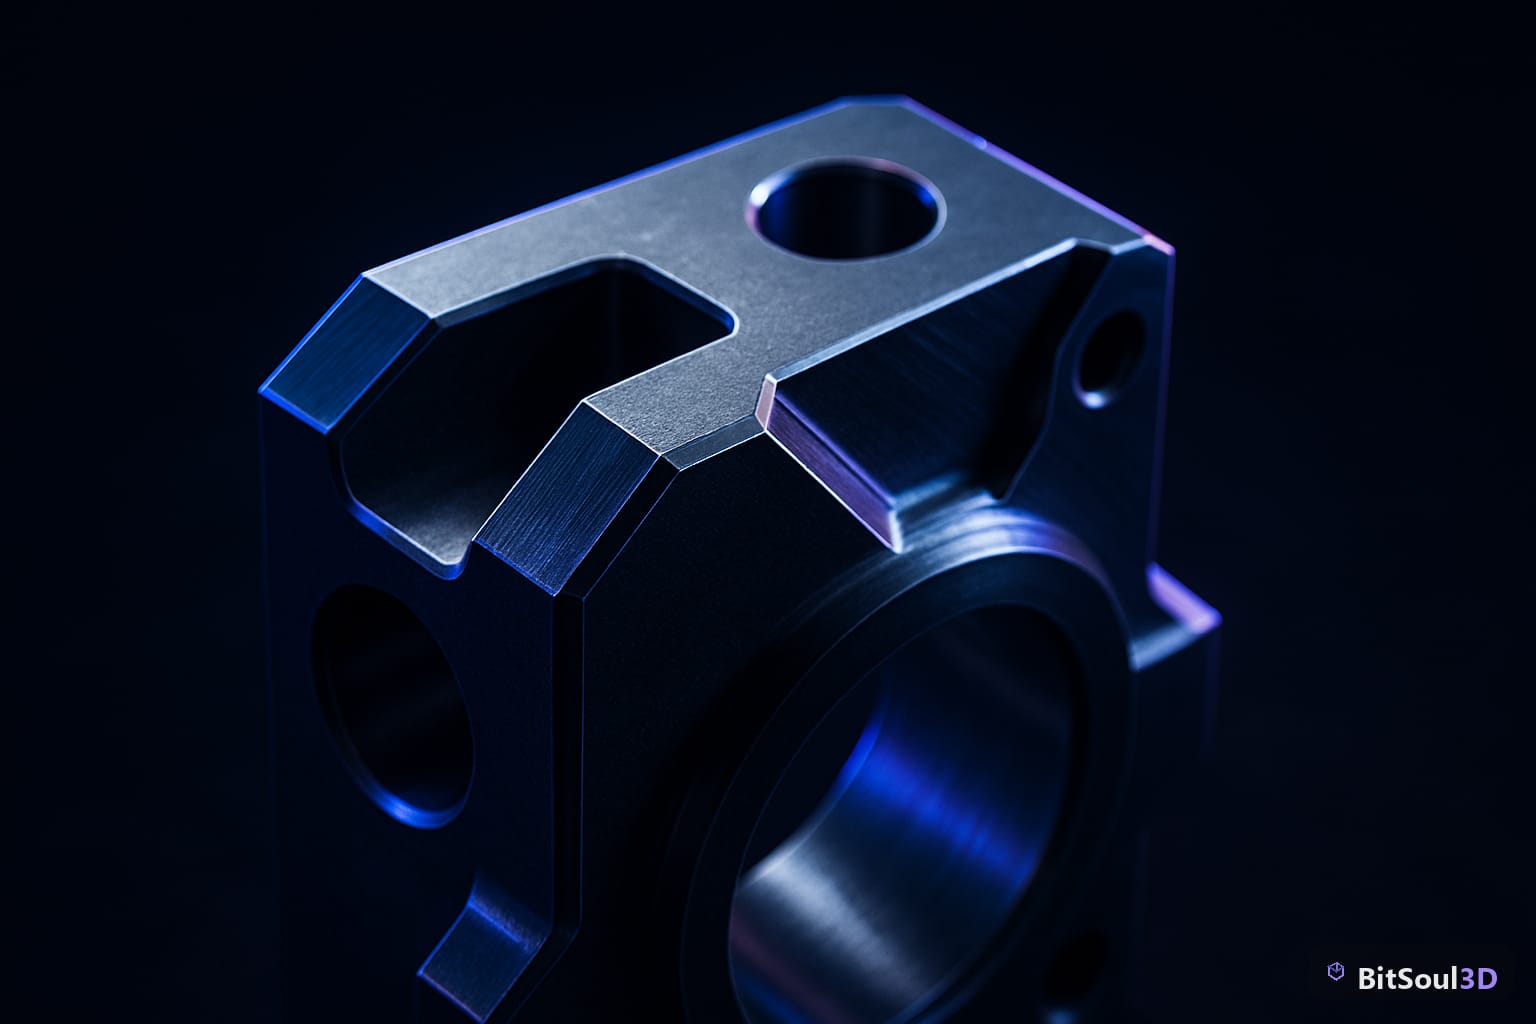
1. Planning Your Prop Before You Touch a Vertex
The biggest time-saver in hard surface work is reference. Before opening Blender, collect 3-5 reference images: front, side, and three-quarter views. Pin them as Image Empty objects in the viewport so they are always visible while you model.
Define your poly budget upfront. A hand-held prop in a first-person game might target 2,000-4,000 triangles, while a hero vehicle could sit at 20,000+. Your target engine and camera distance dictate everything. Unreal Engine 5 Nanite relaxes polygon limits for static meshes, but Unity and Godot projects still reward discipline.
Decide your workflow: high-poly bake or in-engine normal mapping? For complex mechanical props with bevels, bolts, and panel lines, the high-poly-to-low-poly bake pipeline produces the cleanest results. For simple crates or barrels, work directly at game resolution.
2. Blockout: Shape First, Detail Never
Start every prop with a primitive blockout. Use cubes, cylinders, and planes to rough out major volumes at the correct scale. Set your scene unit to Metric and scale objects to real-world dimensions. A door handle that is 120mm long in real life should be 0.12 m in Blender. This matters for lightmap resolution and physics collider generation downstream.
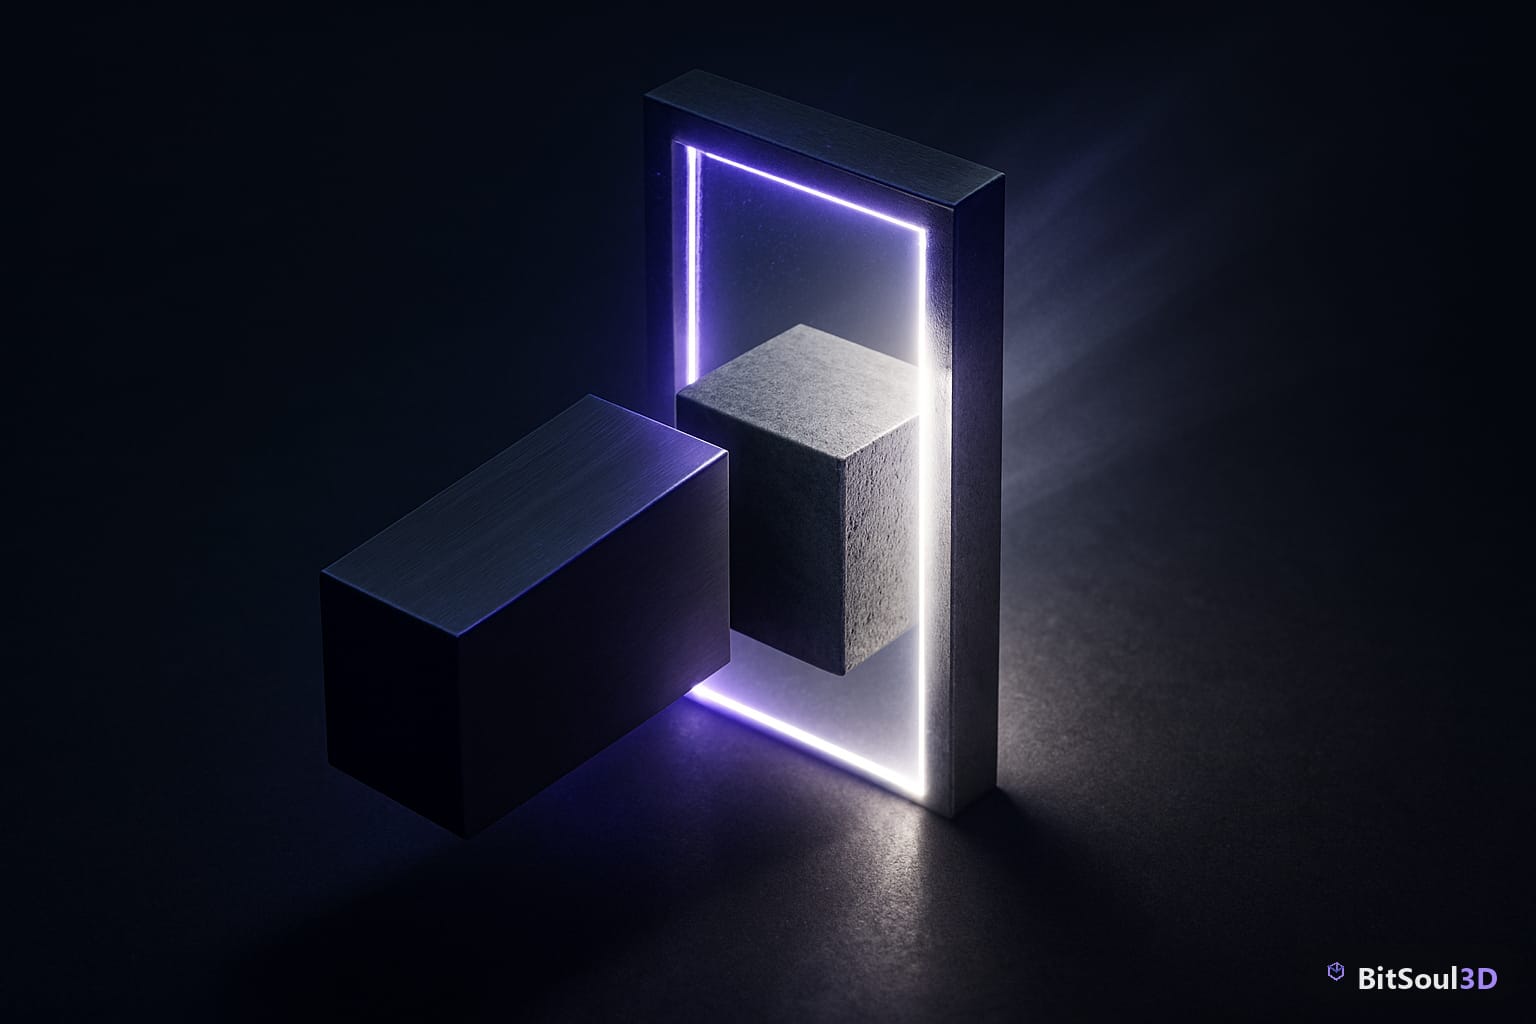
During blockout, keep every object separate. Do not merge or boolean at this stage. Organize parts into collections: Body, Details, Hardware. This lets you hide sub-systems while working and makes LOD generation much cleaner later.
Key blockout rules: no subdivision modifiers until high-poly stage, no edge loops tighter than your poly budget warrants, placeholder flat materials only, and check silhouette in orthographic views frequently.
# Blender Python: apply scale to all selected meshes
import bpy

for obj in bpy.context.selected_objects:
    if obj.type == 'MESH':
        bpy.ops.object.transform_apply(scale=True)
print('Scale applied to all selected meshes')
3. High-Poly Detailing: Bevels, Booleans, and Panel Lines
With your blockout solid, duplicate the collection and rename it _highpoly. This is your non-destructive safety net.
Add detail using three techniques. The Bevel modifier: add edge loops, then apply a Bevel modifier with Width 0.002-0.005 m and Segments 2-3. This catches light and reads as machined metal. Always enable Clamp Overlap to prevent self-intersecting bevels on tight corners.
The Boolean modifier: for screw holes, vents, and recessed panels, use a Boolean Difference modifier with a separate cutter object. The Exact solver handles non-manifold geometry better than Fast for complex intersections.
Crease + Subdivision: for organic curves on otherwise hard shapes, add a Subdivision Surface modifier and crease edges to 1.0 where you want sharp transitions.
Target 50,000-200,000 polygons on your high-poly. This is the source mesh for baking and never goes in-engine.
4. Retopology and the Low-Poly Game Mesh
With a finished high-poly, create your low-poly from scratch or use Mesh Decimate as a starting point. For organic shapes, Decimate at 20-30% of original count works as a rough start, then clean up manually. For hard surface with flat planes, rebuilding from primitives is often faster.
Low-poly rules: use quads in your working mesh and triangulate on export; N-gons are banned since they triangulate unpredictably and cause shading artifacts; keep seam edges where UV islands split; hard edges (marked Sharp) should align with UV seams to avoid lightmap bleeding.
| Mesh Type | Max Tris Mobile | Max Tris Console/PC | UE5 Nanite |
|---|---|---|---|
| Hand prop (pistol, knife) | 1,500 | 4,000 | Unlimited* |
| Environment prop (barrel) | 800 | 2,500 | Unlimited* |
| Vehicle (car body) | 8,000 | 25,000 | Unlimited* |
| Hero character prop | 3,000 | 10,000 | N/A (Skeletal) |
*Nanite applies to static meshes only. Always provide a fallback LOD0.
5. UV Unwrapping and Baking Normals
Hard surface props need clean, non-overlapping UVs for both albedo textures and lightmap baking. Use Smart UV Project as a starting point with Island Margin 0.02, then refine manually. Maximize UV space packing islands to 85-90% of the 0-1 space. For lightmapped props, create a second UV channel with no overlapping islands and a minimum 2-texel padding.
To bake from high to low in Blender Cycles: select the low-poly, Shift-Select the high-poly, set Bake Type to Normal with Selected to Active enabled, and set Extrusion to 0.02-0.05. Bake at 2048x2048 minimum; 4096 for hero assets. Export normals as 16-bit PNG, AO as 8-bit.
6. Export Settings for Unity, Unreal Engine 5, and Godot
For Unity and Godot 4, export as GLB (binary GLTF). Set Format to GLB Binary, enable Apply Modifiers and Triangulate Faces under Geometry, and uncheck Animation for static props.
For Unreal Engine 5, export as FBX. Set Scale to 100 to convert Blender meters to UE5 centimeters, Smoothing to Face, enable Tangent Space and Apply Unit.
# Unity/Godot GLB export settings
Format: GLB (Binary)
Apply Modifiers: ON
Triangulate Faces: ON
Animation: OFF (static props)

# UE5 FBX export settings
Scale: 100
Smoothing: Face
Tangent Space: ON
Apply Unit: ON
Always import into your engine and do a final shading check: rotate around the mesh under a directional light and look for seam artifacts, flipped normals, and z-fighting on overlapping faces.
Skip the Scratch Build: Game-Ready Props on BitSoul
Not every prop needs to be built from scratch. The BitSoul marketplace hosts a growing library of game-ready hard surface props in GLB and FBX formats, already UV-unwrapped and LOD-ready. Starting from a solid base mesh and customizing it is 60-70% faster than modeling from scratch, especially for background props where schedule is tight.
Browse the BitSoul marketplace for mechanical props, weapons, environment assets, and vehicle parts optimized for Unity, Unreal Engine 5, and Godot 4.
Hard surface modeling rewards systematic thinking. Lock in your reference and poly budget before touching a vertex, keep high-poly and low-poly separated until bake time, and match your export settings to the target engine. Follow this workflow and your props will land in any engine without surprises.
Need drop-in assets for this workflow? Grab the Architecture Cyber Bundle on the BitSoul marketplace and drop them straight into your project.