Every game rigger hits the same wall eventually: you've built your skeleton, you're ready to animate, and you need to decide — IK or FK? The answer isn't one or the other. The best rigs use both, in the right places. This guide breaks down the mechanics, shows you exactly how to set up IK chains in Blender, and covers what happens when you export to Unity, Unreal Engine 5, and Godot 4.
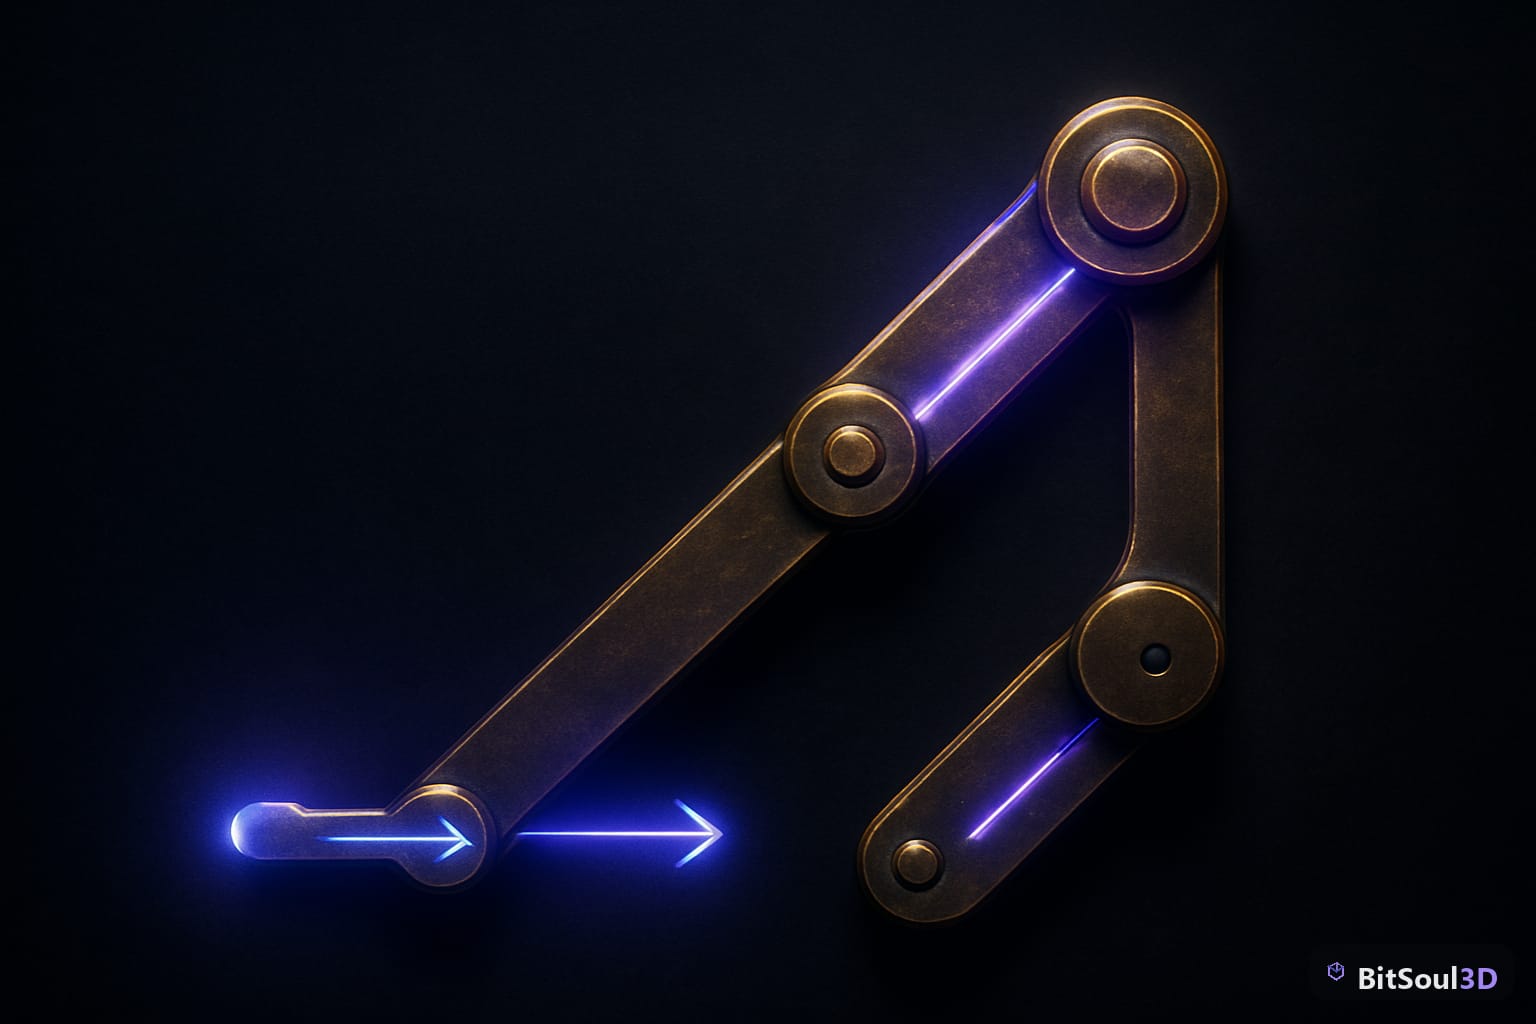
What Is Forward Kinematics (FK) and When to Use It
Forward Kinematics is the default way bones work. Each bone inherits the transform of its parent. Rotate the upper arm, and the forearm and hand follow — but only because you also rotate those explicitly. The chain flows forward from root to tip.
FK is the right choice when:
- You want arc-based motion — swinging arms, spinning tails, flowing capes. FK preserves natural arcs without fighting physics.
- The end position doesn't matter as much as the path — a character waving goodbye doesn't need to land the hand precisely anywhere; the motion of the limb is the animation.
- You're animating spines and necks — these are nearly always FK chains because the animator controls each vertebra section intentionally.
- You're working with stylized or exaggerated movement — cartoonish rigs often feel more controllable in FK because the animator owns every degree of rotation.
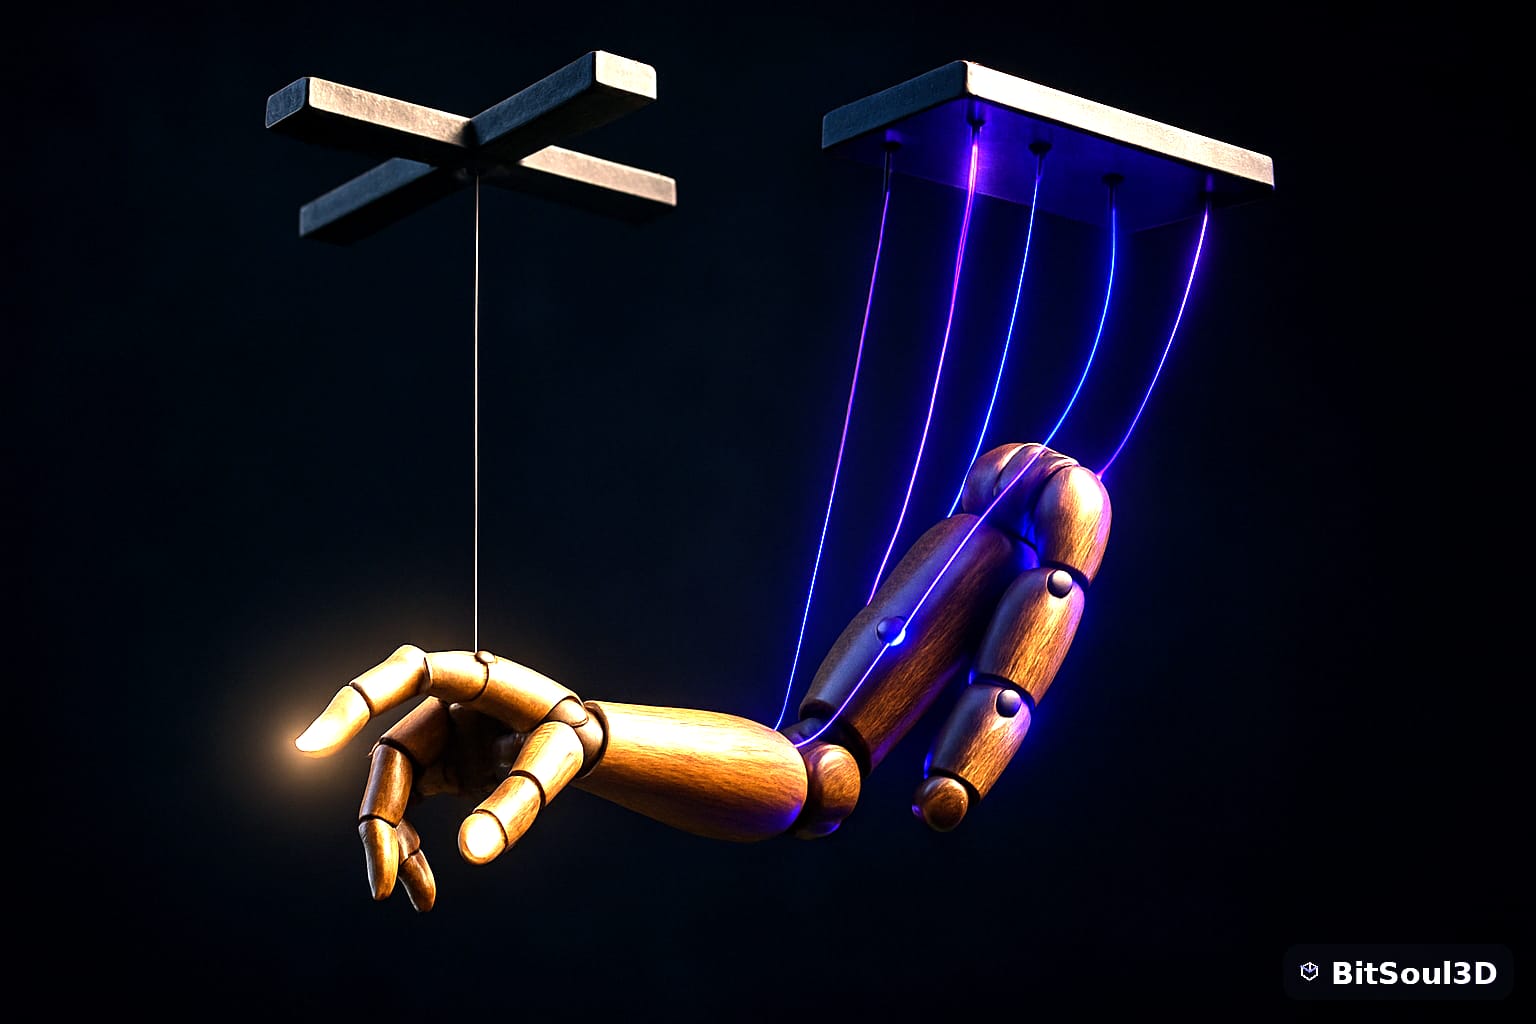
In Blender, FK is the default state of any bone chain. Select a bone in Pose Mode and press R to rotate — that's FK. No setup required. The discipline is in your animation curves, not your rig configuration.
The downside of FK for limbs is foot sliding. If your character's foot needs to stay planted on the ground while the body shifts weight, FK means you're manually adjusting the entire leg chain every frame to compensate. That's where IK earns its place.
What Is Inverse Kinematics (IK) and Why Game Animators Love It
Inverse Kinematics flips the chain. You move the end of a chain — the foot, hand, or fingertip — and Blender (or the engine solver) calculates what all the parent bones need to do to reach that target. The chain flows inverse — from tip back to root.
IK is the right choice when:
- Foot and hand planting — the most common use case. A foot IK target stays in world space while the character's body moves, eliminating the sliding that kills immersion.
- Reaching and grabbing — a character picking up an object needs the hand to arrive at a precise world position. IK gets you there in one control, not three rotations.
- Squash-and-stretch mechanics — stretchy IK bones are a standard tool in stylized character rigs.
- Real-time procedural animation — engines use IK solvers at runtime for ground adaptation, looking at targets, and foot placement on uneven terrain.
The tradeoff: IK can produce unnatural poses if the chain has no pole target guiding which direction the knee or elbow bends. A poorly configured IK chain will flip unexpectedly. The setup takes more time, but it pays off in cleaner animation for limbs.
Setting Up an IK Chain in Blender Step by Step
This is for a standard two-bone limb (upper leg → lower leg → foot).
1. Name your bones clearly.
thigh.L
shin.L
foot.L
toe.L
2. Add an IK target bone. In Edit Mode, create a new bone not connected to the leg chain. Position it at the foot location. Name it foot_IK.L. This is the bone the animator will move.
3. Add a pole target. Create another small bone roughly in front of the knee. Name it knee_pole.L. This tells the solver which way the knee bends.
4. Add the IK constraint. Select shin.L in Pose Mode. Go to Bone Constraints > Add Constraint > Inverse Kinematics. Set:
- Target: your armature object
- Bone:
foot_IK.L - Chain Length: 2 (upper leg + lower leg)
- Pole Target: your armature, bone
knee_pole.L - Pole Angle: -90° (adjust until the knee points forward)
5. Test. Move foot_IK.L around in Pose Mode. The leg should follow without the foot leaving its target position.
# Blender Python: set IK chain length via script
import bpy

obj = bpy.context.object
bone = obj.pose.bones["shin.L"]

for c in bone.constraints:
    if c.type == 'IK':
        c.chain_count = 2
        c.use_stretch = False
        print(f"IK chain length set to {c.chain_count}")
6. Parent the IK controls to a root bone so the whole rig moves as a unit. Your foot_IK.L bone should be parented to the root with no inherit rotation if you want world-space foot planting.
Mixing IK and FK in the Same Rig
Professional game rigs don't pick one. They use an IK/FK switch — a custom property on the rig that lets animators blend between the two systems or snap between them.
The standard approach: maintain both an IK chain and a matching FK chain for each limb. Use a driver or constraint influence to switch between them. When the switch value is 1.0, the deform bones follow IK. When it's 0.0, they follow FK.
| Feature | FK | IK | When to Switch |
|---|---|---|---|
| Arc quality | Excellent | Poor | FK for swings, waves |
| Foot/hand planting | Manual, tedious | Automatic | IK for ground contact |
| Predictability | High | Medium (can flip) | FK for stylized motion |
| Setup complexity | Low | Higher | IK needs pole targets |
| Runtime procedural | No | Yes (engine solvers) | IK for terrain adaptation |
| Spine/neck | Standard | Rare | FK almost always |
For most humanoid game characters, the common setup is: IK arms and legs by default, FK spine and neck, with an IK/FK blend control on the limbs. This matches what rigs like Rigify generate automatically — you can use Rigify as a starting point, but always inspect what it creates before exporting.
Exporting IK/FK Rigs to Unity, Unreal Engine 5, and Godot 4
This is where most tutorials stop too early. IK constraints and custom properties exist in Blender. When you export to GLB or FBX, the engine does not receive your Blender constraints — it receives baked bone transforms.
What this means in practice:
- Bake your animations before export. In Blender:
Object > Animation > Bake Action, check Visual Keying, Clear Constraints, chain length 1. This converts IK-driven poses into explicit bone rotations on every frame. - Export the baked NLA tracks, not the original poses.
- Your engine's IK system (Unity's Avatar IK, UE5's Control Rig, Godot's SkeletonIK3D) runs separately at runtime and does not need the Blender IK to be in the file.
Unity: Use the Humanoid avatar mapping. Unity's Avatar IK system (via Animator.SetIKPosition) provides runtime foot placement and look-at IK on top of your baked animations. You don't need to export your Blender IK rig structure — just clean bone hierarchy and baked animations.
Unreal Engine 5: Control Rig is UE5's answer to runtime IK. You build a new IK rig inside Unreal, separate from your imported skeletal mesh. Import your GLB/FBX with baked animations, then use Full Body IK or Fabrik in your Control Rig to add runtime IK on top.
Godot 4: Use SkeletonIK3D nodes for runtime IK. Add them to your character scene pointing at the bones you want to IK-drive at runtime. Your exported animations stay baked — the Godot IK nodes operate as a runtime layer.
Checklist before export:
- All IK-animated bones have baked keyframes
- No constraints remain on export bones (or constraint effects are baked in)
- Armature is at 1.0 scale (apply scale in Blender before export)
- GLB export: Apply Modifiers checked, Export Deform Bones Only checked for cleaner imports
- Test import in engine: T-pose should be correct, no scale issues
Finding quality base character meshes with clean, engine-ready bone hierarchies is also half the battle. The BitSoul marketplace carries rigged character assets that come with compliant bone naming conventions, saving you the cleanup time on the import side.
Build the Habit Early
IK vs FK isn't a one-time decision — it's a workflow you establish for every character you rig. The riggers who produce clean, animator-friendly game characters are the ones who planned the control scheme before they placed the first bone. Know which limbs need IK targets, set up your pole targets before you start blocking animation, bake before you export, and let the engine's runtime IK handle what it does best.
For production-ready rigged characters and props you can drop straight into your project, check out the BitSoul marketplace — and stop reinventing the skeleton every time.
Build with real assets: grab the 98-model Character Pack on the BitSoul marketplace and drop them straight into your project.