High polygon counts are the silent killer of game performance. A gorgeous sculpt that looks amazing in Blender can bring a mid-range GPU to its knees the moment it hits a real-time renderer with 50 other objects in the scene. Decimation is the fix — but done carelessly, it destroys silhouettes, breaks UV seams, and introduces shading artifacts that take longer to fix than a manual retopology pass.

This guide covers the full decimation workflow: when to use Blender's Decimate modifier, when to do it manually, how to preserve what matters, and how to export clean meshes to Unity, Unreal Engine 5, and Godot 4.
Why Poly Count Still Matters in 2026
Nanite in Unreal Engine 5 has convinced some developers that polygon budgets are a solved problem. They're not. Nanite only works on opaque static meshes, and its overhead means you still need LODs for skeletal meshes, transparencies, and Godot or Unity projects. Mobile platforms, VR, and WebGL targets all have strict polygon budgets, and even on high-end hardware, the bottleneck often shifts from GPU geometry processing to draw calls and memory bandwidth — both of which are worsened by unoptimized meshes.
A practical rule of thumb for real-time game assets in 2026:
| Asset Type | Target Poly Count |
|---|---|
| Background prop (small) | 100–500 tris |
| Environment object (medium) | 500–2,000 tris |
| Hero prop / interactive object | 2,000–8,000 tris |
| Player character (main) | 8,000–20,000 tris |
| Vehicle / complex structure | 10,000–30,000 tris |
If your sculpt or imported mesh is sitting at 10× these numbers, decimation is the fastest path to a shippable asset — when done right.
Blender's Decimate Modifier: Settings and Tradeoffs
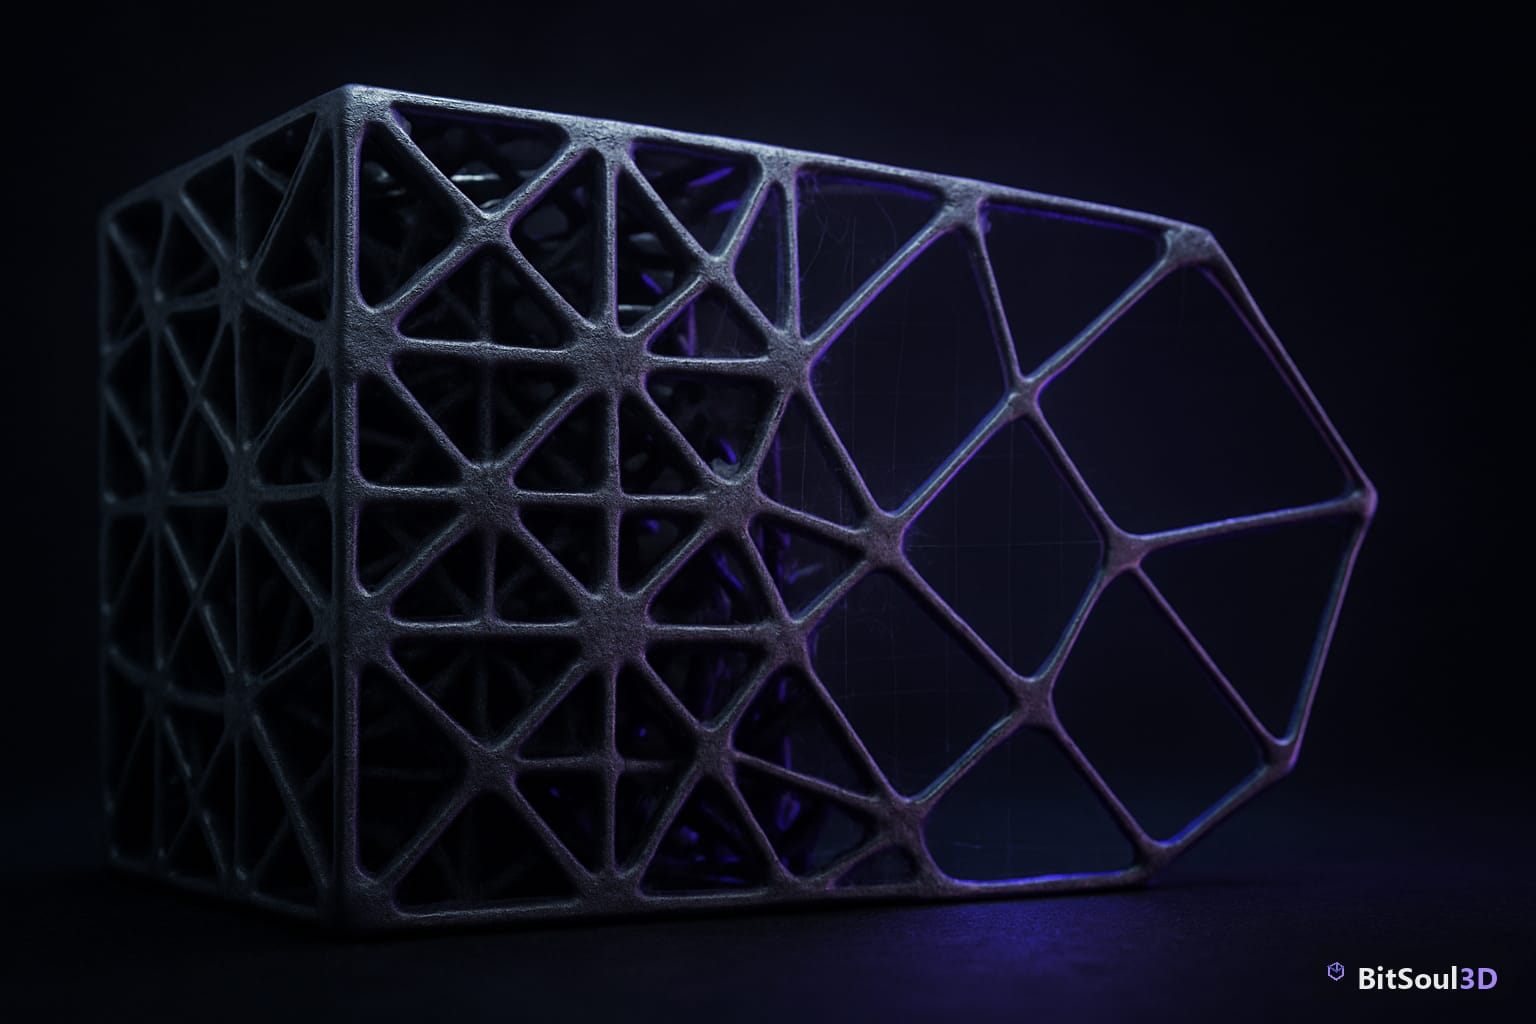
Blender's Decimate modifier offers three modes, each suited to different mesh types:
Collapse reduces face count by merging vertices. It's the most aggressive option and works well on organic shapes — characters, creatures, rocks — where topology regularity doesn't matter. Set the Ratio between 0.1 and 0.5 and watch the face count in the modifier header. The key toggle is Symmetry: enable it for characters to keep both sides decimating evenly.
Un-Subdivide is the inverse of a Subdivision Surface modifier. It only works cleanly on meshes that were originally subdivided from a lower-res base. If your mesh has a clean subdiv history, this is the right choice — it reconstructs the lower-level mesh with far less distortion than Collapse.
Planar removes faces whose normals fall within a specified angle threshold. Use it for hard-surface assets: mechanical parts, furniture, architecture. A 1–5° threshold cleans up over-triangulated flat surfaces without touching curved regions.
# Blender Python: apply Decimate modifier via script
import bpy

obj = bpy.context.active_object
mod = obj.modifiers.new(name="Decimate", type='DECIMATE')
mod.decimate_type = 'COLLAPSE'
mod.ratio = 0.25  # 25% of original face count
mod.use_symmetry = True
mod.symmetry_axis = 'X'

# Apply the modifier
bpy.ops.object.modifier_apply(modifier=mod.name)
print(f"Final face count: {len(obj.data.polygons)}")
After applying, always run Mesh > Clean Up > Merge by Distance (threshold 0.0001) to weld any degenerate vertices the decimation left behind. Then check for flipped normals with Overlay > Face Orientation — Collapse can occasionally produce inverted faces on concave geometry.
Manual vs Automatic Decimation: When to Use Each
The Decimate modifier is fast but blind. It has no understanding of UV islands, material boundaries, or which edges define your silhouette. For assets where visual quality is critical — a player character, a hero weapon, a collectible — automatic decimation will ruin the UV layout and produce pinching around high-curvature areas like knuckles, eye sockets, and fabric folds.
Use automatic decimation when:
- The mesh has no UVs yet (decimate first, unwrap after)
- It's a background or secondary prop where silhouette fidelity is less critical
- You need a fast LOD1 or LOD2 from an existing game-ready base mesh
- The mesh is purely hard-surface with clean planar regions
Use manual retopology when:
- The mesh already has UVs baked to it
- The asset is a character or hero prop
- You need deformation-friendly edge flow for rigging
- The client/engine requires quad-dominant topology
A hybrid approach works well for environment assets: run Planar decimation at 2–3° to collapse flat areas, then manually fix the silhouette edges by hand in Edit Mode. This can cut polygon count by 30–50% with under 10 minutes of manual cleanup.
Exporting Decimated Assets to Unity, Unreal, and Godot
Exporting a decimated mesh introduces format-specific gotchas that can silently re-inflate your polygon count or break normals.
To Unity (FBX or GLB):
- In Blender's FBX export panel, set Smoothing to Face for hard-surface assets and Edge for organic meshes. Normals split at hard edges are baked into the export — Unity will split vertices at those seams, adding vertex count beyond what the face count implies.
- Enable Apply Modifiers so the decimated result is what Unity receives, not the original.
- Keep Scale at 1.0 and set the Forward axis to -Z, Up axis to Y to avoid a 90° rotation on import.
To Unreal Engine 5 (FBX):
- UE5's FBX importer auto-generates LODs if you enable it. Feed it your decimated mesh as the LOD0 base, then let the engine generate LOD1–3 via its built-in simplification (which uses the same Collapse algorithm). Set the LOD Group to the appropriate category (SmallProp, LargeProp, Character) to inherit engine defaults.
- For Nanite-eligible static meshes, import at full resolution — Nanite handles its own internal LOD. Use your decimated mesh only for non-Nanite objects.
To Godot 4 (GLB/GLTF):
- Godot's GLTF importer preserves mesh compression settings. Export from Blender with Draco compression disabled unless your Godot project explicitly enables the Draco decompressor plugin.
- Use Godot's built-in LOD system (Node3D > Visibility Range) with your decimated versions as LOD1/LOD2 children of the LOD0 scene.
Decimation Best Practices Checklist
Before shipping any decimated asset, run through this checklist:
- Decimate before UV unwrapping whenever possible — Collapse destroys UV seams
- Apply scale (Ctrl+A > Scale) in Blender before decimating — non-uniform scale causes uneven simplification
- Check face orientation after Collapse — fix flipped normals before export
- Run Merge by Distance post-decimation to clean degenerate geometry
- Compare silhouettes at intended camera distance, not up close
- Test in-engine, not just in Blender — real-time shading exposes artifacts that Cycles hides
- Store both the original and decimated versions — the high-poly is your bake source for normals and AO
- Name LOD variants clearly:
prop_barrel_LOD0.fbx,prop_barrel_LOD1.fbx,prop_barrel_LOD2.fbx
Properly decimated assets compress faster, import faster, and render faster — without meaningful visual difference at game camera distances. If you're sourcing or selling optimized assets, BitSoul's marketplace hosts game-ready models with LOD variants included, so you know exactly what poly budget you're working with before you download.
Closing Thoughts
Mesh decimation is one of those skills that separates developers who ship games from developers who polish assets forever. The goal isn't perfection at 0cm — it's acceptable fidelity at the distance the player actually sees your asset. Get comfortable with Blender's Decimate modifier, know when to do it by hand, and always verify in-engine before calling a mesh done.
Browse optimized, LOD-ready game assets at BitSoul's marketplace — every asset includes format variants for Unity, Unreal, and Godot so you can drop them straight into your project without the decimation pass.
This post is part of the Ultimate Guide to Free 3D Game Assets — BitSoul's complete reference for formats, texturing, rigging, optimization, and engine integration.
Build with real assets: grab the 98-model Character Pack on the BitSoul marketplace and drop them straight into your project.