
Why Modular Design Wins in Game Production
Most indie developers start with a single monolithic mesh for each environment — a complete room, a full hallway, a whole building facade. It feels natural. Then the level designer needs a longer corridor, a taller ceiling, or a mirrored version, and suddenly you're back in Blender remodeling the same asset five times. Modular environment design solves this at the root: instead of unique meshes for every scenario, you build a kit of standardized pieces that snap together on a grid.
The payoff is significant. A well-designed modular kit of 20–30 pieces can populate an entire game level. The same wall segment repeated 200 times is one draw call batch in Unity's GPU instancing or Unreal's Instanced Static Mesh system — not 200 separate draw calls. That's the difference between 60 FPS and a slideshow.
The key insight is that constraints create flexibility. Every piece in your kit must conform to the same grid unit, use shared UV space from a texture atlas, and snap cleanly to neighbors without visible seams. Build those rules into your mesh from the first vertex.
Designing for the Grid: Units and Pivot Points
Before you model a single vertex, define your grid unit. A common choice for human-scale environments is a 200cm (2m) base unit — walls, floors, and ceilings are multiples of this. In Blender, set your scene unit scale to meters and enable snapping to 0.25m increments.

Pivot point placement is not optional. Every modular piece must have its pivot exactly at a grid snap point — typically a corner, not the center. Here's why: if a floor tile's pivot is centered, snapping two tiles together requires mental arithmetic. If the pivot is at the bottom-left corner, you just stack them.
In Blender:
- Model your piece, then select all in Edit Mode and move geometry so the desired snap point aligns with the world origin (0, 0, 0).
- Exit Edit Mode — the object's origin is now your snap point.
- Apply all transforms:
Ctrl+A → All Transforms.
Standard modular kit pieces for an interior environment:
| Piece | Grid Size | Notes |
|---|---|---|
| Floor tile | 2m × 2m | Pivot: corner |
| Wall straight | 2m × 2m × 0.2m | Pivot: base-left |
| Wall corner (inner) | 2m × 2m | Pivot: inner corner |
| Wall corner (outer) | 2m × 2m | Pivot: outer corner |
| Ceiling panel | 2m × 2m | Mirrors floor tile |
| Door frame | 2m × 2m | Matches wall height |
| Trim/baseboard | 2m length | Pivot: base-left |
Keep your initial kit small. Eight pieces done well outperform thirty pieces done sloppily.
Modeling Constraints: Seamless Edges and Consistent Normals
Seams between modular pieces expose two common failures: visible gaps and normal discontinuities. Both are preventable.
For gaps: model each piece so its edge geometry lands exactly on the grid boundary. In Blender, use Mesh → Snap to Grid and verify edge positions with N panel → Item → Vertex coordinates. If a wall edge vertex reads X=2.0001 instead of X=2.0, you will see a hairline gap in the engine.
For normals: adjacent pieces sharing an edge need consistent normal direction at that boundary. If your wall piece has normals pointing slightly inward at the seam, and the connecting piece points outward, you get a visible shading discontinuity. The fix: after modeling, select boundary edge loops and use Mesh → Normals → Average to harmonize them. Then export with Custom Split Normals enabled in your FBX/GLTF settings.
# Blender Python: snap all verts to grid (0.5m precision)
import bpy, bmesh
obj = bpy.context.active_object
bm = bmesh.from_edit_mesh(obj.data)
grid = 0.5
for v in bm.verts:
    v.co.x = round(v.co.x / grid) * grid
    v.co.y = round(v.co.y / grid) * grid
    v.co.z = round(v.co.z / grid) * grid
bmesh.update_edit_mesh(obj.data)
Run this on each piece after rough modeling to enforce grid alignment before final cleanup.
Texturing Modular Sets: Tiling Maps and Trim Sheets
Modular kits live or die by their texture strategy. You have two main options: tiling textures and trim sheets.
Tiling textures (albedo, roughness, normal map that repeat seamlessly) work well for large flat surfaces — floors, walls, ceilings. The UV islands for these pieces should use the full 0–1 UV space and simply tile. Keep texel density consistent across all pieces: 512px per meter is a common target for close-up indoor environments.
Trim sheets are a single texture atlas (typically 512×2048 or 1024×4096) containing strips of edge details — bevels, molding profiles, wear marks, paneling lines. Your trim/baseboard pieces, door frames, and decorative edges all sample from this sheet. The UV islands for these pieces are long, thin rectangles mapped to the appropriate trim strip.
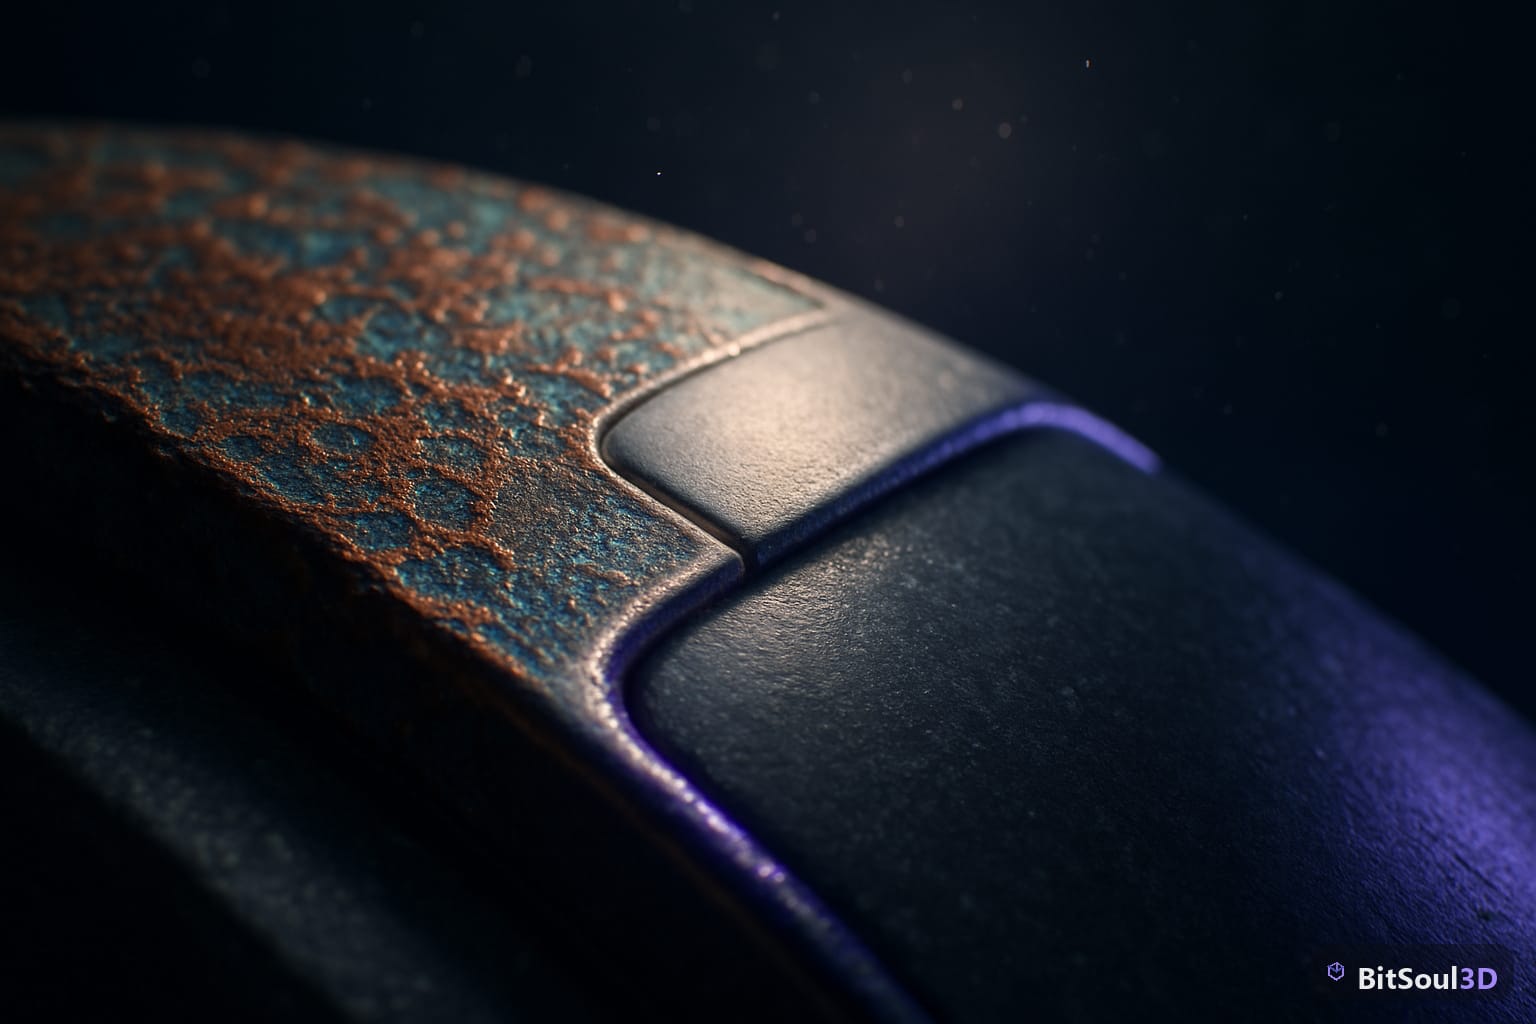
The combination that works in production: tiling base textures for structural pieces + one trim sheet for all detail geometry. This keeps draw calls low (the trim sheet is one material), preserves visual variety, and allows easy reskinning by swapping the tiling base texture.
In Unity, assign tiling textures via Material → Tiling X/Y. In Unreal, use a TexCoord node with U/V tiling parameters before the texture sample. Both engines support GPU texture streaming, so high-resolution tiling maps don't necessarily increase memory footprint at runtime.
You can find well-optimized, pre-atlased modular environment kits on BitSoul's marketplace if you want a production-ready starting point to study or extend.
Importing and Snapping in Unity and Unreal
Once your kit is exported (GLB or FBX with embedded normals, no embedded textures), the engine workflow is straightforward — if you set it up correctly.
Unity:
- Import each mesh piece as a separate prefab.
- Enable
Generate Lightmap UVsin import settings (Unity generates a second UV channel for baked lighting). - Set
Mesh Compressionto Medium unless pieces are hero assets. - In the scene, enable
Edit → Grid and Snap Settingsand set Move snap to your grid unit (e.g., 2m). UseCtrl+dragto snap pieces. - For batching: mark static pieces as
Staticin the Inspector. Unity's Static Batching and GPU Instancing both apply.
Unreal Engine 5:
- Import as
Static Mesh. In import options, disableImport Materialsif you're assigning UE5 materials manually. - Enable
Naniteon pieces that are high-poly with complex silhouettes (trim pieces, decorative columns). Leave flat floors and walls as standard meshes — Nanite overhead isn't worth it there. - Use
ISM(Instanced Static Mesh) components in Blueprint for procedurally placed repeated pieces. - In the Level Editor, enable
Surface Snappingand set grid to your base unit.
Godot 4:
- Import GLB files. Godot respects GLTF pivot points, so your corner-origin pivots work natively.
- Use
GridMapnode for grid-snapped placement, or placeMeshInstance3Dnodes and useSnap to Gridin the 3D viewport (Ykey toggles snapping).
Browse modular kit examples at BitSoul's marketplace to see how professional asset packs structure their file hierarchies and naming conventions.
Final Checklist Before Shipping Your Modular Kit
Before you export your kit for personal use or marketplace sale, run through this:
- All pivots at grid-aligned snap points (no centered pivots)
- All transforms applied in Blender (
Ctrl+A → All Transforms) - Edge vertices snap exactly to grid (verify with N panel)
- Consistent texel density across all pieces (use Blender's
Texel Density Checkeraddon) - Seam edges have averaged normals
- Tiling textures tile without visible repeat artifacts at 2× and 4× tile
- Trim sheet UVs are non-overlapping and within 0–1 space
- LODs generated for pieces used at distance (floor tiles, large wall spans)
- Collision meshes are convex hulls or simple box primitives — not the render mesh
- Naming convention is consistent:
SM_Wall_Straight_01,SM_Floor_Tile_01, etc.
A modular kit shipped with sloppy pivots or misaligned UV density is one that level designers quietly stop using. Invest the extra hour in the checklist — it compounds across every scene that uses the kit.
Ready to build your first modular kit or grab a production-ready set to learn from? Explore BitSoul's 3D marketplace for curated, game-ready modular environment assets built by professional artists.
This post is part of the Ultimate Guide to Free 3D Game Assets — BitSoul's complete reference for formats, texturing, rigging, optimization, and engine integration.
Need drop-in assets for this workflow? Grab the 70-model Food Bundle on the BitSoul marketplace and drop them straight into your project.