Choppy character animations are the fastest way to kill the feel of a 2D game. Yet most tutorials skip the part that actually matters: how your sprite sheet is structured, how frame timing is controlled, and how animation states wire together cleanly. This guide covers the complete pipeline from Aseprite export to production-ready animated characters in both Unity and Godot 4.
What Is a Sprite Sheet and Why It Still Matters
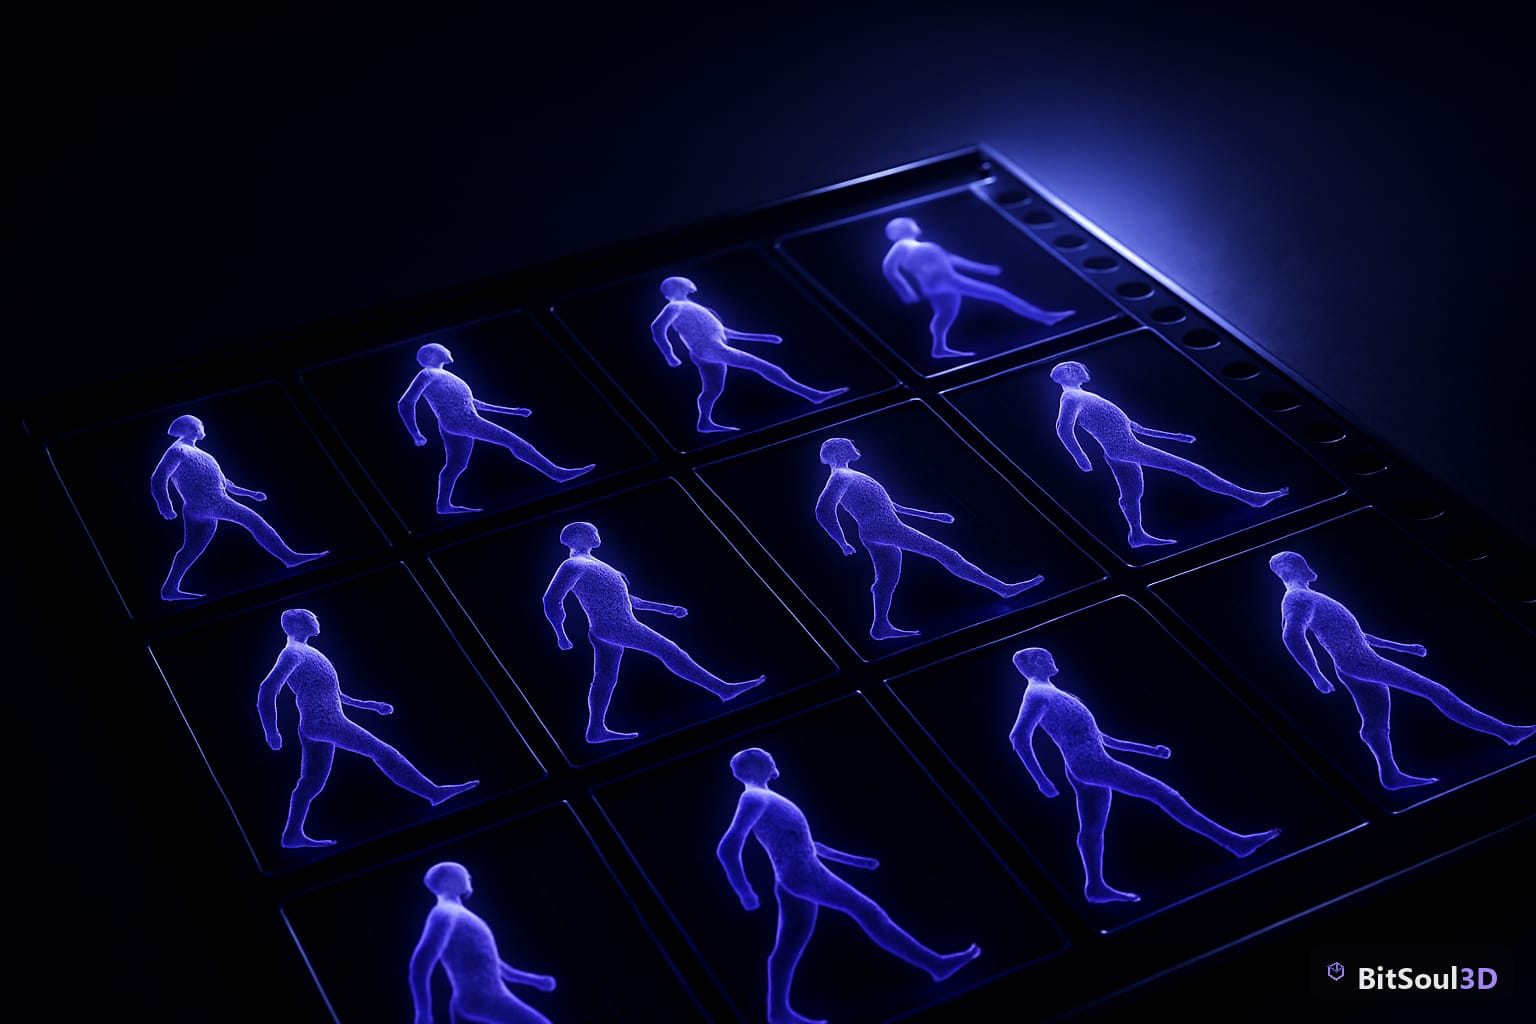
A sprite sheet (also called a texture atlas) packs multiple animation frames into a single image file. The engine renders the character by sampling a different rectangular region of that texture on each frame — the mesh never changes, only the UV offset. This approach has dominated 2D games for decades because it keeps draw calls low and texture memory predictable.
A poorly structured sprite sheet causes animation glitches, bleed between frames, and wasted GPU memory. A well-structured one supports dozens of animations, scales cleanly, and imports identically into Unity and Godot. Here are the non-negotiables:
| Property | Recommended Value | Why |
|---|---|---|
| Padding between frames | 2–4 px | Prevents UV bleeding at runtime |
| Power-of-two dimensions | 512x512, 1024x512, etc. | GPU texture compression requires POT |
| Color mode | RGBA (32-bit) | Preserves transparency channel |
| Background | Transparent | Avoid premultiplied alpha artifacts |
| Frame size | Uniform grid OR defined rects | Uniform is simpler; defined rects save space |
Export from Aseprite using File -> Export Sprite Sheet. Enable "Trim" to remove empty space and "Shape" set to "Packed" for maximum density. Check "Output -> JSON Data" and set the format to "Hash" — both Unity's importer and Godot's SpriteFrames node accept this JSON for automatic frame detection.
Setting Up Sprite Atlas Animation in Unity
Unity's 2D workflow centers on the Sprite Atlas and Animator components.
Step 1: Import and slice
Set the texture's Import Settings to Texture Type: Sprite (2D and UI), Sprite Mode: Multiple, Filter Mode: Point (no filter) — essential for pixel art — and Compression: RGBA Compressed ASTC 4x4 (mobile) or DXT5 (desktop).
Open the Sprite Editor and use Slice -> Automatic or Grid By Cell Size (enter your frame dimensions). Apply, then confirm all frames appear correctly named in the Project window.
Step 2: Create an Animator Controller
Drag your character prefab into the scene and add an Animator component. In the Animator window, create states for each animation clip (Idle, Walk, Run, Jump, Attack). Right-click a state and select Make Transition. Add parameters: a Speed Float for Idle/Walk transitions, a Grounded Bool for Jump/Land transitions, and an Attack Trigger for one-shot attack states.
Step 3: Create animation clips from sprites
Select all frames for a single animation in the Project window, then drag them onto the GameObject in the Scene. Unity auto-creates an AnimationClip. Set the clip's Sample Rate to match your intended FPS — 12 fps is standard for pixel art characters; 24 fps for smoother action games.
// C# Animator controller script
using UnityEngine;

public class CharacterAnimator : MonoBehaviour
{
    Animator anim;
    Rigidbody2D rb;

    void Awake()
    {
        anim = GetComponent<Animator>();
        rb = GetComponent<Rigidbody2D>();
    }

    void Update()
    {
        anim.SetFloat("Speed", Mathf.Abs(rb.linearVelocity.x));
        anim.SetBool("Grounded", IsGrounded());
    }

    bool IsGrounded()
    {
        return Physics2D.OverlapCircle(transform.position, 0.1f,
            LayerMask.GetMask("Ground"));
    }

    public void TriggerAttack() => anim.SetTrigger("Attack");
}
Use Animation Rigging (com.unity.animation.rigging) if you need IK overlays on top of sprite animations — useful for weapons held by the character that should point toward the mouse cursor.
Sprite Sheet Animation in Godot 4
Godot 4's AnimatedSprite2D node is the fastest path for sprite animations and requires no external state machine tooling for simple characters.
Import setup:
Godot 4 can import Aseprite files natively (via the built-in importer in 4.2+). For a standard PNG sprite sheet, set the import preset to 2D Pixel (disables anti-aliasing) and set Filter to Nearest. For Aseprite JSON, drop both the .png and .json into the project — Godot reads the JSON to auto-populate frame rects.
AnimatedSprite2D setup:
Add an AnimatedSprite2D node and open the SpriteFrames panel at the bottom. Create animations by name (idle, walk, run, jump). In each animation, drag in the relevant sprite frames from the FileSystem dock. Set the FPS per animation independently — 8 FPS for idle loops, 12 for walk cycles, 20 for fast attacks.
# GDScript AnimatedSprite2D controller
extends CharacterBody2D

@onready var sprite := $AnimatedSprite2D

func _physics_process(delta: float) -> void:
    var direction := Input.get_axis("ui_left", "ui_right")

    if direction != 0:
        velocity.x = direction * 200.0
        sprite.play("walk")
        sprite.flip_h = direction < 0
    else:
        velocity.x = move_toward(velocity.x, 0, 20)
        sprite.play("idle")

    if not is_on_floor():
        velocity.y += 980 * delta
        sprite.play("jump")

    move_and_slide()
For complex characters with many states, switch to AnimationPlayer combined with Godot's AnimationTree and an AnimationNodeStateMachine resource. This mirrors Unity's Animator and supports blending, one-shot clips, and transition conditions through the visual graph editor.
Optimizing Sprite Sheets for Performance
Checklist for production builds:
- Use a single atlas per character — avoid splitting one character across multiple textures
- Keep atlas dimensions at or below 2048x2048 on mobile targets (4096 is fine for desktop/console)
- Reuse frames where possible — a 4-frame idle loop beats an 8-frame loop at double the memory cost
- Enable mip maps only on environment tiles, never on pixel art character sprites (causes blurring)
- Profile texture memory: Unity -> Profiler -> Memory -> Textures; Godot -> Debug -> Monitor -> Video RAM
- Batch sprite draw calls: Unity's Sprite Atlas packs multiple characters into one draw call; Godot 4's CanvasItem batching does this automatically
- Use compressed formats: ASTC 4x4 on iOS/Android cuts RGBA memory by 75% with negligible quality loss on pixel art
For characters sold on digital marketplaces, always include both the packed atlas PNG and the Aseprite source file. Buyers importing into Unity or Godot can re-slice to their preferred grid size. Pre-configured animation metadata (JSON) dramatically reduces integration time and drives better reviews. Browse production-ready 2D sprite packs already formatted for Unity and Godot at the BitSoul marketplace.
Closing: Ship Smoother Animations Faster
Sprite sheet animation is deceptively deep — the gap between a passable implementation and a polished one comes down to atlas structure, frame timing tuned per-animation, and a clean state machine that never gets stuck in a transition. Master these fundamentals once and the workflow becomes mechanical across every project.
Ready to skip the asset creation grind and jump straight to implementation? Browse bitsoulhosting.com/marketplace for game-ready 2D sprite packs, character atlases, and animation sets built to the production standards outlined in this guide.
Build with real assets: grab the 98-model Character Pack on the BitSoul marketplace and drop them straight into your project.