Photorealism isn't always the goal. Stylized texturing—think hand-painted cel-shading, toon outlines, and bold flat colors—has powered some of the most iconic games ever made. If your characters look washed out, overly generic, or just "not quite right," the problem is probably your texturing approach, not your mesh. This guide covers the full workflow from Blender to Substance Painter to engine export.
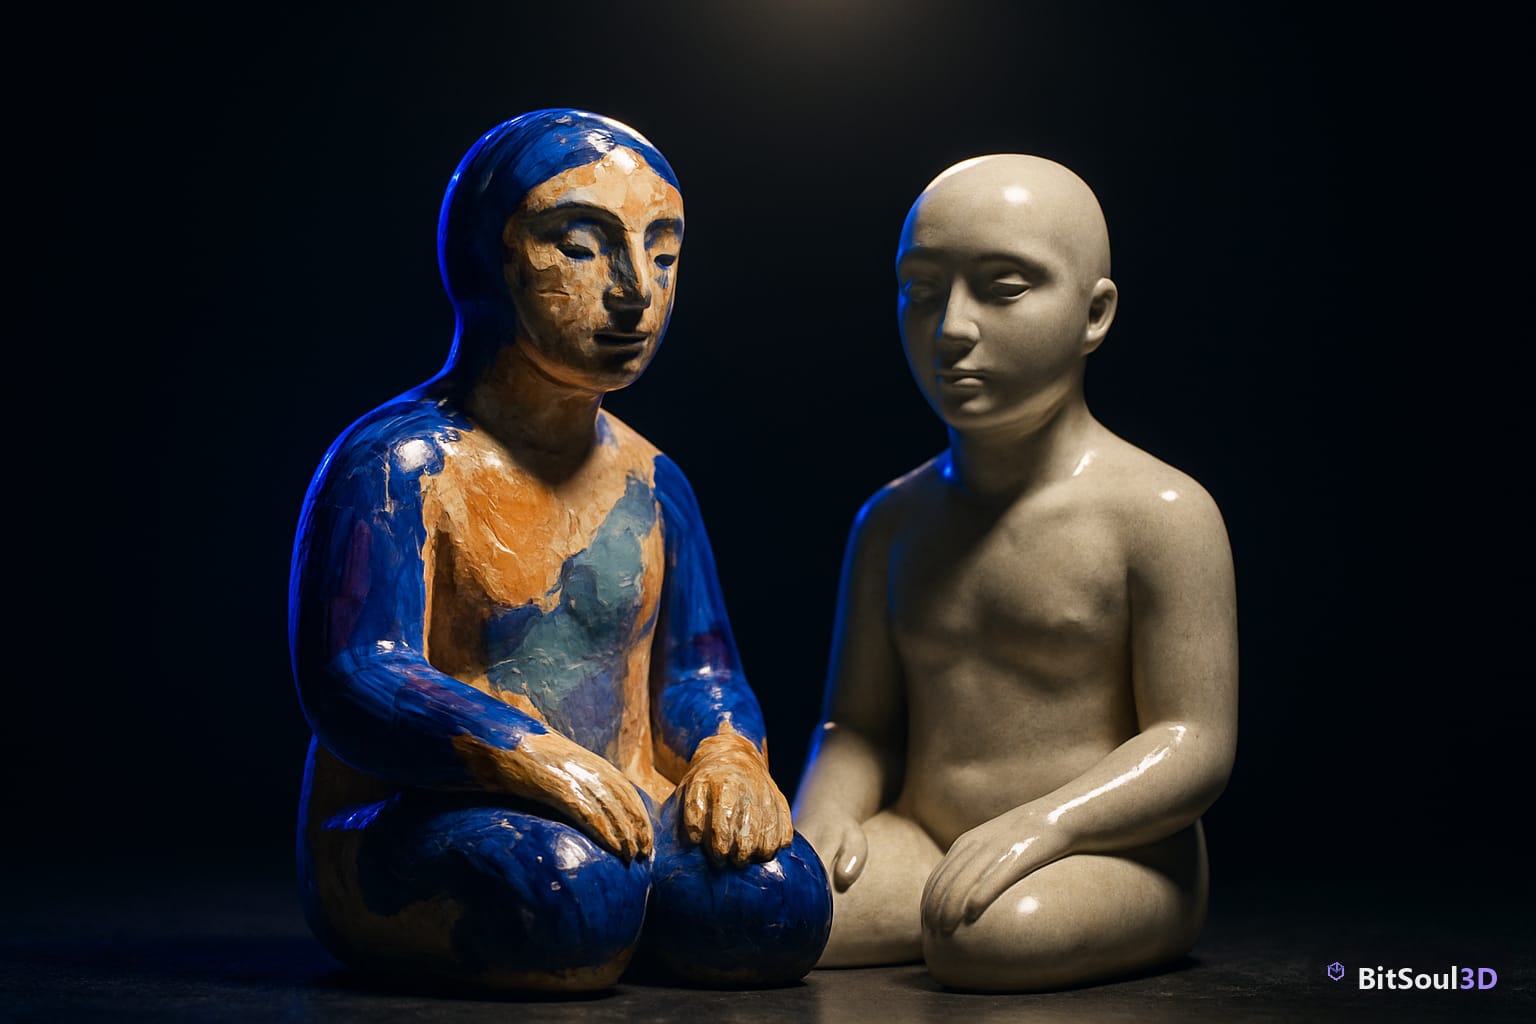
Why Stylized Texturing Stands Out in Modern Games
Stylized art ages better than photorealistic art. A hand-painted character from a well-executed indie game can look just as compelling a decade later, while high-fidelity PBR assets often expose their era. Beyond aesthetics, stylized textures are cheaper to produce, compress better, and impose fewer constraints on hardware.
The key distinction between "stylized" and "just low-effort" is intentionality. Stylized texturing means deliberately flattening shadows, exaggerating saturation, and placing brushstrokes where a viewer's eye naturally falls. It is not simply reducing texture resolution and calling it done.
From a technical standpoint, stylized assets differ from PBR assets in a few important ways:
- Albedo/diffuse maps carry lighting information baked directly in—ambient occlusion, fake rim lights, and color gradients are all hand-painted rather than computed at runtime.
- Roughness and metalness maps are often simplified or absent, replaced by flat values or a single-channel mask.
- Normal maps may be skipped entirely for very flat cartoon styles, or used sparingly to add subtle surface reads.
The tradeoff: you cannot easily switch a stylized asset to a different lighting environment without re-painting. Plan your target engine's lighting at the start.
Setting Up Your Blender Workspace for Hand-Painted Textures
Blender's Texture Paint mode is underused and underrated. Before you open Substance Painter, try blocking in your character's color story directly in Blender—you'll catch proportional and silhouette issues early.
Recommended Blender setup for hand-painting:
- Switch to Texture Paint workspace (top header tab).
- Create a new image texture in the Shader Editor:
Add > Texture > Image Texture, then click New. Set resolution to 2048×2048 for characters. - In the 3D Viewport, set the brush type to Fill and paint broad base colors first. Use Draw for details.
- Enable Texture Masking under Brush > Texture Mask to add edge variation without losing control.
- Bake an Ambient Occlusion map from
Properties > Render > Bake(Cycles). Use it as a multiply layer over your painted diffuse in Substance Painter or directly in your engine.
# Quick AO bake via Blender Python console
import bpy
bpy.context.scene.render.engine = 'CYCLES'
bpy.context.scene.cycles.samples = 32
bpy.context.scene.render.bake.type = 'AO'
bpy.ops.object.bake(type='AO')
Keep a dedicated UV channel for lightmap/AO baking (UV channel 1) separate from your painting UV (channel 0). This avoids seam artifacts when the AO is multiplied over the hand-painted base.
Achieving Cel-Shaded and Toon Effects with Gradients
The defining feature of cel-shading is hard shadow breaks—a sharp transition from lit to unlit rather than a smooth gradient. You can fake this in Blender's shader graph before ever touching Substance Painter.
In Blender's Shader Editor, use a ColorRamp node hooked to a Diffuse BSDF or a ShaderToRGB node (Eevee only) to posterize the light falloff:
Shader Setup (Eevee):
[Diffuse BSDF] → [Shader to RGB] → [ColorRamp (constant interpolation)] → [Emission] → [Material Output]
Set the ColorRamp interpolation to Constant (not Linear). This gives you hard-band shadows. Add 2–3 color stops: a shadow color (slightly blue/purple), a midtone, and a highlight. Your character will read as cel-shaded in the viewport immediately.
Gradient painting checklist for hand-painted diffuse:
| Zone | Color Behavior | Tip |
|---|---|---|
| Shadow | Desaturate + shift hue toward cool | Avoid pure black—use dark violet or navy |
| Midtone | Base color, full saturation | This is the "read" color |
| Highlight | Lighten + shift toward warm | Use a cream or light yellow, not white |
| Rim | Bright cool accent | Painted on silhouette edges, not computed |
| Ambient | Slight color bleed from environment | Tint shadows toward a dominant background hue |
In Substance Painter, replicate this with gradient fill layers. Create a Fill Layer, set the blending mode to Multiply for shadows and Screen for highlights, and mask each with a curvature or position map. This gives you a non-destructive, editable toon shading stack.
Exporting Stylized Textures for Unity and Unreal Engine 5
Stylized assets do not need the full PBR texture set. Export only what your engine will actually use—over-texturing is a common beginner mistake that wastes VRAM and draw calls.
Substance Painter export presets for stylized assets:
- Unity (URP): Export
Albedo(RGB) with AO in the Alpha channel. Set Roughness to a flat value (0.8 works for most painted looks) and skip the Metalness map unless your character has actual metal parts. - Unreal Engine 5: Use a single
Diffusetexture (no PBR maps). In UE5's Material Editor, plug it directly into Base Color. Set Roughness as a scalar parameter (0.75–0.85). Disable Specular for fully flat looks. - Godot 4: Import as
StandardMaterial3D. Uncheck "Metallic" and "Roughness" texture slots. Use the Albedo texture alone with aALBEDO.rgbtoon shader override.
Texture export settings:
Format:     PNG (Unity/Godot) or TGA (Unreal)
Resolution: 2048×2048 for hero characters; 1024×1024 for background/NPC characters
Mip maps:   Enabled (let the engine generate)
Compression: BC1 (no alpha) or BC3 (with alpha) — avoid ASTC for desktop targets
Always test your exported textures under the engine's default ambient light before committing. A stylized texture that looks great in Blender can look flat and muddy in Unity's default skybox without a slight gamma correction pass.
Finding and Selling Stylized Game Assets on BitSoul
Stylized characters are among the most downloaded assets on BitSoul Marketplace. Buyers range from solo devs building mobile games to small studios needing placeholder art for prototyping. If you're producing stylized characters at any reasonable volume, listing them is worth your time.
What sells on stylized asset marketplaces:
- Modular character kits: base mesh + interchangeable heads, hands, clothing, all with matching hand-painted textures
- Consistent art style packs: 4–6 characters with the same palette and silhouette language, not one-offs
- Engine-ready variants: include both a Unity URP-ready prefab and a Godot scene in the same package
When you upload to BitSoul Marketplace, use the tag system aggressively—hand-painted, toon, cel-shaded, URP, mobile-ready all surface your assets to different search queries.
For pricing: a single stylized character with 2048 textures, full rig, and 2 LODs commands $15–$35. A pack of 4 thematic characters with shared texture atlases can go $50–$80. Under-pricing hurts the whole ecosystem—price to your quality, not your anxiety.
Stylized texturing is a discipline, not a shortcut. Done well, it produces characters that feel alive, print-ready, and infinitely reusable across genres. Start with a deliberate color story, bake your AO early, and trust the workflow. Your characters will look better for it—and so will your marketplace listings.
Browse ready-to-use stylized character assets and texture packs at BitSoul Marketplace.
Build with real assets: grab the 98-model Character Pack on the BitSoul marketplace and drop them straight into your project.