If your game assets always use a single material, you're leaving quality — and performance control — on the table. Real props, characters, and environments need multiple surface types: metal here, painted wood there, scuffed rubber at the base. Without a proper material ID and texture set workflow, you'll either bake everything into one muddy texture or end up with a chaotic import that breaks in every engine you touch.
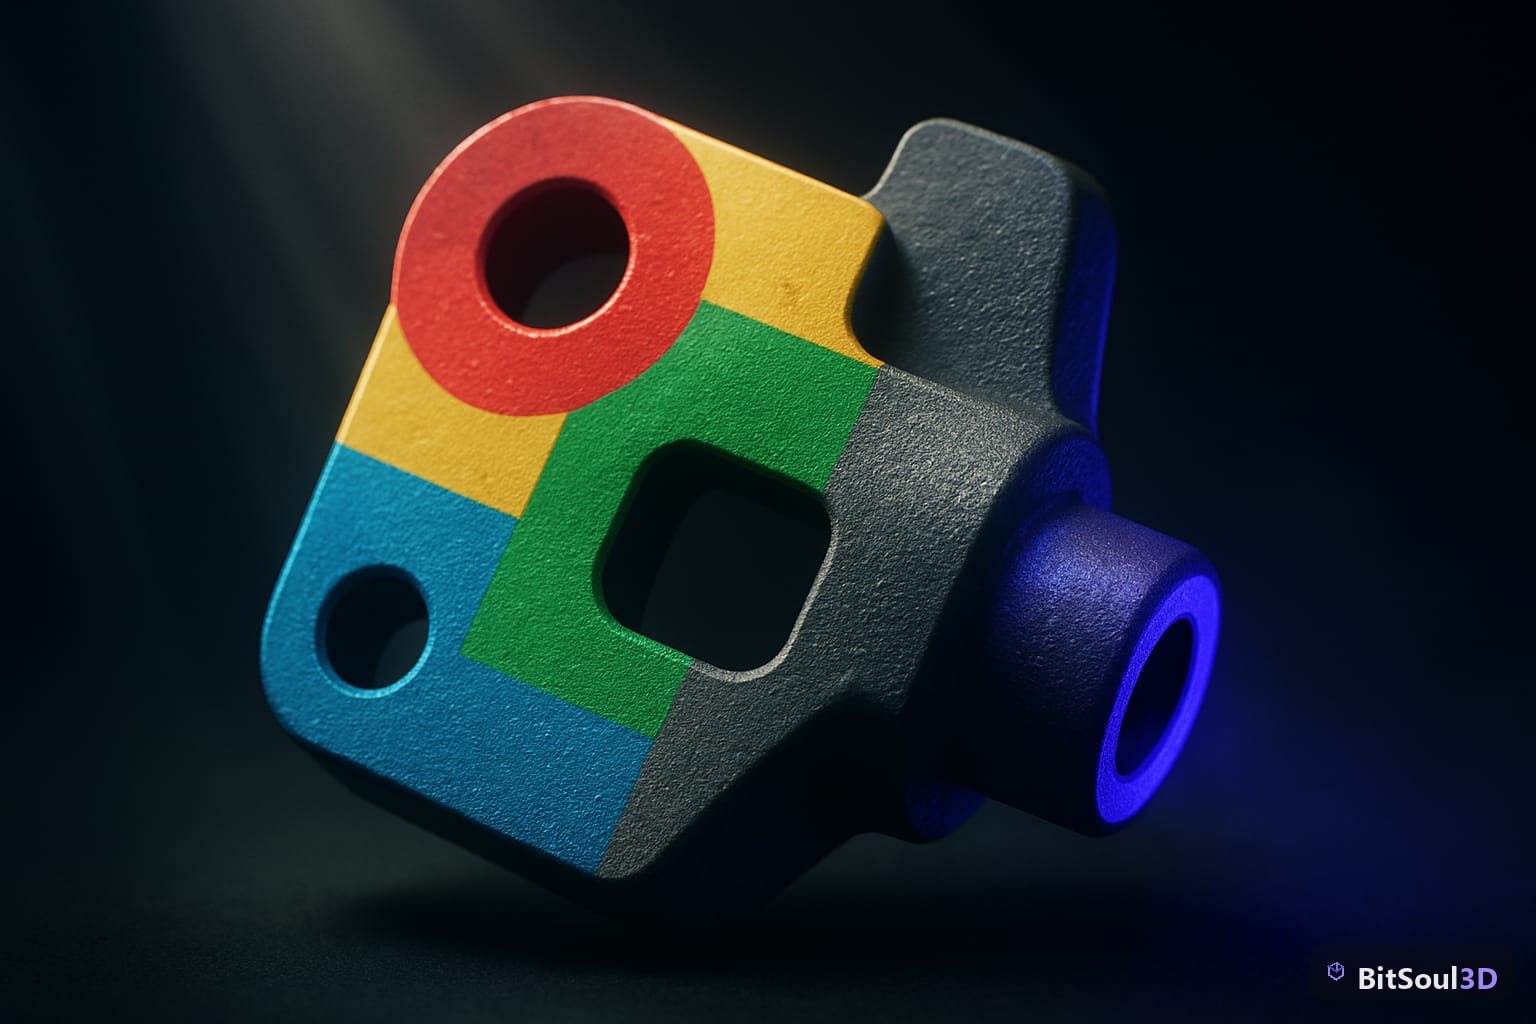
This guide covers the complete pipeline: setting up material IDs in Blender, baking separate texture sets, and exporting cleanly to Unity, Unreal Engine 5, and Godot 4.
What Are Material IDs and Texture Sets?
A material ID is simply an integer tag assigned to each polygon (or group of polygons) on a mesh. In Blender, this maps directly to a material slot — each slot gets its own index, which downstream tools like Substance Painter and game engines use to separate surface regions.
A texture set is the collection of PBR maps (albedo, normal, roughness, metallic, AO) that belong to one material ID. A crate prop might have two texture sets: one for the wooden planks, one for the iron bands. Each set is baked and exported independently.
Why does this matter for game artists?
- Draw call control: Each texture set = one material = one draw call. Consolidating IDs reduces GPU overhead.
- Texture memory efficiency: Different surface types often have different resolution requirements. Wood grain at 2048×2048, small metal bolts at 512×512.
- Clean engine imports: FBX and GLB carry material slot data. Unity and Unreal read slot indices to assign materials automatically — but only if your Blender setup is correct.
- Substance Painter compatibility: Painter uses material IDs to auto-fill its texture set list, saving you manual masking time.
Setting Up Material Slots and IDs in Blender
Start with your finished mesh before UV unwrapping. Open the Properties panel → Material Properties (the sphere icon).
Step-by-step workflow:
- Create your material slots: Click the
+button in the Material Properties panel to add slots. Name each one clearly:M_Wood,M_Metal,M_Rubber. The name travels with the FBX export.
- Enter Edit Mode (
Tab), select the faces you want to assign, then click Assign under the target slot. Repeat for each region.
- Assign placeholder materials: Give each slot a distinct Principled BSDF with a different base color. These are just for visual ID in the viewport — they will be replaced by your final PBR textures.
- Check your work: In Edit Mode, click a material slot then hit Select — all assigned faces will highlight. If stray faces appear unassigned (they default to slot 0), fix them now before baking.
A quick Python snippet to verify every face has a valid material index:
import bpy

obj = bpy.context.active_object
mesh = obj.data
unassigned = [f.index for f in mesh.polygons if f.material_index >= len(obj.material_slots)]
if unassigned:
    print(f"WARNING: {len(unassigned)} faces have invalid material index")
else:
    print("All faces assigned correctly")
Run this in Blender's Scripting workspace to catch assignment errors before you invest time in baking.
Material ID checklist before baking:
| Check | Status |
|---|---|
| Every face assigned to a named slot | ✅ Required |
| No duplicate material names | ✅ Required |
| UV islands per slot are non-overlapping | ✅ Required |
| Placeholder colors clearly distinct | Recommended |
| Slot count matches Substance Painter plan | Recommended |
Baking Multiple Texture Sets in Blender
Blender's built-in baker handles multiple texture sets, but you need to be methodical. The key: bake one material slot at a time, using a dedicated Image Texture node in each material as the bake target.
Setup per material slot:
- Open the Shader Editor for slot
M_Wood. - Add an Image Texture node (
Shift+A → Texture → Image Texture). - Create a new image: 2048×2048, 32-bit float, named
T_Wood_Bake. - Select (but do not connect) this node — Blender bakes to the selected node.
- Repeat for each slot with appropriately sized images.
Bake settings (Render Properties → Bake):
- Render engine: Cycles
- Bake type: Diffuse (for albedo), then repeat for Normal, Roughness, AO
- Selected to Active: off (same-object baking)
- Margin: 4–8px depending on resolution
Isolating bakes per slot: Select only the faces belonging to M_Wood in Edit Mode before each bake pass, then use Selected Faces Only if available, or mask by temporarily hiding other geometry with H. This prevents albedo bleed between surface types.
After baking, pack your images into the .blend file (Image → Pack) and export each as PNG or 16-bit TIFF for the highest-fidelity workflow.
Exporting Multi-Material Assets to Unity and Unreal Engine 5
A correctly set up Blender asset will carry all material slot data through FBX or GLB export — but only if you use the right settings.
FBX export settings for multi-material assets:
File → Export → FBX (.fbx)
  ☑ Apply Modifiers
  ☑ Apply Transform (for Unity)
  Path Mode: Copy (embeds textures)
  Mesh: ☑ Smoothing = Face
  Armature: only if rigged
In the exported FBX, each material slot becomes a separate material entry. When Unity imports it, it creates material assets named exactly after your Blender slots (M_Wood, M_Metal, M_Rubber). Drag your baked textures onto the correct material in the Inspector — no guesswork.
Unreal Engine 5: Import via the Content Browser → Import. In the import dialog:
- ☑ Import Materials: ON (creates Material Instances per slot)
- ☑ Import Textures: ON if embedding
- Material Import Method: Create New Materials
UE5 maps each FBX material slot to a Material Slot on the Static Mesh asset, which you can override per-instance without touching the base asset. This is the correct setup for BitSoul marketplace assets that need to work across multiple projects.
GLB export preserves material data natively (it's part of the glTF 2.0 spec). For Godot 4:
File → Export → glTF 2.0 (.glb/.gltf)
  Format: GLB (Binary)
  ☑ Export Materials: Export
  ☑ Normals
  ☑ UVs
  Texture Export Mode: Copy (embeds textures)
Godot imports each glTF material as a StandardMaterial3D resource. You can then swap to a ShaderMaterial per slot without re-importing the mesh.
Texture Set Best Practices and Performance Tips
Getting the setup right is only half the battle. Here's what separates publishable game assets from ones that blow up draw call budgets:
Consolidate where resolution allows. If two surfaces share the same resolution requirement and don't need independent material control in-engine, merge them into one texture set. A single 2048×2048 atlas beats two 1024×1024 sets for most hardware.
Match resolution to screen coverage. A large floor gets 2048, small bolts get 512. Use Blender's UV → Display Stretch overlay to see where your UV islands are being over- or under-allocated in texel density.
Keep slot count under 4 for real-time assets. Each slot = one draw call. On mobile or VR targets, aim for 1–2. On desktop, 3–4 is typical for hero props. Assets on the BitSoul marketplace that follow this convention consistently receive higher ratings from engine-specific buyers.
Name slots consistently across your project. Agree on a prefix convention (M_, MAT_) and stick to it. Unreal's Nanite and LOD systems use slot names to match materials across LOD levels — inconsistent naming breaks the auto-matching.
Export a material manifest. For complex assets, include a simple text file listing each slot name, its texture resolution, and which maps it uses. This saves hours when revisiting an asset six months later.
Start Building Better Multi-Material Assets Today
A clean material ID workflow is one of the most overlooked skills in the game asset pipeline — but it directly determines how quickly your assets move from Blender into a shippable build. Set it up right from the start: named slots, methodical baking, correct export settings, and sensible draw-call budgeting.
Ready to see how professional game-ready assets handle multi-material setups? Browse the full library at BitSoul Marketplace — every asset is tagged with texture set count and engine compatibility so you can evaluate exactly what you're importing.
Need drop-in assets for this workflow? Grab the 98-model Character Pack on the BitSoul marketplace and drop them straight into your project.