If your game environment uses 50 unique textures for walls, floors, and trim details, you're burning through memory and draw calls that don't need to exist. Trim sheets solve this: one texture atlas containing horizontal strips of tileable surface detail, applied to dozens of meshes by shifting UV islands along the sheet. One texture. Dozens of unique-looking surfaces.

What Is a Trim Sheet and Why Game Artists Use It
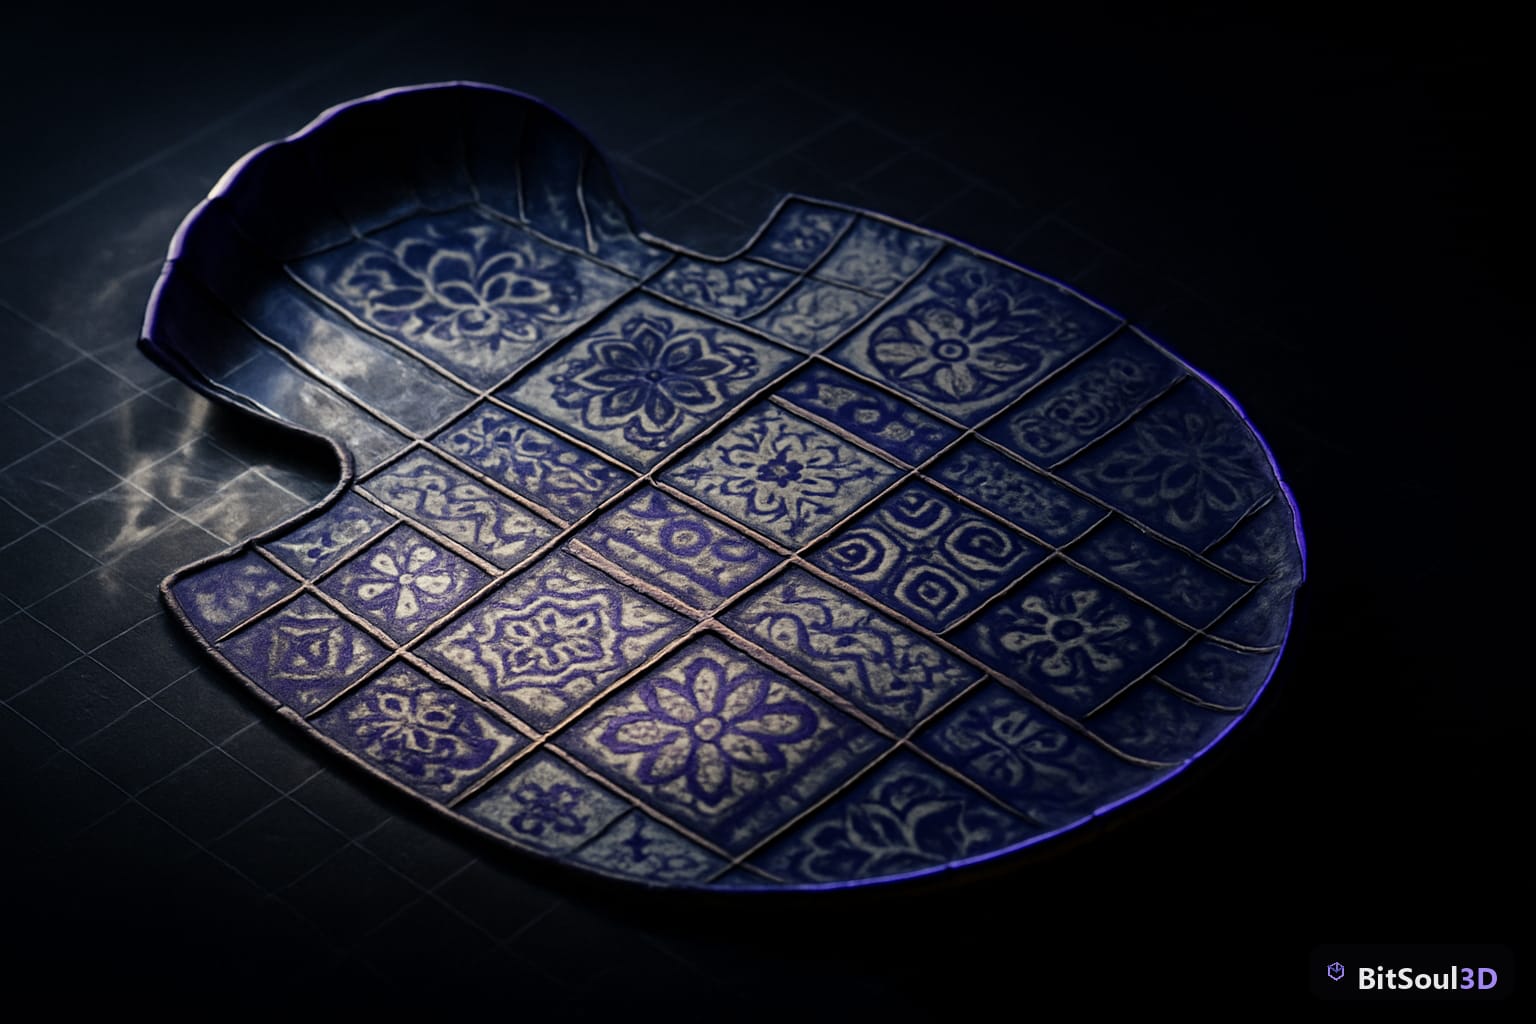
A trim sheet is a single texture—typically 512×2048 or 1024×4096 pixels—divided into horizontal strips. Each strip contains a different surface detail: edge bevels, panel lines, grating, damaged plaster, or molding profiles. Instead of unwrapping each mesh to its own unique UV space, you align UV islands to whichever strip matches the visual need.
The payoff is immediate. A single 1024×4096 trim sheet can serve an entire scene of modular corridor assets. Texture memory stays fixed regardless of mesh count, and because all assets share the same material, Unity's static batching and Unreal Engine 5's instanced draws fire at full efficiency.
Trim sheets are standard in AAA environment art pipelines. If you're pulling assets from the BitSoul marketplace, look for modular kits that include trim textures—they're drop-in ready for this workflow.
Planning and Building the Trim Sheet Layout in Blender
Before opening Blender, sketch your trim strips on paper or in a reference image. Each horizontal strip represents one distinct surface type you'll actually use. Common strips include:
- Top edge bevel — a clean 45° or curved chamfer
- Panel recess — a shallow inset with a hard edge
- Floor baseboard — vertical face with a small bullnose at top
- Vent/grate strip — horizontal slats or mesh pattern
- Damage trim — cracked plaster or chipped concrete
In Blender, create a 1024×4096 canvas (File → New Image → Custom size). Enable the UV Editor alongside your 3D Viewport. Use a Reference Image node in your Shader Editor to overlay your strip plan on the texture coordinates.
For the actual trim geometry, model each strip as a thin flat plane with the surface detail sculpted in. Keep UV islands for each strip locked to their vertical band—between V=0.0–0.25, V=0.25–0.5, V=0.5–0.75, V=0.75–1.0 for a 4-strip sheet. Snap islands to exact boundaries using the UV Editor's "Constrain to Image Bounds" option and the Transform panel (N panel in UV Editor).

A clean strip plan before baking saves you from misaligned seams on your final meshes. Spend the time here—moving UV boundaries after baking means re-baking the entire sheet.
Baking the Trim Sheet: Normal, AO, and Roughness in Blender
Trim sheet baking follows the standard high-to-low workflow, but all strips bake into one texture simultaneously. Set up your scene with the high-poly strip models positioned directly above their corresponding low-poly planes. Enable Selected to Active in Render Properties → Bake and set the Ray Distance just above the maximum protrusion on your high-poly detail.
Bake in this order:
- Normal map (Tangent space, Mikktspace enabled — critical for correct engine import)
- Ambient Occlusion (32 samples minimum, Max Distance 0.05m)
- Roughness (from a procedural roughness node on the high-poly material)
Use this Python snippet to batch-save bake textures automatically:
import bpy, os

output_dir = "/path/to/your/trim_bakes/"
bake_types = ["NORMAL", "AO", "ROUGHNESS"]

for bake_type in bake_types:
    bpy.context.scene.cycles.bake_type = bake_type
    bpy.ops.object.bake(type=bake_type)

    img = bpy.data.images["TrimSheet_Bake"]
    img.filepath_raw = os.path.join(output_dir, f"TrimSheet_{bake_type}.png")
    img.file_format = "PNG"
    img.save()
    print(f"Saved: TrimSheet_{bake_type}.png")
Change TrimSheet_Bake to match your target image name. For metallic and emission strips (panel lighting, metal edges), add those passes. Combine AO into your Roughness channel in Blender's Compositor Node Editor to produce an ORM texture ready for engine import without extra conversion steps.
Applying Trim UVs to Environment Meshes
This is where trim sheets pay off. Take a modular corridor wall mesh. In Edit Mode with the UV Editor open, you're not unwrapping to fill the full texture—you're placing each UV island on the correct strip.
The rule: UV islands slide only horizontally along the strip. Vertical position selects the surface type; horizontal tiling achieves repeat coverage by scaling the island along U beyond the 0–1 boundary.
| Face Group | UV Strip (V range) | Surface Type |
|---|---|---|
| Top wall edge | 0.75–1.0 | Chamfer bevel |
| Wall panel | 0.50–0.75 | Panel recess |
| Baseboard | 0.25–0.50 | Floor trim |
| Floor junction | 0.00–0.25 | AO transition |
Enable Live Unwrap to preview strip assignment in real time. For consistent texel density across all modular pieces, set a fixed texel density (10.24 px/cm for a 1K sheet) before placing islands. This ensures trim details match in scale when two different mesh types meet at a seam.
When exporting to GLB, apply all transforms (Ctrl+A → All Transforms) and confirm your UVs are in the 0–1 space vertically with only horizontal tiling exceeding bounds. Both Unity and Unreal Engine 5 import tiling UVs correctly when Wrap Mode is set to Repeat on the texture sampler.
Importing Trim Materials into Unity URP and Unreal Engine 5
In Unity URP, import your three bake textures and create a Lit Material:
- Base Map: neutral grey albedo or a color-only pass
- Normal Map: TrimSheet_NORMAL.png — click "Fix Now" if the Linear warning appears
- Mask Map (HDRP) or separate Occlusion/Smoothness channels (URP): wire from your ORM texture
Set Texture Wrap Mode to Repeat on all maps. UV tiling per mesh handles the rest.
In Unreal Engine 5, create a Material and connect:
- Normal map → Normal input
- ORM texture → Occlusion (R), Roughness (G), Metallic (B) via Break Out Float 3 Components node
- Sampler Type → Linear on the ORM texture to avoid gamma errors on roughness values
Enable Virtual Texture Streaming if your scene has many trim instances at scale.
Trim Sheet Pre-Publish Checklist
Before shipping an environment asset built on this workflow:
- All bake seams land between strip boundaries, not inside a strip
- Normal map baked with Mikktspace tangent space enabled
- Texel density consistent across all modular pieces (10.24 px/cm for 1K sheet)
- UV islands do not cross strip boundaries vertically
- AO bake has no dark fringing at strip edges (increase cage offset if so)
- ORM channels packed and verified with a material validator in-engine
- GLB export uses Apply Transforms; all materials reference the single trim texture
Trim sheets take an extra hour to plan and bake compared to per-mesh texturing, but they pay back that time every time you add a new modular piece to your kit. One texture covers the whole environment.
Ready to build faster with pre-made modular kits that already use trim sheet workflows? Browse the BitSoul marketplace for game-ready environment assets with source textures included.
Need drop-in assets for this workflow? Grab the 82-model Vehicle Bundle on the BitSoul marketplace and drop them straight into your project.