If you've ever spent hours unwrapping individual props only to blow your texture budget by mid-level, trim sheets are about to change how you work. A single 2K or 4K trim sheet can texture dozens of modular pieces — walls, floors, pillars, props — with one material, one draw call, and near-zero VRAM overhead. Studios from indie to AAA rely on this technique. Here's exactly how to build one in Blender and deploy it in Unity or Unreal Engine 5.

What Are Trim Sheets and Why Game Studios Use Them
A trim sheet is a texture atlas where every row (or column) contains a distinct surface detail — a brick edge, a metal vent, a concrete ledge — tiled horizontally or vertically across a strip. Instead of unique UV unwraps per asset, you slide the UVs of each mesh face along the appropriate strip to sample the detail you want.
The performance case is straightforward. Where a scene with 40 unique props might require 40 materials and 40+ texture sets, the same scene built with trim-sheet-compatible meshes can run off 2–3 materials total. GPU state changes drop, draw calls collapse, and your frame budget opens up for gameplay logic and lighting.
Trim sheets also enforce visual consistency. Every edge, every worn corner, every panel seam is drawn from the same source — so your entire level reads as a coherent space rather than a patchwork of individually-textured pieces.
Common trim sheet layouts:
| Strip Type | Width | Typical Content |
|---|---|---|
| Edge trim | 8–16px | Beveled metal edges, painted borders |
| Detail strip | 32–64px | Rivets, bolts, panel seams |
| Surface strip | 64–256px | Concrete, brick, worn plaster |
| Transition strip | 16–32px | Damage masks, dirt gradients |
Most production trim sheets pack 6–12 strips into a 2048×2048 atlas, with each strip tiling cleanly along its primary axis.
Setting Up a Trim Sheet UV Layout in Blender
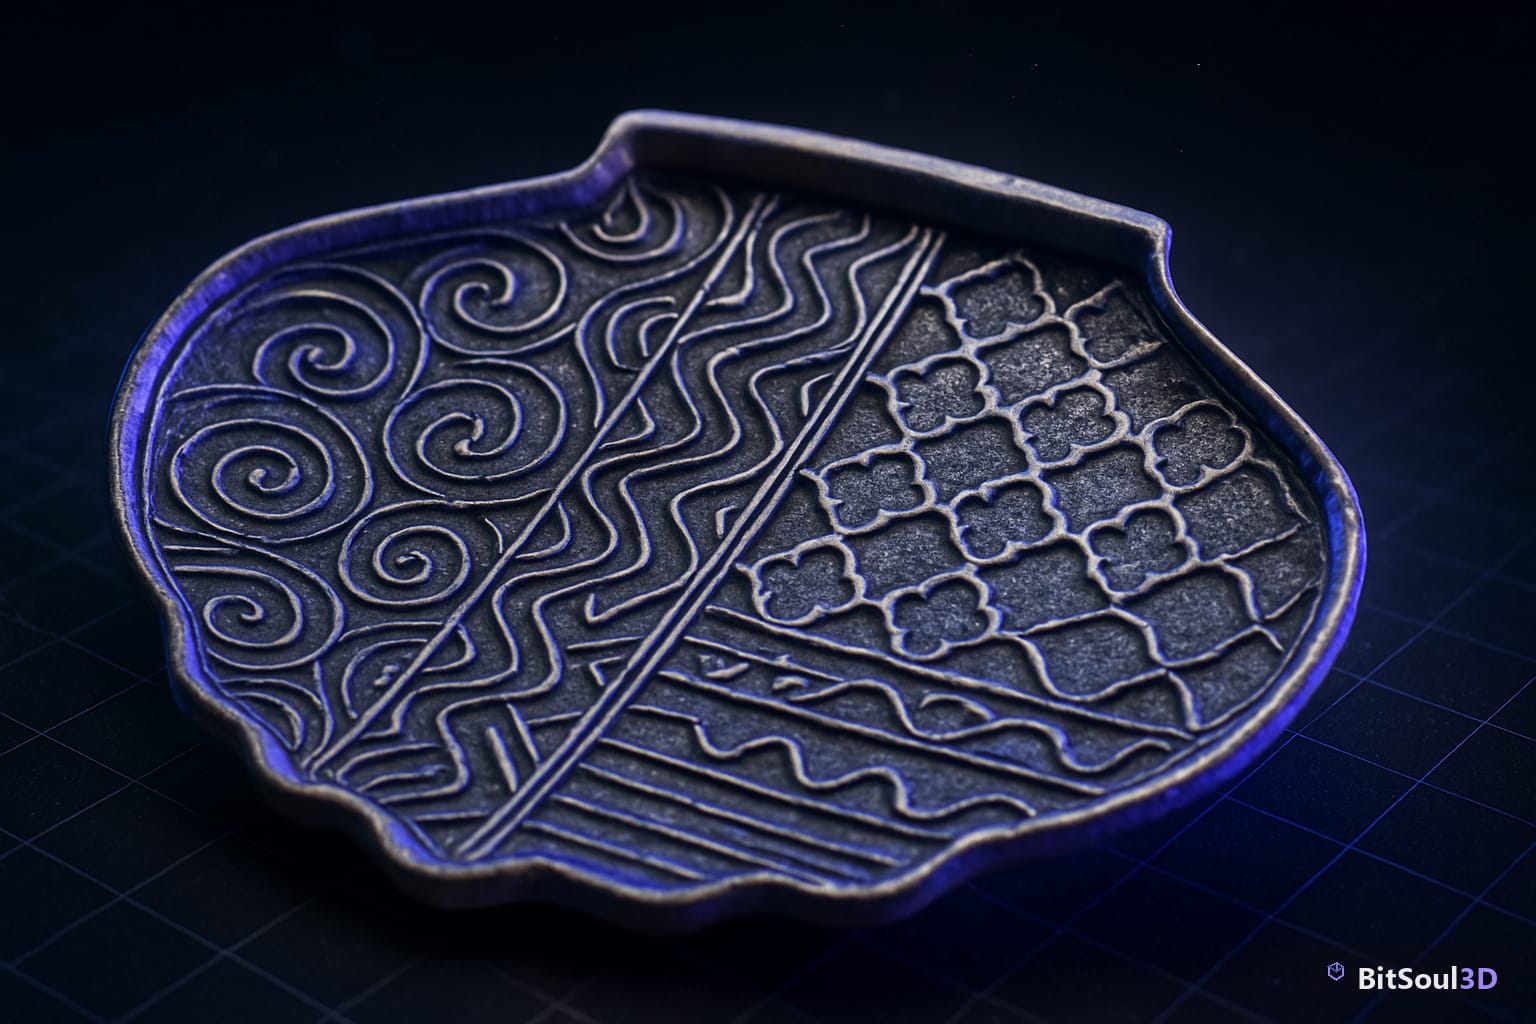
Before you bake anything, you need a clean atlas canvas and a plan for where each strip lives.
1. Create the canvas. Open a new Image in the UV Editor: 2048×2048, 32-bit float, black background. Name it trimsheet_bake.
2. Draw your strip guides. In the image editor, block out horizontal strips using pixel-precise coordinates. A common 8-strip layout on a 2048px sheet gives you 256px per strip — enough for any surface detail.
3. UV-unwrap test geometry. Create a plane, subdivide it 3×3, and in Edit Mode use U → Project from View to lay it flat. Scale the UV island to exactly cover one strip row. This becomes your bake target.
4. Mark seams on your modular pieces. For a wall panel, mark seams only along hard edges. In the UV Editor, select all faces and use U → Unwrap. Then manually position each island to sample from the strip that matches its surface type.
# Blender Python: auto-scale UV islands to fit trim strip rows
import bpy, bmesh

strip_height = 1.0 / 8  # 8 strips on the sheet

obj = bpy.context.active_object
bm = bmesh.from_edit_mesh(obj.data)
uv_layer = bm.loops.layers.uv.verify()

for face in bm.faces:
    if face.select:
        for loop in face.loops:
            uv = loop[uv_layer].uv
            # Clamp V coordinate into strip 0 (top row)
            uv.y = (uv.y % strip_height)

bmesh.update_edit_mesh(obj.data)
The key rule: UV islands should never cross strip boundaries. Each face samples from exactly one strip. Enforce this before baking or you will get seams at strip transitions.
Baking Your Trim Sheet in Blender: Step-by-Step
With UVs placed, baking is a multi-pass operation. You bake each channel separately for maximum control.
Setup: In Render Properties, switch to Cycles. Set Samples to 64 for baking. Under Bake, disable Selected to Active unless baking from a high-poly.
Pass order:
- Albedo (Base Color) — Bake Type: Diffuse, Contributions: Color only.
- Normal — Bake Type: Normal, Space: Tangent.
- Roughness — Bake Type: Roughness.
- AO — Bake Type: Ambient Occlusion, 128 samples minimum.
Save each pass as a 16-bit PNG. Combine into a final PBR set:
trimsheet_albedo.pngtrimsheet_normal.pngtrimsheet_orm.png(pack Occlusion → R, Roughness → G, Metallic → B)
# ImageMagick: pack ORM channel from separate bake passes
convert trimsheet_ao.png trimsheet_roughness.png trimsheet_metallic.png   -combine trimsheet_orm.png
Compressed output targets:
| Engine | Albedo | Normal | ORM |
|---|---|---|---|
| Unity | BC7 (DXT5) | BC5 | BC7 |
| Unreal Engine 5 | BC7 | BC5 | BC7 |
| Godot 4 | ETC2 RGBA | ETC2 RG | ETC2 RGB |
Applying Trim Sheets in Unity and Unreal Engine 5
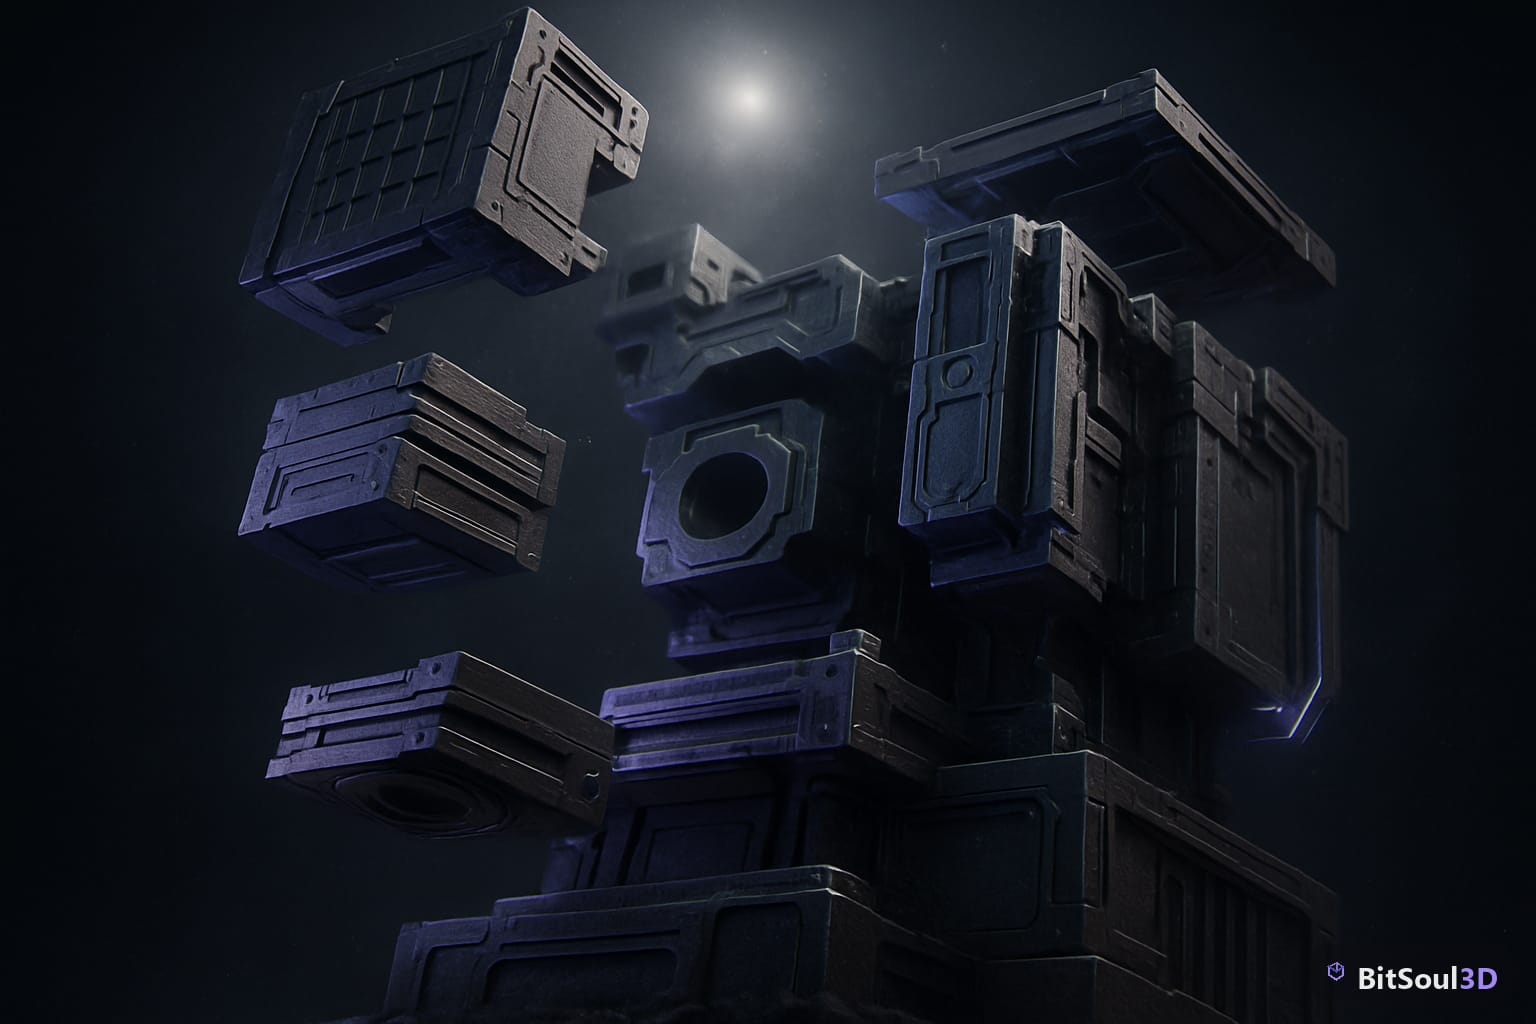
Unity
Import all three texture files. In the Inspector set Albedo Texture Type to Default with sRGB enabled, Normal to Normal map, and ORM to Default with sRGB disabled.
Create a new URP Lit material. Assign Albedo to Base Map, Normal to Normal Map. For ORM, enable Metallic/Smoothness from map and remap the Roughness channel — Unity Smoothness is 1 − Roughness.
For modular meshes: disable Read/Write Enabled in mesh import settings and enable Generate Lightmap UVs if you want baked GI. Trim-sheet meshes use UV Channel 0 for the trim atlas and UV Channel 1 for lightmaps.
Unreal Engine 5
Create a Master Material with three texture parameters: T_Albedo, T_Normal, T_ORM. Connect T_Albedo to Base Color, T_Normal to Normal (NormalMap sampler), and unpack T_ORM: R → Ambient Occlusion, G → Roughness, B → Metallic.
Create a Material Instance per surface variant. Each instance overrides only the texture params — no shader recompile, no extra draw calls.
For LODs: trim-sheet meshes LOD beautifully because the UV layout stays valid at all poly counts. The same material works on LOD0 through LOD3 with no texture swaps.
Selling Trim Sheet Assets on BitSoul Marketplace
Trim sheet assets are some of the most sought-after items on game asset marketplaces because they immediately solve a workflow problem buyers have already hit. When listing on BitSoul's marketplace, structure your package to make the value obvious.
What to include in your archive:
- Source
.blendfile with all modular meshes UV-mapped to the trim sheet - Exported
.fbxand.glbvariants (Y-up, 1 unit = 1 meter) - All texture passes at 2K and 4K: albedo, normal, ORM
- A Unity
.unitypackagewith pre-configured URP material - An Unreal master material plus 2–3 material instances
- A
README.mddocumenting strip layout and UV conventions
Pricing signal: modular environment kits with trim sheets command 2–4x the price of equivalent unique-UV packs on marketplaces, because buyers understand the draw-call savings translate directly to shipping games.
Thumbnail strategy: show the trim sheet atlas itself alongside a rendered scene built entirely from it. The contrast — one texture, entire environment — is the clearest possible value proposition.
Browse existing environment kits on BitSoul's marketplace to benchmark your strip count, poly budget, and pricing before listing.
Trim sheets take more upfront planning than unique UV unwraps, but the downstream payoff — in performance, consistency, and reusability — is outsized. Build your first sheet around 6–8 strips covering the surfaces you use most. Once the atlas is done, you will be texturing entire levels in minutes rather than hours.
Ready to publish your modular kit? List it on BitSoul's marketplace and reach thousands of game developers actively hunting for trim-sheet-compatible assets.
Need drop-in assets for this workflow? Grab the 82-model Vehicle Bundle on the BitSoul marketplace and drop them straight into your project.