Every game character needs to carry something — a sword, a shield, a flashlight, a trail of fire. In Unreal Engine 5, Skeletal Mesh Sockets are the precise mechanism that makes this possible. Without them, attaching a prop to a moving character means writing fragile offset code that breaks every time an animator tweaks the rig. With sockets, you pin a named anchor point directly onto a bone in the Skeleton Editor, and UE5 handles the rest at runtime.
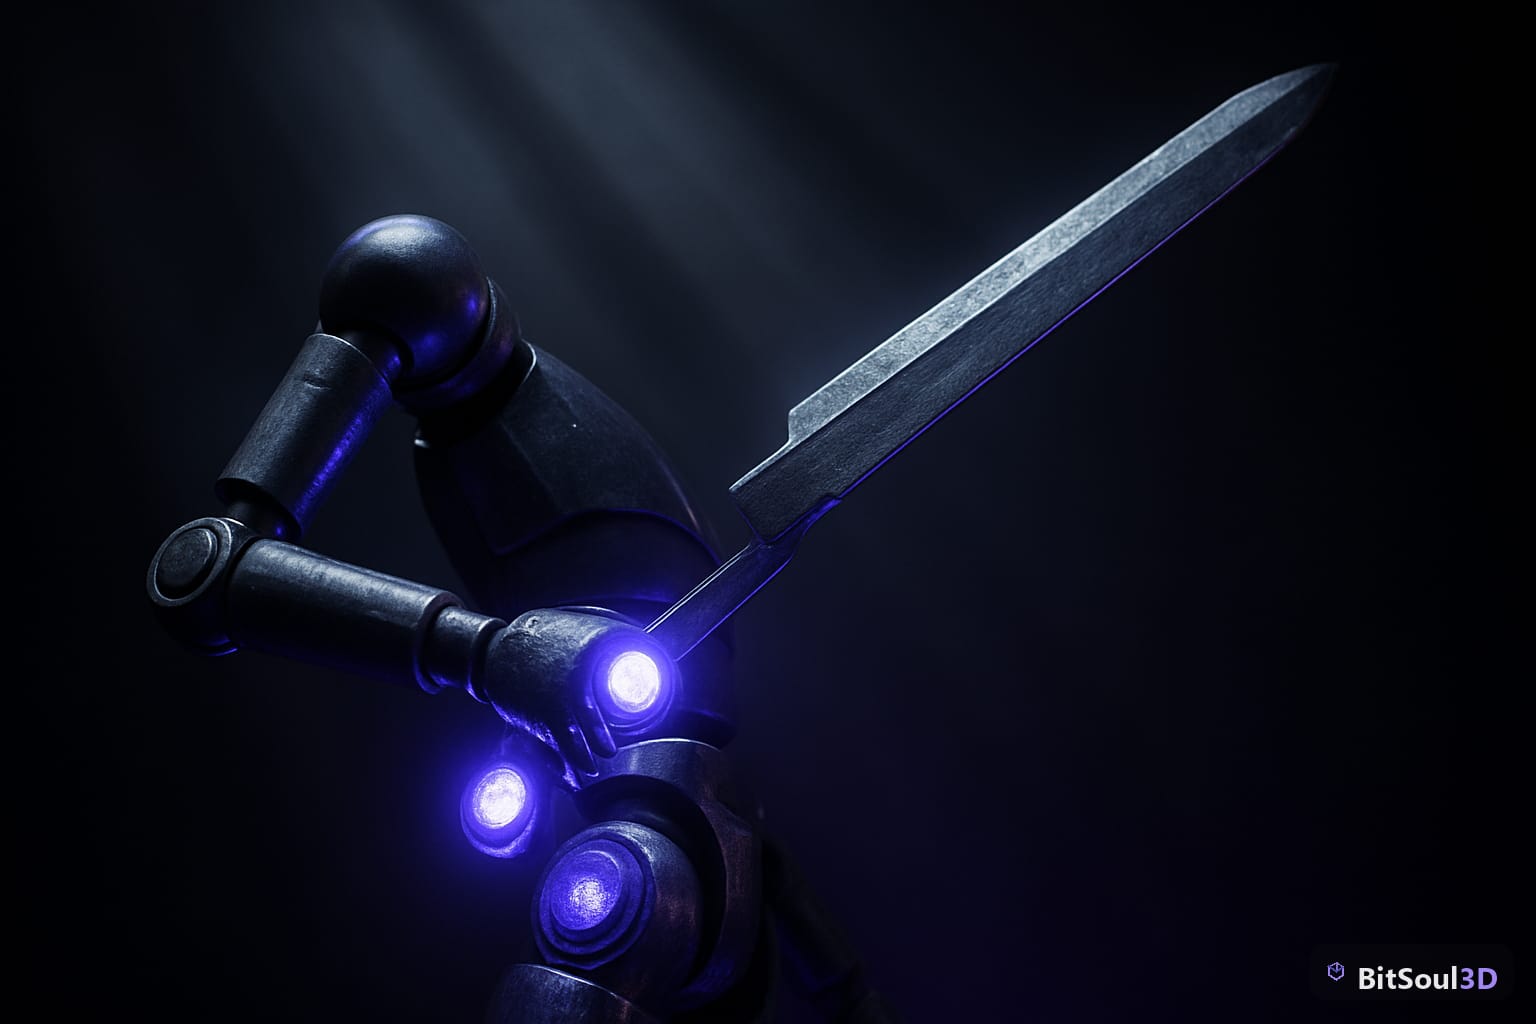
This guide covers the full workflow: creating sockets in the editor, attaching Actors via Blueprint and C++, and wiring up Niagara emitters so VFX track with your character's joints. Every example targets a game-ready pipeline using assets sourced from the BitSoul marketplace.
What Are Sockets and Why They Matter
A socket is a named child transform parented to a bone in a Skeletal Mesh's skeleton asset. It stores a local position, rotation, and scale offset relative to that bone. At runtime, UE5 evaluates the full skeletal pose — including blended animations, IK, and physics simulation — and resolves each socket's world transform frame by frame.
The critical advantage over hardcoded bone offsets: sockets are data, not code. An animator or technical artist can adjust a socket's position in the editor without touching a single Blueprint node or C++ function. That separation of concerns cuts iteration time dramatically, especially when you're working with complex character rigs downloaded from a marketplace.
When to use sockets vs. bone attachment directly:
| Scenario | Socket | Direct Bone |
|---|---|---|
| Weapon grip point | ✅ Socket (adjustable without code) | ❌ Fragile offset |
| Cape physics root | ✅ Socket on spine bone | ✅ Either works |
| Attachment shared across multiple characters | ✅ Socket (same name, different rig) | ❌ Bone names vary |
| Debug visualization only | ❌ Overkill | ✅ Direct |
Sockets also serve as spawn points for projectiles, attachment anchors for clothing physics assets, and preview markers in the editor viewport — making them foundational infrastructure for any character-driven game.
Creating Sockets in the UE5 Skeleton Editor
Open any Skeletal Mesh from the Content Browser and click Open Asset. Navigate to the Skeleton tab — not the Mesh tab — to ensure socket changes persist across all meshes sharing this skeleton.
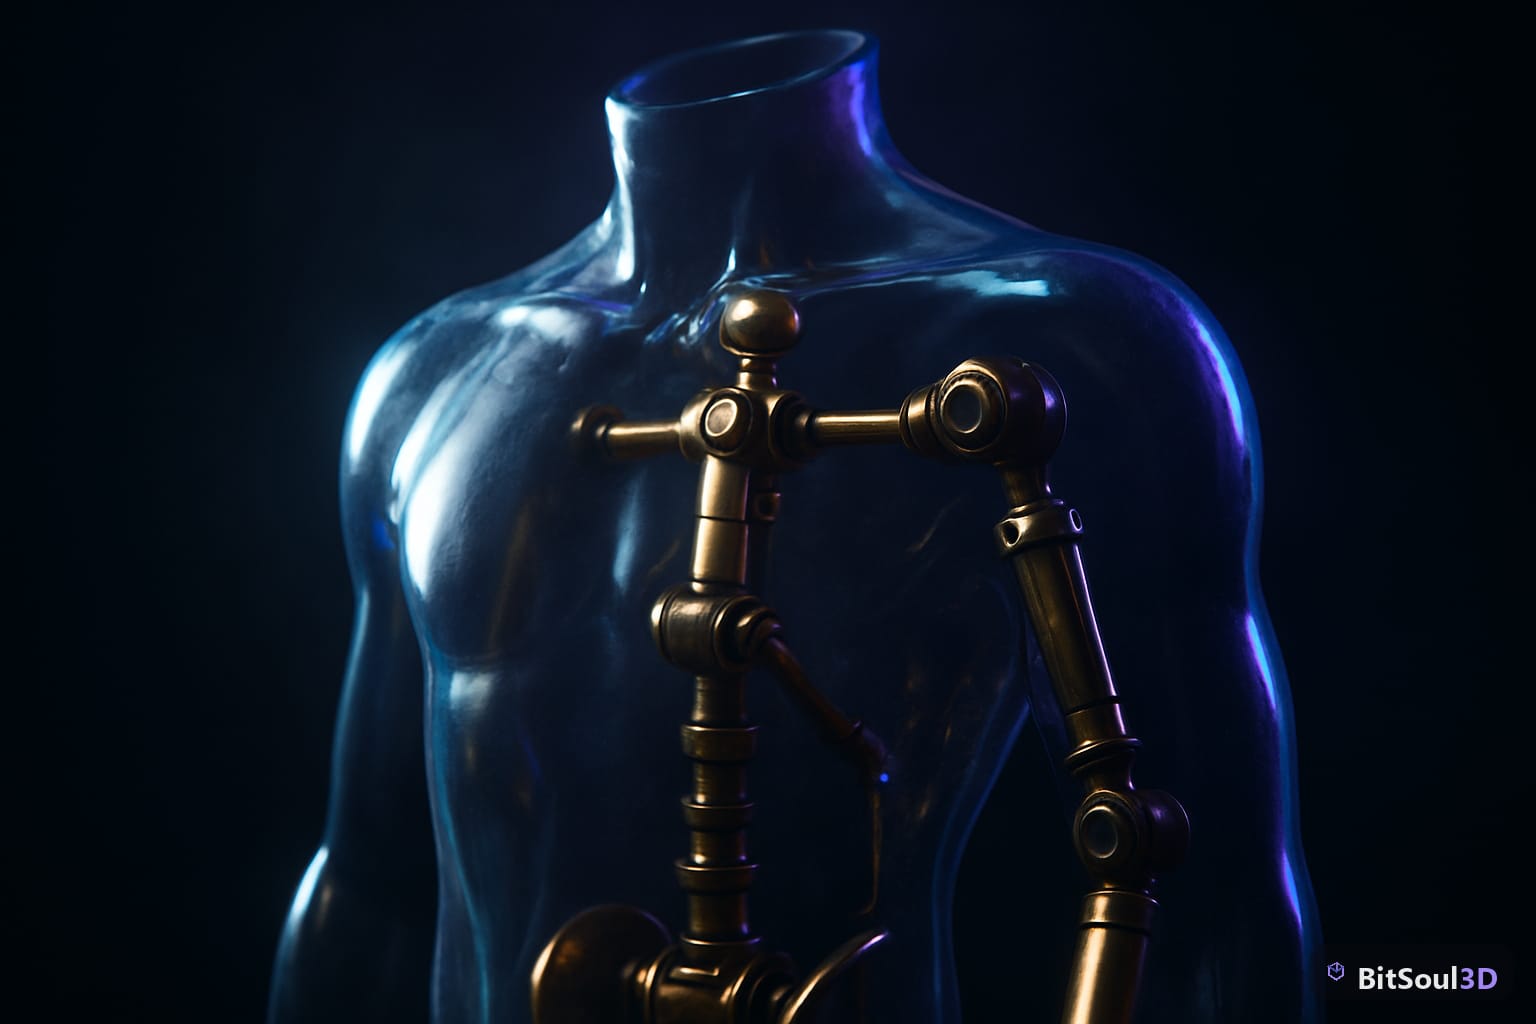
In the Skeleton Tree panel on the left, right-click the bone you want to attach to and choose Add Socket. A new child entry appears named NewSocket with a small plug icon. Rename it immediately — use a consistent convention like socket_weapon_r for the right-hand weapon socket.
Positioning the socket:
- Select the socket in the Skeleton Tree
- In the viewport, use the Move (W) and Rotate (E) gizmos to align the socket to the grip point
- Watch the Details panel — fine-tune Relative Location and Relative Rotation numerically for precision
For weapon sockets, the typical workflow is to temporarily attach a static mesh preview in the editor (right-click socket → Add Preview Asset) and nudge the socket until the weapon sits flush in the character's grip. Remove the preview before saving — it has no runtime effect, it's purely editorial.
Critical step: save the skeleton asset, not just the mesh. Sockets live on the USkeleton asset. If you edit sockets on a Skeletal Mesh and save only that, the data may not propagate to shared skeletons.
// Verify socket exists at runtime before attaching
if (GetMesh()->DoesSocketExist(FName("socket_weapon_r")))
{
    // safe to attach
}
Attaching Actors at Runtime with Blueprint and C++
Blueprint
The cleanest Blueprint approach uses Attach Actor to Component with a socket name:
- Cast your character's
SkeletalMeshComponentreference - Call Attach Actor to Component (or Attach Component to Component for attaching a component rather than a whole Actor)
- Set Socket Name to
socket_weapon_r - Set Location Rule, Rotation Rule, and Scale Rule all to Snap to Target
For weapons that need independent collision or their own animation, use Attach Component to Component targeting the weapon Actor's root StaticMeshComponent rather than the Actor itself.
C++
// In AMyCharacter::EquipWeapon(AWeaponActor* Weapon)
void AMyCharacter::EquipWeapon(AWeaponActor* Weapon)
{
    if (!Weapon) return;

    FAttachmentTransformRules Rules(
        EAttachmentRule::SnapToTarget,  // Location
        EAttachmentRule::SnapToTarget,  // Rotation
        EAttachmentRule::KeepRelative,  // Scale
        true                            // Weld simulated bodies
    );

    Weapon->AttachToComponent(
        GetMesh(),
        Rules,
        FName("socket_weapon_r")
    );

    CurrentWeapon = Weapon;
}
The EAttachmentRule::SnapToTarget for location and rotation means the weapon immediately jumps to the socket's world transform. KeepRelative for scale prevents the weapon from inheriting the character's scale — almost always the correct choice for props sourced from BitSoul where assets have normalized scales.
Detaching is equally simple:
Weapon->DetachFromActor(FDetachmentTransformRules::KeepWorldTransform);Pass KeepWorldTransform so the weapon stays in place in the world (e.g., when dropped) rather than snapping to origin.
Socket-Based VFX: Particle Systems and Niagara Emitters
Niagara systems attached to sockets are the standard technique for effects that track with a character — flames on enchanted weapons, exhaust from a jetpack, sparks from a damaged mech arm.

The key distinction: you're not spawning a Niagara Actor and attaching it. You're adding a Niagara Component directly to the character and telling it which socket to follow.
// In BeginPlay or EquipWeapon
UNiagaraComponent* FlameComp = UNiagaraFunctionLibrary::SpawnSystemAttached(
    FlameNiagaraSystem,          // UNiagaraSystem* asset
    GetMesh(),                   // AttachToComponent
    FName("socket_weapon_tip"),  // Socket name on blade tip
    FVector::ZeroVector,
    FRotator::ZeroRotator,
    EAttachLocation::SnapToTarget,
    true                         // Auto-destroy on deactivate
);
Socket placement for VFX matters more than for props. A flame effect on a sword needs a socket at the blade tip, not the grip — offset by the blade length. Add a second socket socket_weapon_tip at the end of the weapon mesh's bounding box. For trail effects, you may need two sockets (start and end) driving a Ribbon Renderer in Niagara.
Performance note: Niagara components attached to frequently animating sockets run their tick on the game thread. For crowd scenarios with many characters, consider using Niagara's GPU simulation mode and pass socket world position as a user parameter updated each frame instead of using direct attachment.
Marketplace Assets That Play Well With Sockets
Not all Skeletal Mesh assets ship with production-ready socket setups. When evaluating character assets on BitSoul marketplace, check for:
- Pre-existing sockets — open the Skeleton asset, check the Skeleton Tree for sockets already named following a predictable convention (
hand_r,weapon_r,spine_01) - Bone naming conventions — UE5's Mannequin uses
hand_randhand_las primary grip bones; assets rigged to this standard retarget and socket more cleanly - Socket documentation — any marketplace asset worth buying for a character pipeline documents its socket layout
If an asset lacks sockets, adding them takes under 5 minutes per bone as described above. The skeleton is yours to modify — sockets are non-destructive additions that don't affect mesh deformation or animation playback.
For weapon and prop packs, confirm the asset's pivot point sits at the intended grip or connection point. A pistol with its pivot at the center of mass rather than the grip needs a corrective socket offset that you'll be adjusting indefinitely as animations change.
Sockets are deceptively simple — a name, a position, a rotation — but they're load-bearing infrastructure for any character-driven game. Get the naming convention right early, document each socket's purpose, and your Blueprint and C++ code stays clean across the full production lifecycle.
Browse combat-ready character rigs and weapon packs with documented socket layouts at BitSoul marketplace and cut your attachment pipeline setup from days to minutes.
Build with real assets: grab the 98-model Character Pack on the BitSoul marketplace and drop them straight into your project.