Unity's built-in Terrain system is the fastest way to prototype open-world levels — but most developers hit the same wall: the default settings ship a draw-call nightmare that tanks frame rates the moment you add trees and props. This guide cuts through the noise. You'll leave with a URP terrain pipeline that uses proper PBR layers, batches your assets correctly, and holds 60 fps at target.
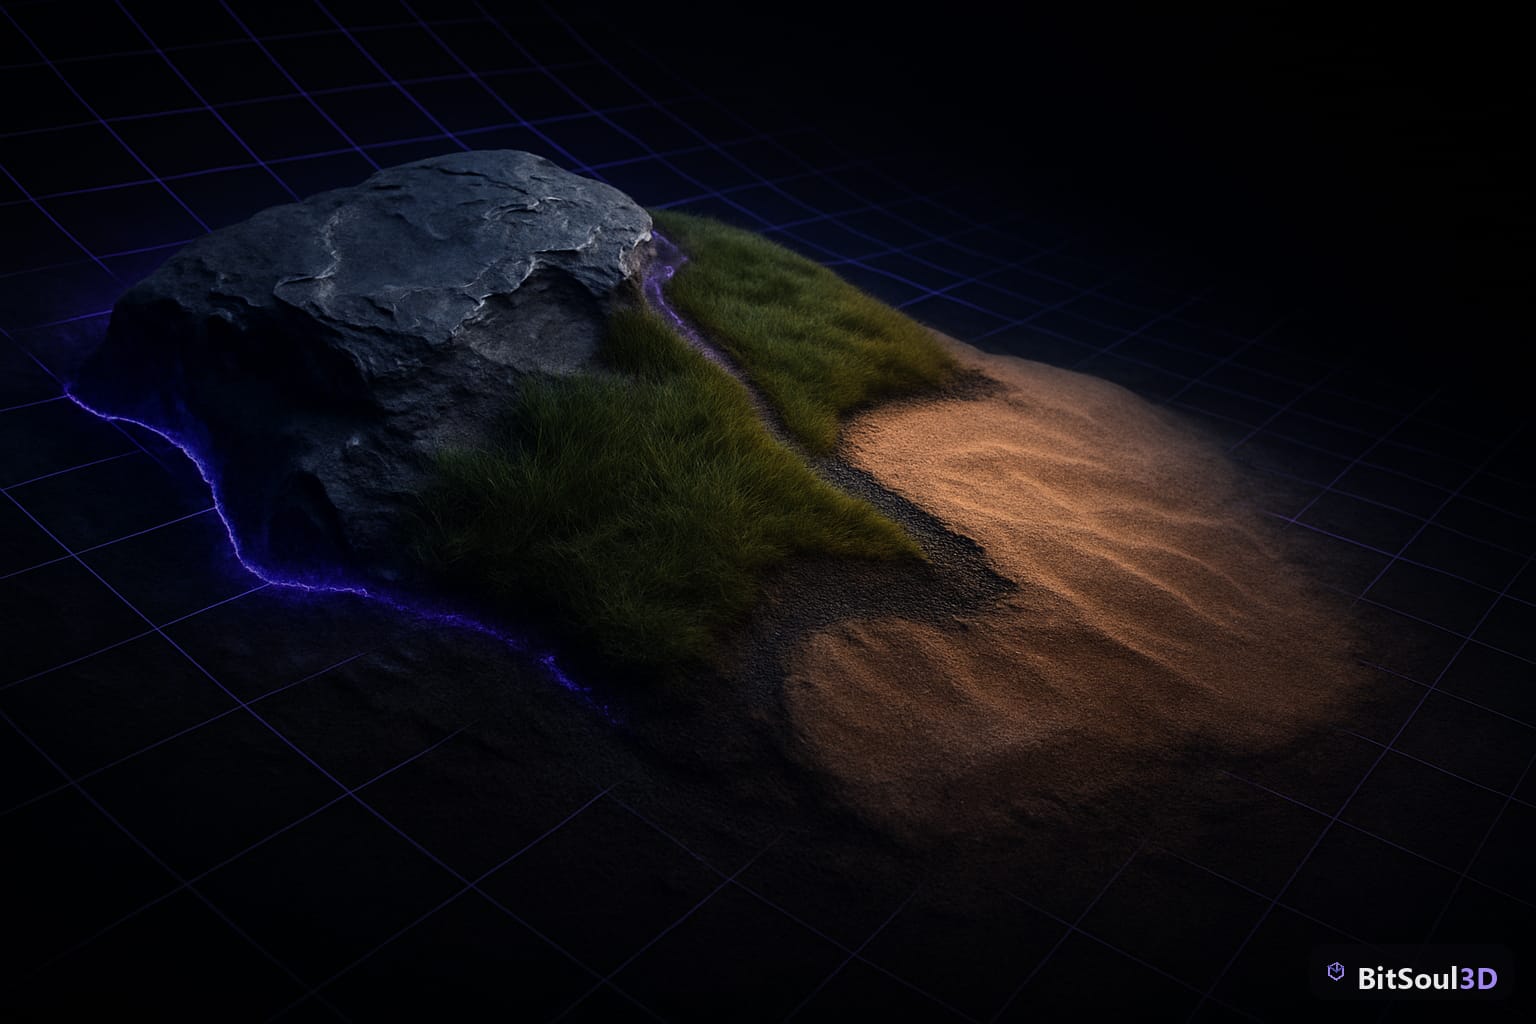
Setting Up Your Terrain for URP: Heightmap, Resolution, and Terrain Layers
Start with the Terrain component's base resolution. For a 1 km² game level, use a heightmap resolution of 513×513 — it's a power-of-two plus one, which Unity requires. Anything larger inflates memory and slows sculpting without meaningful quality gain on mid-tier hardware.
Switch the Terrain Material to Universal Render Pipeline/Terrain/Lit. Don't use the Built-In render pipeline's default material — it won't light correctly in URP and won't sample your lightmaps during baking.
Create your first Terrain Layer via Project > Create > Terrain Layer. Assign a Diffuse texture (albedo), a Normal Map, and a Mask Map. The Mask Map channels pack as: R = Metallic, G = Ambient Occlusion, B = Height (optional), A = Smoothness — matching URP's Lit shader packing exactly. This is non-negotiable; without the Mask Map, your terrain won't respond to directional lights or reflections the same way your props do, creating an obvious material mismatch at the horizon.
Set Tile Size to 4 or 8 for most tileable ground textures. Values below 2 cause visible tiling at distance. Match Normal Map strength to your texture set to avoid harsh transitions between layers.
Painting PBR Terrain Layers with Mask Maps
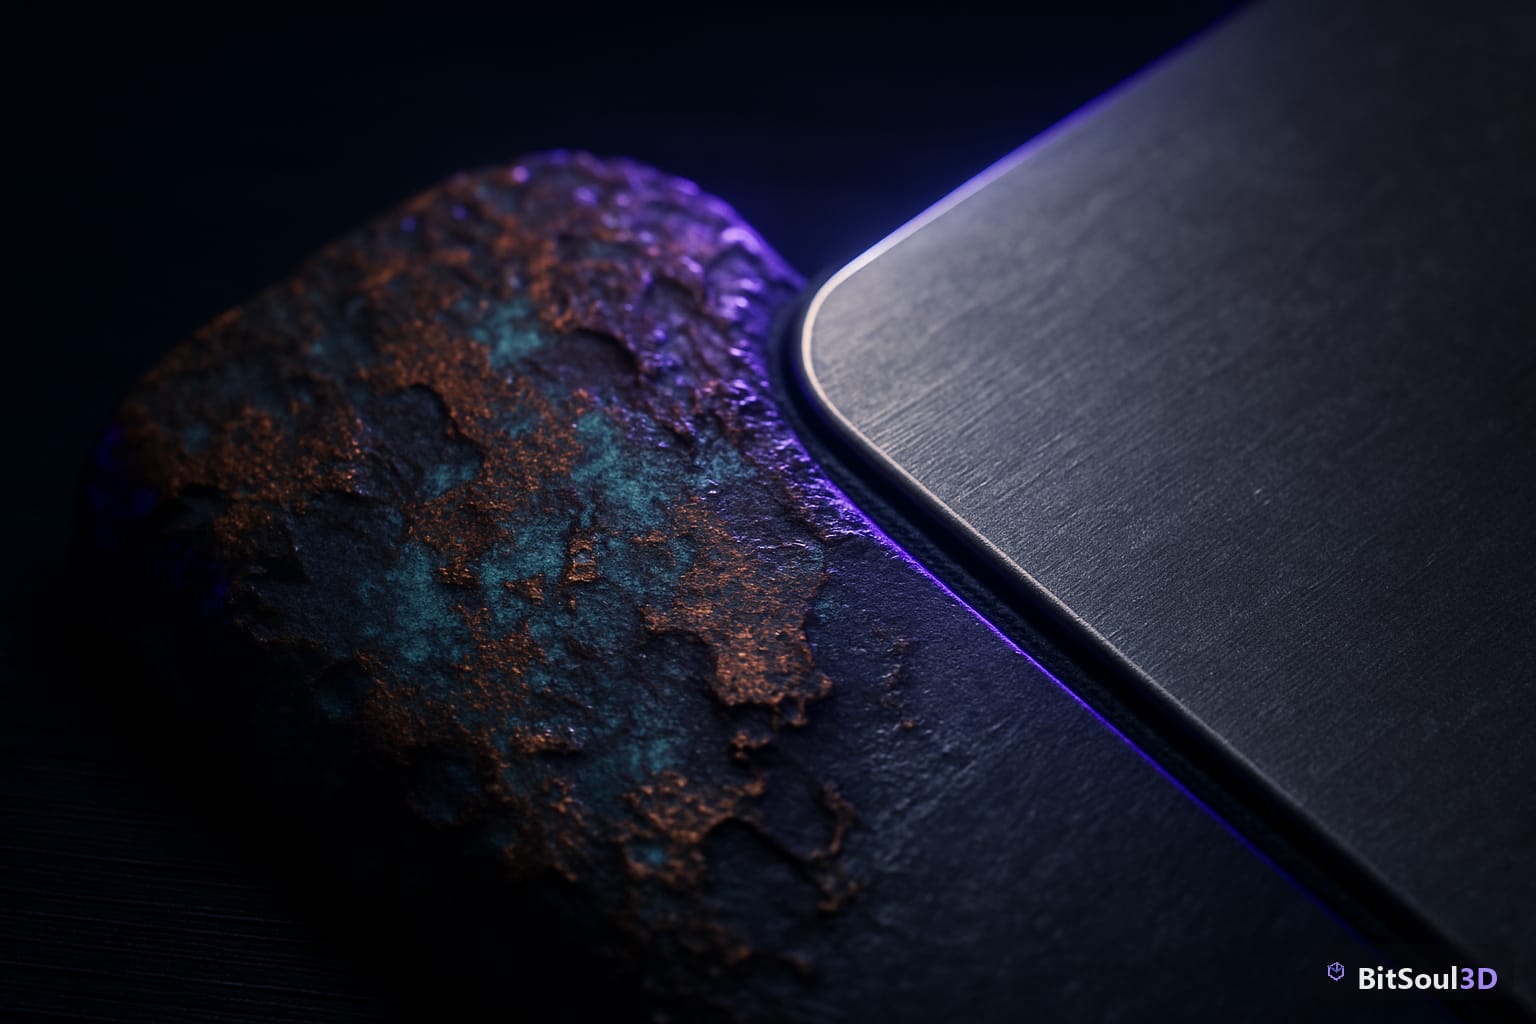
Layer ordering matters more than most tutorials explain. Your first layer in the list paints at full opacity across the entire terrain by default — it is your base, not a blend. Subsequent layers blend over it using the painter's brush opacity.
Use three to five layers for most environments: base rock or dirt, grass, gravel path, and a cliff or snow layer for vertical faces. Don't exceed seven layers per Terrain object; URP processes four layers per render pass. Every four layers beyond the first four adds an additional draw call per visible terrain chunk, which compounds fast in open environments.
For cliff faces, drive the layer blend with slope. You can script automatic slope-based painting using a simple Editor utility:
using UnityEngine;
using UnityEditor;

public static class TerrainSlopePainter
{
    [MenuItem("Tools/Paint Cliff Layer by Slope")]
    static void PaintBySlope()
    {
        Terrain t = Selection.activeGameObject?.GetComponent<Terrain>();
        if (t == null) return;

        TerrainData td = t.terrainData;
        int res = td.alphamapResolution;
        float[,,] maps = td.GetAlphamaps(0, 0, res, res);
        int cliffLayer = 3; // index of your cliff terrain layer
        float slopeThreshold = 35f;

        for (int y = 0; y < res; y++)
        {
            for (int x = 0; x < res; x++)
            {
                float nx = (float)x / res;
                float ny = (float)y / res;
                float slope = td.GetSteepness(nx, ny);
                if (slope > slopeThreshold)
                {
                    maps[y, x, cliffLayer] = 1f;
                    for (int i = 0; i < maps.GetLength(2); i++)
                        if (i != cliffLayer) maps[y, x, i] = 0f;
                }
            }
        }
        td.SetAlphamaps(0, 0, maps);
        Debug.Log("Cliff layer painted.");
    }
}
Run it from the Tools menu after configuring your cliff layer. Tweak slopeThreshold between 25–45 degrees until it matches your heightmap's rocky faces. This alone eliminates hours of manual painting on complex terrain.
Placing Trees and 3D Props: Detail Mesh vs. Tree Mesh Systems
Unity's Terrain component separates placed objects into two rendering systems: Tree Meshes and Detail Meshes. Mixing up which system you use for which asset is one of the most common performance mistakes in URP terrain projects.
Tree Mesh System: add any GameObject prefab as a tree via Terrain > Place Trees. Unity auto-instances them and generates billboard impostors at distance using its built-in billboard renderer. For this to work correctly, your prefab needs an LODGroup with at least two LOD levels. Assets from BitSoul's marketplace — particularly foliage and vegetation packs — ship with LODGroups pre-configured, so they drop directly into the terrain tree painter without additional setup.
Detail Mesh System: use for anything under 1 m tall — grass clumps, pebble scatter, small shrubs. Set Render Mode to GPU Instancing (not Mesh). Keep Detail Resolution at 512 for a 1 km² terrain and Detail Resolution Per Patch at 32 — this controls Unity's spatial buckets for detail culling.

For static environment props (rocks, barrels, ruins), don't use the terrain placement systems at all. Place them as scene GameObjects, mark them Batching Static, and let Unity's static batching merge their geometry at build time. This gives much cleaner batching results than the terrain tree system for non-foliage assets.
Draw Call Optimization: GPU Instancing and Billboard LODs
The largest performance sink in terrain-heavy scenes is uninstanced prop rendering. Here's the breakdown by source and the fix for each:
| Source | Problem | Fix |
|---|---|---|
| Terrain chunks | Extra passes from more than 4 terrain layers | Keep layers ≤ 4 per Terrain object |
| Tree meshes | No LODGroup configured | Add LODGroup with 2+ LOD levels to prefab |
| Detail meshes | Render Mode set to Mesh | Switch to GPU Instancing in Detail settings |
| Static props | No static batching | Mark prefabs as Batching Static |
| Grass | High density and large density distance | Limit Detail Distance to 40–80 m |
Enable GPU instancing on all terrain prop materials: in the material Inspector, check Enable GPU Instancing. Without this, Unity submits a separate draw call for every tree instance, regardless of whether you used the terrain tree painter.
For billboard LOD transitions, a stable setup for mid-range foliage is: full mesh at 0–25 m, reduced mesh at 25–65 m, billboard quad at 65–150 m, culled beyond 150 m. Adjust based on your target platform — halve the distances for mobile or Quest.
Final Performance Checklist and Basemap Distance Tuning
Before shipping, validate these terrain settings in order:
- Pixel Error: 5–15 (higher = fewer terrain triangles; raise it until popping is visible, then back off)
- Basemap Distance: 1000–1500 m; Unity switches to a baked flat basemap texture beyond this — bake it via Terrain Settings > Base Map Dist > Refresh
- Cast Shadows: disable on terrain if using baked lighting to avoid redundant shadow passes
- Detail Max Density: reduce to 0.5–0.7 for mobile targets
- Terrain chunk size: split terrain into 500 m² or smaller objects for tight frustum culling
- Occlusion Culling: bake an occlusion volume over the full terrain bounds via Window > Rendering > Occlusion Culling
- Frame Debugger: confirm tree mesh instances are grouped under single GPU Instancing batches, not separate SetPass calls
Environment asset sets optimized for these workflows — trees, modular rocks, cliff faces, and ground scatter with LODGroups and URP-ready PBR textures — are available at BitSoul's marketplace. Each pack is structured to slot directly into the terrain tree and detail systems without rework.
Terrain performance is almost entirely a configuration problem, not a hardware one. Get the layer count right, instance everything, tune your LOD thresholds, and a detailed open-world level can sustain 60 fps on mid-tier hardware. The systems are all there — you just need to flip the right switches.
Build with real assets: grab game-ready nature 3D models on the BitSoul marketplace and drop them straight into your project.