You've built a clean hard surface prop in Blender. The topology is solid, the UV map is tight, and the textures look great in the viewport. Then you export to FBX, drop it into Unity or Unreal Engine 5 — and a dark band cuts across the corner of what should be a perfectly flat panel. That's a vertex normal artifact, and it's one of the most common and frustrating issues in game asset pipelines. This guide shows you exactly how to diagnose it and fix it using Blender's custom normals toolset.
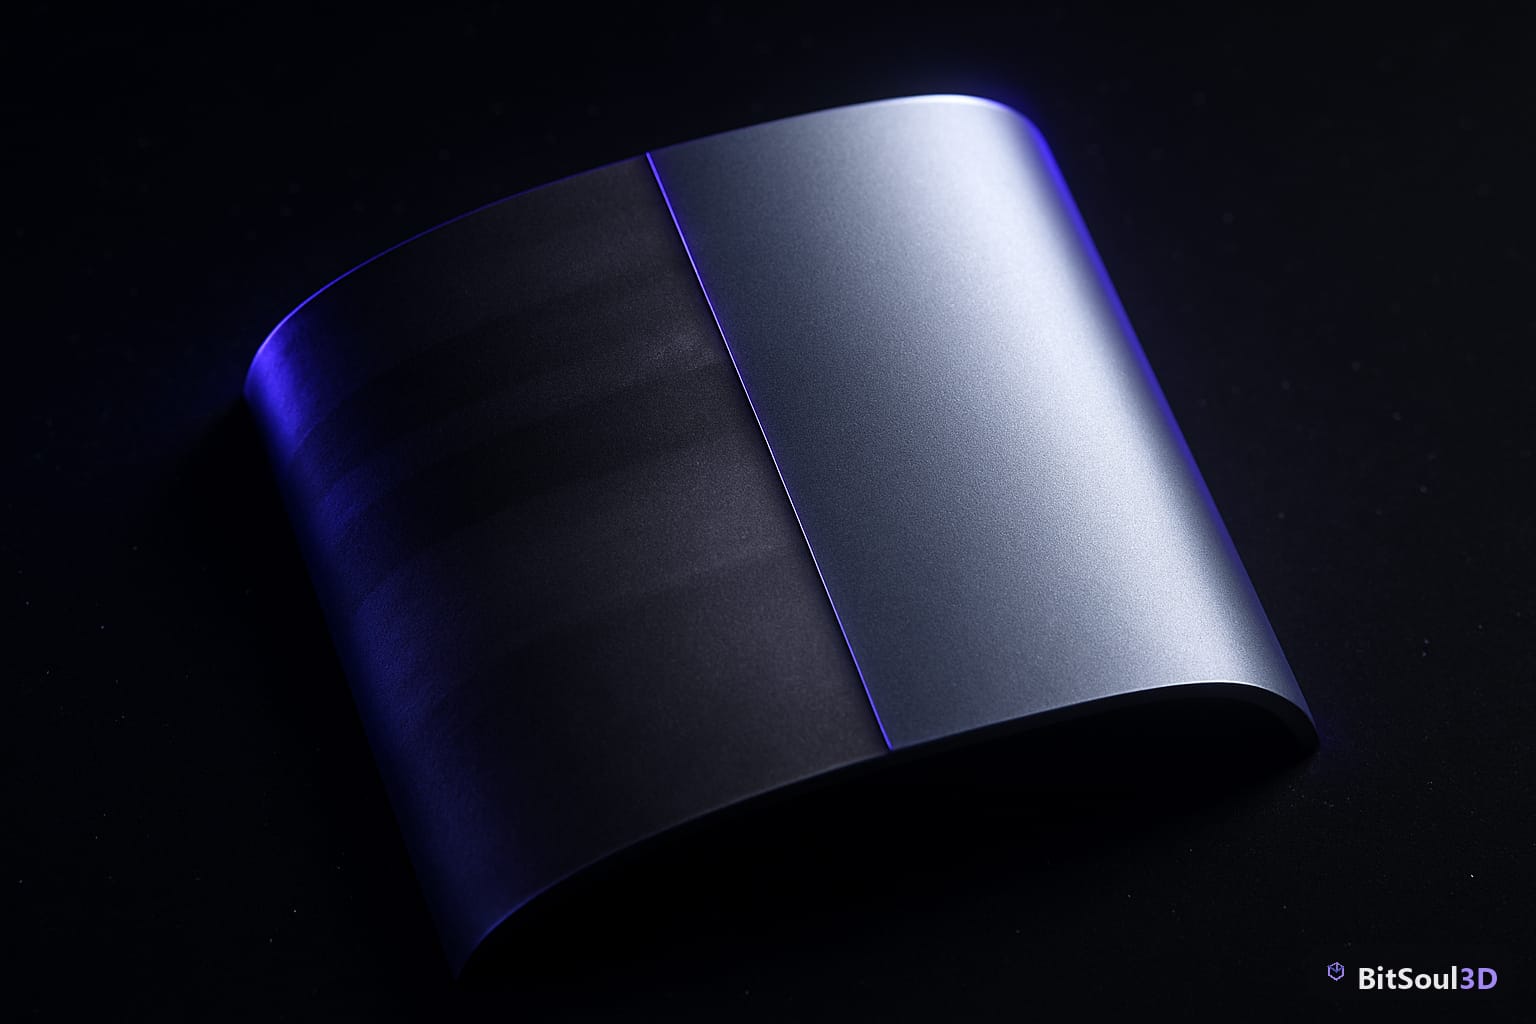
Why Shading Artifacts Happen
Every face on a 3D mesh has a geometric normal — the direction perpendicular to its surface. At shared vertices, Blender blends the surrounding face normals to calculate a smooth shading direction. When you mix smooth-shaded and flat-shaded regions on the same mesh, or when you mark sharp edges without fully thinking through which vertices they affect, the interpolated normals at those boundaries create visible banding, dark creases, or gradient smearing that has nothing to do with your textures.
Auto Smooth helps, but it's not a cure-all. Setting the Auto Smooth angle in Object Data Properties tells Blender where to place split normals — but if your mesh has bevels, boolean cuts, or non-manifold geometry, Auto Smooth alone won't resolve every artifact. Hard surface props with a mix of curved and planar surfaces are especially prone to this, because the engine has to decide how to interpolate normals across a wide range of surface angles.
The root cause is almost always one of these three things: overlapping normals at sharp edge boundaries, incorrect smooth/flat shading assignments at the polygon level, or normals data that gets misinterpreted by the export format.
Blender's Custom Normals Toolset
Blender gives you several ways to override automatically computed normals and bake a specific shading intent directly into the mesh data. These tools live in the Mesh > Normals submenu in Edit Mode, and as modifiers in the modifier stack.
Set from Faces (Mesh > Normals > Set from Faces in Edit Mode) is the fastest fix for flat panels. Select the faces you want to appear flat, run Set from Faces, and Blender locks those normals to point straight out from each face — regardless of what neighbouring faces do. For mechanical assets, this is often all you need for planar surfaces.
The Weighted Normal modifier is the non-destructive route. Add it at the top of your modifier stack (after any Subdivision Surface or Bevel modifiers), set the weighting mode to Face Area or Face Angle, and enable Keep Sharp. The modifier recomputes normals based on face size or angle contribution, which typically produces much cleaner transitions on bevelled edges than raw Auto Smooth.
Data Transfer modifier is the advanced option. It lets you copy normals from a clean source mesh onto a target. The workflow: duplicate your mesh, shade the duplicate flat, then use Data Transfer to copy its face corner normals onto the original. This is especially powerful when you're dealing with boolean-cut geometry where Auto Smooth has no clean surface to interpolate from.
To inspect normals directly, go to the Viewport Overlays menu in the 3D viewport header, scroll down to Normals, and enable Face or Vertex normals display. Setting the display length to around 0.02–0.05 gives you a clear picture of what direction each normal is pointing without cluttering the view.
Step-by-Step Fix Workflow for Game-Ready Hard Surface Props
Here's the exact workflow for a typical hard surface prop — a mechanical panel, weapon chassis, or vehicle part.
Step 1: Apply smooth shading globally. In Object Mode, right-click the mesh and select Smooth Shading. This is your baseline — you want the normals system working from a smooth-shading state before you layer in any custom overrides.
Step 2: Enable Auto Smooth. In Object Data Properties > Normals, enable Auto Smooth and set the angle to 30° for mechanical assets (lower than Blender's default 180°). This creates split normals at edges above that threshold.
Step 3: Mark sharp edges explicitly. In Edit Mode, select the edge loops where you want a hard crease, then go to Edge > Mark Sharp. This takes precedence over the Auto Smooth angle for those specific edges.
Step 4: Add the Weighted Normal modifier. Stack it above your bevel modifier. Set mode to Face Area, enable Keep Sharp, set Weight to 50. This blends normals intelligently across your bevelled edges rather than creating a hard interpolation break.
Step 5: Apply all modifiers before export. Custom normals data stored in modifiers does not always survive FBX or GLB export correctly. Apply each modifier in order (Bevel → Weighted Normal), then verify in the Viewport Overlays that normals look correct on the applied mesh.
# Quick Blender Python snippet to apply all modifiers on selected objects
import bpy

for obj in bpy.context.selected_objects:
    if obj.type == 'MESH':
        bpy.context.view_layer.objects.active = obj
        for mod in obj.modifiers:
            bpy.ops.object.modifier_apply(modifier=mod.name)
print("All modifiers applied.")
Step 6: Validate in Solid view. Before export, use MatCap shading (the sphere icons in the viewport header) with the Clay or Metal MatCap. This strips out all texture information and lets you see shading artifacts clearly. If you still see banding, return to Step 3 and refine your sharp edge selection.
Exporting Custom Normals to FBX, GLB, and Unreal Engine 5
Getting custom normals to survive the export pipeline requires knowing which settings to enable in each format.
FBX export: In the FBX export dialog, under Geometry, ensure Smoothing is set to Normals Only — not Edge or Face. This tells Blender to export the explicit normal vectors you've set rather than letting the engine recalculate smoothing from edge data. Also enable Apply Modifiers if you haven't already applied them manually.
GLB/GLTF export: GLTF 2.0 stores normals as per-vertex vectors, so custom normals export cleanly by default. In Blender's GLTF export dialog, ensure Apply Modifiers is checked. No additional settings are needed — GLTF preserves whatever normal data is in the mesh.
Unreal Engine 5: When importing FBX in UE5, the import dialog shows Normal Import Method. Set this to Import Normals (not Compute Normals). If you select Compute Normals, UE5 recalculates shading from scratch and all your careful custom normal work is thrown away.
Unity: In Unity's model import settings, under Normals, change the Normals dropdown from Import to Calculate only if you're testing. Leave it on Import to preserve what Blender baked in. Set Smoothness Source to Prefer Smoothness to match Blender's export.

For Godot 4, GLB is the recommended format and normals import correctly without any additional configuration, provided you applied modifiers before export.
Common Mistakes and How to Avoid Them
Below is a checklist of the most frequent errors in vertex normal workflows and how to sidestep each one.
| Mistake | Symptom | Fix |
|---|---|---|
| Forgetting to apply modifiers before FBX export | Normals revert to auto-computed on import | Apply all modifiers in Blender before export |
| Mixing smooth and flat shading at polygon level | Dark gradient bands at face boundaries | Set global Smooth Shading, use sharp edges instead |
| FBX Smoothing set to Face or Edge | Engine ignores normal vectors entirely | Set FBX Smoothing to Normals Only |
| UE5 import set to Compute Normals | All custom normals discarded | Set Normal Import Method to Import Normals |
| Weighted Normal modifier below Bevel in stack | Weighted Normal operates on pre-bevel geometry | Move Weighted Normal to top of modifier stack |
| Non-manifold geometry (open edges, duplicate faces) | Unpredictable normal direction at affected verts | Run Mesh > Clean Up > Merge by Distance, then check for non-manifold edges |
One additional tip: after you've fixed normals and before final export, select all vertices in Edit Mode and run Mesh > Normals > Average with the Face Area option. This is a gentle pass that catches any isolated outlier normals that slipped through your workflow without overriding your intentional sharp edges.
If you're building and selling hard surface assets, getting normals right is the difference between a professional-grade product and one that generates refund requests. Buyers working in Unity, Unreal, or Godot expect assets that import cleanly without needing manual engine-side fixes. You'll find a wide range of rigged and textured game-ready props at BitSoul's marketplace that follow these exact export standards.
Start With Clean Normals, Ship Better Assets
Vertex normal issues are invisible until they're not — and by the time a buyer notices them, it's already a support ticket. Building normal management into your standard Blender workflow (Auto Smooth + Weighted Normal modifier + manual sharp edge marking + FBX Normals Only export) costs maybe five extra minutes per asset and eliminates an entire class of shading bugs.
The next time you see a dark crease appear on an otherwise clean import, you'll know exactly where to look and what to fix. Explore game-ready assets that are already optimized with correct normal data at BitSoul's marketplace — or use these techniques to bring your own props up to that standard.
Need drop-in assets for this workflow? Grab the 94-model Animal Bundle on the BitSoul marketplace and drop them straight into your project.