Your rig is only as good as its weights. You can build a flawless armature with perfect bone placement and clean IK chains, but if the vertex weights underneath are sloppy, your character's elbows will collapse, shoulders will candy-wrap, and hips will shear the moment animation starts. Weight painting is where most game character rigs quietly fail — and it's the skill that separates assets that ship from assets that get refunded.
Why Bad Weights Ruin Good Rigs
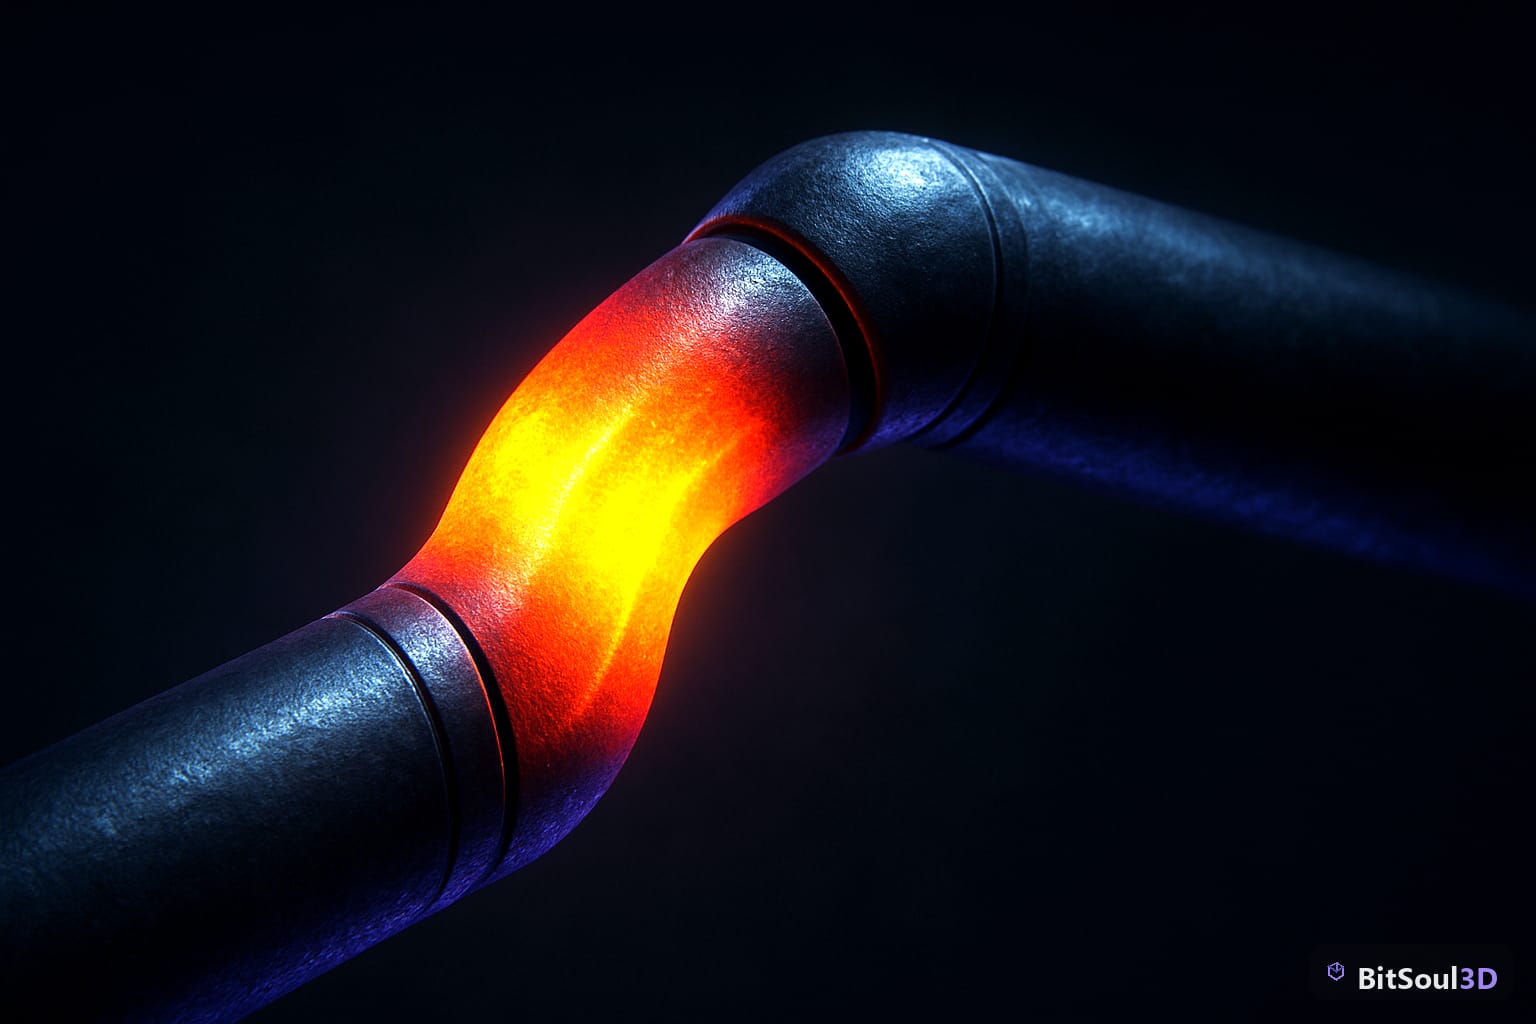
Every vertex on a skinned mesh stores a list of bone influences and a weight for each. When a bone moves, the engine blends the transforms of every influencing bone according to those weights. If a knee vertex is 60% thigh and 40% shin when it should be 90/10, the knee crumples on every step cycle. No animation polish can fix it downstream — the deformation math is baked into the mesh.
Bad weights also have a real performance and pipeline cost. Game engines cap bone influences per vertex — typically 4 for desktop, often 2 for mobile. Blender will happily let you paint 8+ influences on a vertex, then your exporter silently drops or renormalizes the extras, and the deformation you approved in Blender looks different in Unity or Unreal. Catching this before export is far cheaper than debugging it after.
The takeaway: treat weight painting as a deliberate pass in your pipeline, not a checkbox after rigging.
Automatic Weights: A Starting Point, Not a Solution
Blender's Armature Deform with Automatic Weights (Ctrl+P) uses bone heat diffusion to guess influences. For a clean, watertight, T-posed humanoid it gets you 70–80% of the way. It fails predictably in these cases: overlapping geometry (teeth inside a mouth, layered clothing), thin parts close together (fingers), disconnected mesh islands (armor plates, buttons), and non-manifold geometry, which triggers the infamous "bone heat weighting failed" error.
Before blaming the tool, prep the mesh: apply all transforms (Ctrl+A), remove doubles, fix non-manifold edges (Select > All by Trait > Non Manifold), and make sure scale is 1.0 on both mesh and armature. Then let automatic weights do the rough pass and budget your manual time for the joints that matter: shoulders, hips, knees, elbows, and the spine-to-pelvis transition.
The Manual Weight Painting Workflow
Enter Weight Paint mode with the armature selected first, then the mesh (Ctrl-click), so you can Ctrl+click bones to switch vertex groups while painting. The three brushes you actually need are Draw (with Add and Subtract blend modes), Blur for smoothing transitions, and Gradient for falloffs along limbs.
Settings that matter more than brush choice:
- Auto Normalize (toolbar checkbox): keeps all influences on a vertex summing to 1.0 while you paint. Leave it on always — unnormalized weights are the #1 source of export surprises.
- X Mirror / Mirror Vertex Groups: paint one side, get the other free. Requires accurate
.L/.Rbone naming. - Front Faces Only: prevents painting through to the far side of a limb.
- Weight 1.0, low strength: build up weights in passes rather than stamping full values.
Work joint by joint: pose the bone to a deformation extreme (bend the elbow fully), paint while deformed so you see the result live, then use Blur along the transition band. A good elbow transition spans 2–4 edge loops — tighter reads robotic, wider reads rubbery.
Testing Deformation in Pose Mode
Never sign off on weights from the rest pose. Build a quick test routine: rotate every deforming bone to its gameplay extremes — full squat for hips and knees, arms overhead for shoulders, head turned 90° for the neck.
Better yet, import a few seconds of actual game animation (a run cycle, an attack swing) and scrub it. Joint failures that hide in static poses show up instantly in motion. Watch for volume loss at the elbow and knee, candy-wrapper twist in the forearm (fix with twist bones or corrective shape keys), and clothing intersecting the body at the hip crease.
If a region misbehaves no matter how you paint it, the problem is usually topology, not weights — deformation zones need supporting edge loops. Assets on the BitSoul marketplace that pass animation stress tests do so because topology and weights were designed together.
Engine Export: Bone Limits and Normalization
Before export, enforce the influence budget. Blender has a built-in tool: in Weight Paint mode, run Weights > Limit Total with a limit of 4, then Weights > Clean (threshold 0.01) to strip near-zero influences, then Weights > Normalize All. Or batch it with Python:
import bpy

obj = bpy.context.active_object
bpy.ops.object.mode_set(mode='WEIGHT_PAINT')

# Strip near-zero influences
bpy.ops.object.vertex_group_clean(
    group_select_mode='ALL', limit=0.01, keep_single=True)

# Enforce 4-bone limit (use 2 for mobile targets)
bpy.ops.object.vertex_group_limit_total(
    group_select_mode='ALL', limit=4)

# Re-normalize so weights sum to 1.0
bpy.ops.object.vertex_group_normalize_all(
    group_select_mode='ALL', lock_active=False)
Engine-side limits to plan around:
| Target | Max influences | Notes |
|---|---|---|
| Unity (desktop) | 4 (up to 32 with Unlimited setting) | Quality setting can downgrade to 2 or 1 |
| Unreal Engine 5 | 12 default, 8 typical budget | Project setting; mobile renderer caps lower |
| Godot 4 | 4 or 8 | Set per-mesh; 8 costs extra skinning time |
| Mobile (any engine) | 2 | Test deformation at 2 before shipping |
Export with GLB for Godot or FBX for Unity/UE5, and verify weights survived: in Unity check the SkinnedMeshRenderer quality setting; in Unreal open the Skeletal Mesh editor's weight visualization mode.
Weight Painting Checklist
- Transforms applied, mesh manifold, scale 1.0 before automatic weights
- Auto Normalize enabled for every painting session
- Shoulders, hips, elbows, knees painted in posed (deformed) state
- Mirror painting used with correct
.L/.Rnaming - Tested against real animation clips, not just static poses
- Limit Total (4 or 2), Clean, and Normalize All run before export
- Deformation verified inside the target engine, not just Blender
Clean weights are invisible when done right — players never notice a good shoulder, only a broken one. If you'd rather start from characters that already deform correctly, browse the game-ready, animation-tested models on the BitSoul marketplace and spend your painting time on what makes your game unique.
Build with real assets: grab the 98-model Character Pack on the BitSoul marketplace and drop them straight into your project.