Hard-surface props look convincing in Blender's viewport, but once they land in Unreal, Unity, or Godot they develop dark patches and faceted shading on angles that should read perfectly clean. Nine times out of ten the culprit is normal vector averaging—and weighted normals is the fix. This guide covers the exact modifier setup in Blender, how to diagnose artifacts before export, and what to check in each engine on import.
What Are Weighted Normals and Why They Break Hard-Surface Assets
In a standard mesh, each vertex normal is calculated by averaging the normals of every face it touches. On organic shapes this produces smooth, natural shading. On hard-surface props—crates, vehicles, machinery, modular walls—it creates dark gradient smears where flat surfaces meet sharp edges. The shading interpolates across 90-degree corners as if they were curved geometry.
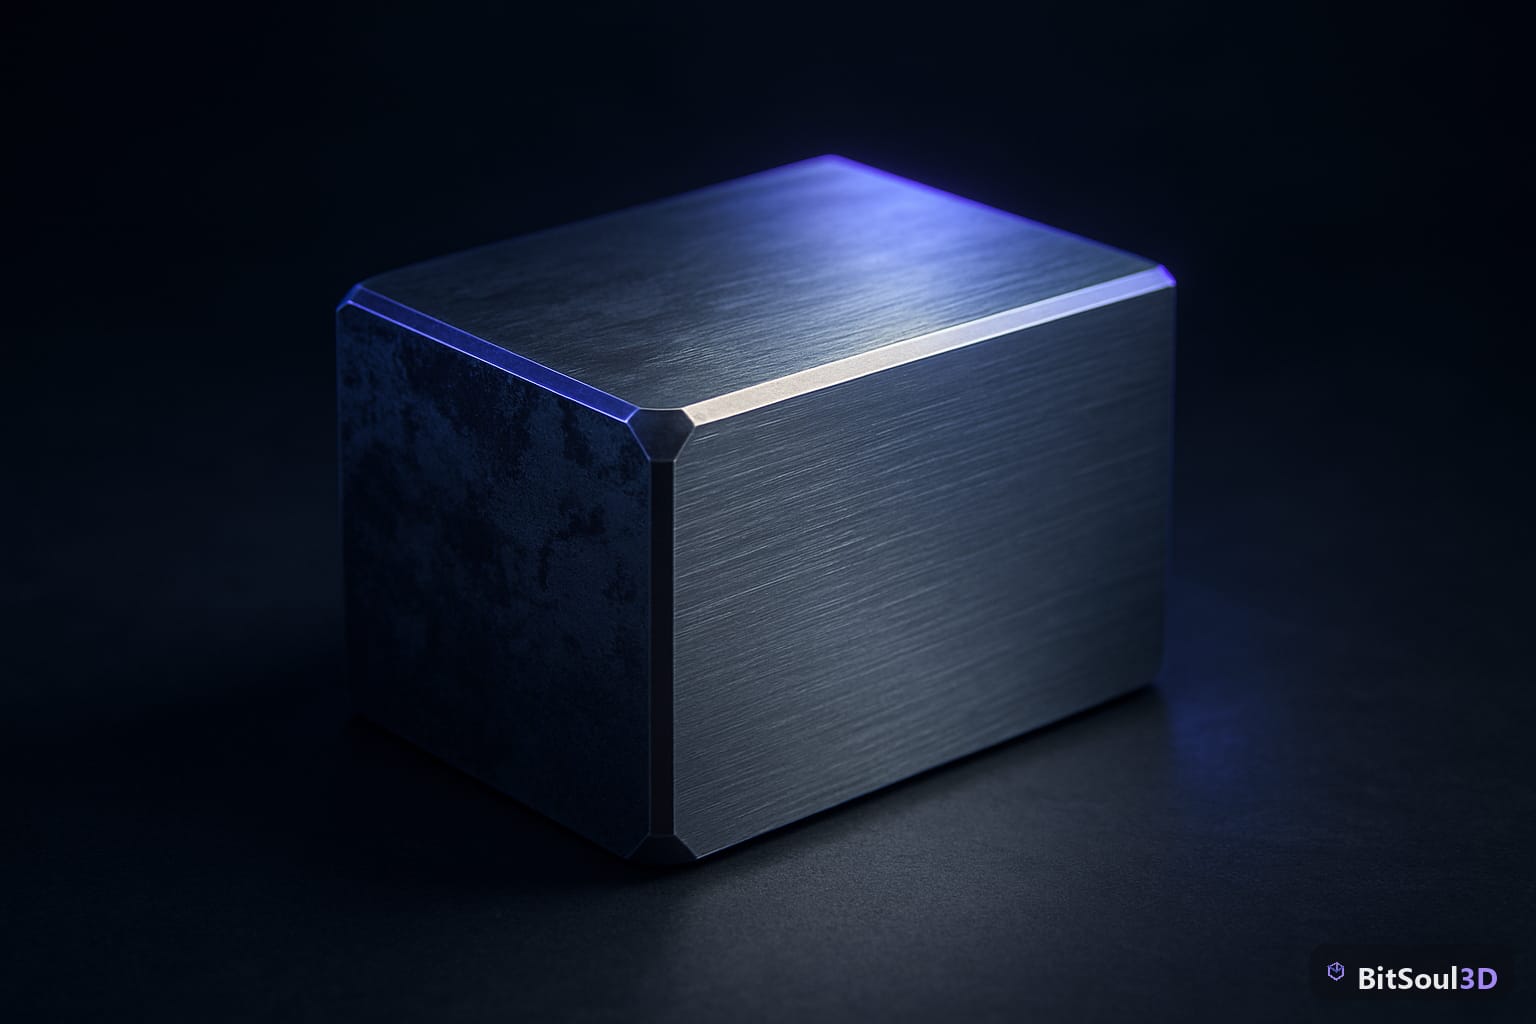
Weighted normals solves this by giving more influence to the largest adjacent faces. The big flat top panel of a crate dominates the normal calculation for its boundary vertices, keeping the top face shading flat. A 90-degree corner reads as an abrupt, intentional edge break rather than a dark smear artifact. The visual result: flat surfaces that stay flat, hard edges that read as designed, and no unexplained dark patches on otherwise correctly textured geometry.
Standard averaged normals are fine for character meshes and terrain. For any asset with planar surfaces and deliberate hard edges—crates, sci-fi panels, vehicle chassis, architectural props—weighted normals are not optional. They should be the last step before every hard-surface GLB export.

Enabling Weighted Normals in Blender
Blender provides a dedicated modifier for this. The setup:
- Select your hard-surface mesh in Object Mode.
- Open the Modifier Properties tab and add a Weighted Normal modifier.
- Set Weighting Mode to
Face Area(default) orFace Area and Anglefor more aggressive correction on chamfered edges. - Enable Keep Sharp — this preserves any existing sharp edge marks, which is critical if you've already used
Mark Sharpto define hard edges manually. - In Object Data Properties → Normals, enable Auto Smooth and set the angle to the same threshold used when marking sharp edges (typically 30°–60° for game assets).
The modifier must sit below any Bevel or Subdivision Surface modifier in the stack. Weighted Normal applied before bevel means the bevel's new geometry won't benefit from the weighting.
Batch-applying this across an entire prop kit in Blender's scripting editor:
import bpy

for obj in bpy.context.selected_objects:
    if obj.type != 'MESH':
        continue
    # Enable auto smooth
    obj.data.use_auto_smooth = True
    obj.data.auto_smooth_angle = 0.523599  # 30 degrees in radians
    # Add weighted normal modifier at bottom of stack
    mod = obj.modifiers.new(name="WeightedNormal", type='WEIGHTED_NORMAL')
    mod.mode = 'FACE_AREA'
    mod.keep_sharp = True
Diagnosing Shading Artifacts Before You Export
Before exporting GLB, verify the fix is working in Blender's viewport:
- Set viewport shading to Material Preview (Lookdev) and switch to a plain studio or clay Matcap. Gradient smears on flat panels are immediately visible under uniform lighting.
- Enable Overlays → Face Orientation. Red faces are flipped normals—fix these first with
Mesh → Normals → Flipbefore adding the weighted normal modifier. Flipped normals defeat the weighting calculation. - Enable Overlays → Vertex Normals (the blue lines) and zoom into boundary vertices on a flat panel. With weighted normals active, they should all point perpendicular to the panel surface, not angled toward adjacent faces.
| Problem | Cause | Fix |
|---|---|---|
| Artifact survives after modifier | Auto Smooth disabled | Enable Auto Smooth in Object Data Properties |
| Sharp edges still smear | Keep Sharp not enabled | Enable Keep Sharp in modifier |
| Modifier has no effect | Wrong stack order | Move Weighted Normal to bottom of stack |
| Entire mesh faceted | Auto Smooth angle too low | Raise angle threshold to 30–60° |
| Inconsistent per-face results | Mixed normal directions | Select All → Mesh → Normals → Recalculate Outside |
GLB Export Settings That Preserve Weighted Normals
Weighted normals are stored as custom split normals in Blender. For them to survive GLB export intact:
- Open File → Export → glTF 2.0 (.glb/.gltf).
- Under Geometry, enable Apply Modifiers — this bakes the weighted normal modifier into the exported mesh data.
- Under Data → Mesh, confirm Normals is explicitly checked. This exports custom split normals rather than letting the importer recalculate from geometry.
- Disable Export Vertex Colors unless your asset requires them — they can conflict with normal data in some engine import pipelines.
Verify the export by reimporting the GLB into a fresh Blender session and checking face normals under the clay matcap. If faceted artifacts return on reimport, custom normals were not exported—recheck that Apply Modifiers and Normals are both enabled.
For teams sourcing game-ready hard-surface props, the BitSoul Marketplace ships assets with weighted normals already applied and verified, so engine import is predictable from day one.
Engine-Specific Normal Import Settings
Each engine has a flag controlling whether it uses the normals embedded in your GLB or discards them and recalculates at import. Getting this wrong nullifies everything done in Blender.

Unreal Engine 5
In the Import dialog, set Normal Import Method to Import Normals and Tangents. In the Static Mesh editor, confirm Recompute Normals is unchecked in the Build Settings for each LOD. If normals are being recalculated anyway, disable the Recompute Normals option in the LOD chain settings.
Unity URP
Select the imported GLB asset, open Model → Normals in the Inspector. Set the drop-down to Import (not Calculate). Set Normals Mode to Unweighted. Tangents can stay on Calculate.
Godot 4
Godot 4 respects GLB normals by default. If the mesh was imported using an older scene with Generate Normals checked, open Advanced Import Settings and verify the normals source is set to From file under Meshes.
| Engine | Setting | Value |
|---|---|---|
| Unreal Engine 5 | Normal Import Method | Import Normals and Tangents |
| UE5 Static Mesh LOD | Recompute Normals | Unchecked |
| Unity URP | Model → Normals | Import |
| Unity URP | Normals Mode | Unweighted |
| Godot 4 | Normals source | From file (default) |
Weighted normals are one modifier away from eliminating the most common hard-surface shading complaint in any game engine. Apply the modifier, export with Apply Modifiers and Normals enabled, import with the engine's "use file normals" option active, and your props will read exactly as they did in the Blender viewport.
For hard-surface props, modular environment kits, and rigged characters with normals already dialed in, browse the BitSoul Marketplace — every asset includes GLB and FBX exports with engine-specific import notes.
Need drop-in assets for this workflow? Grab the 67-model Weapons Bundle on the BitSoul marketplace and drop them straight into your project.