Every 3D asset you ship needs a collision shape — and picking the wrong one is one of the fastest ways to tank your game's physics performance. Mesh colliders that mirror every polygon might look accurate, but they can cost 10–100× more CPU time than a well-placed convex hull. Here's how to match the right collider to the right asset, and wire it up correctly in Unity, Unreal Engine 5, and Godot 4.
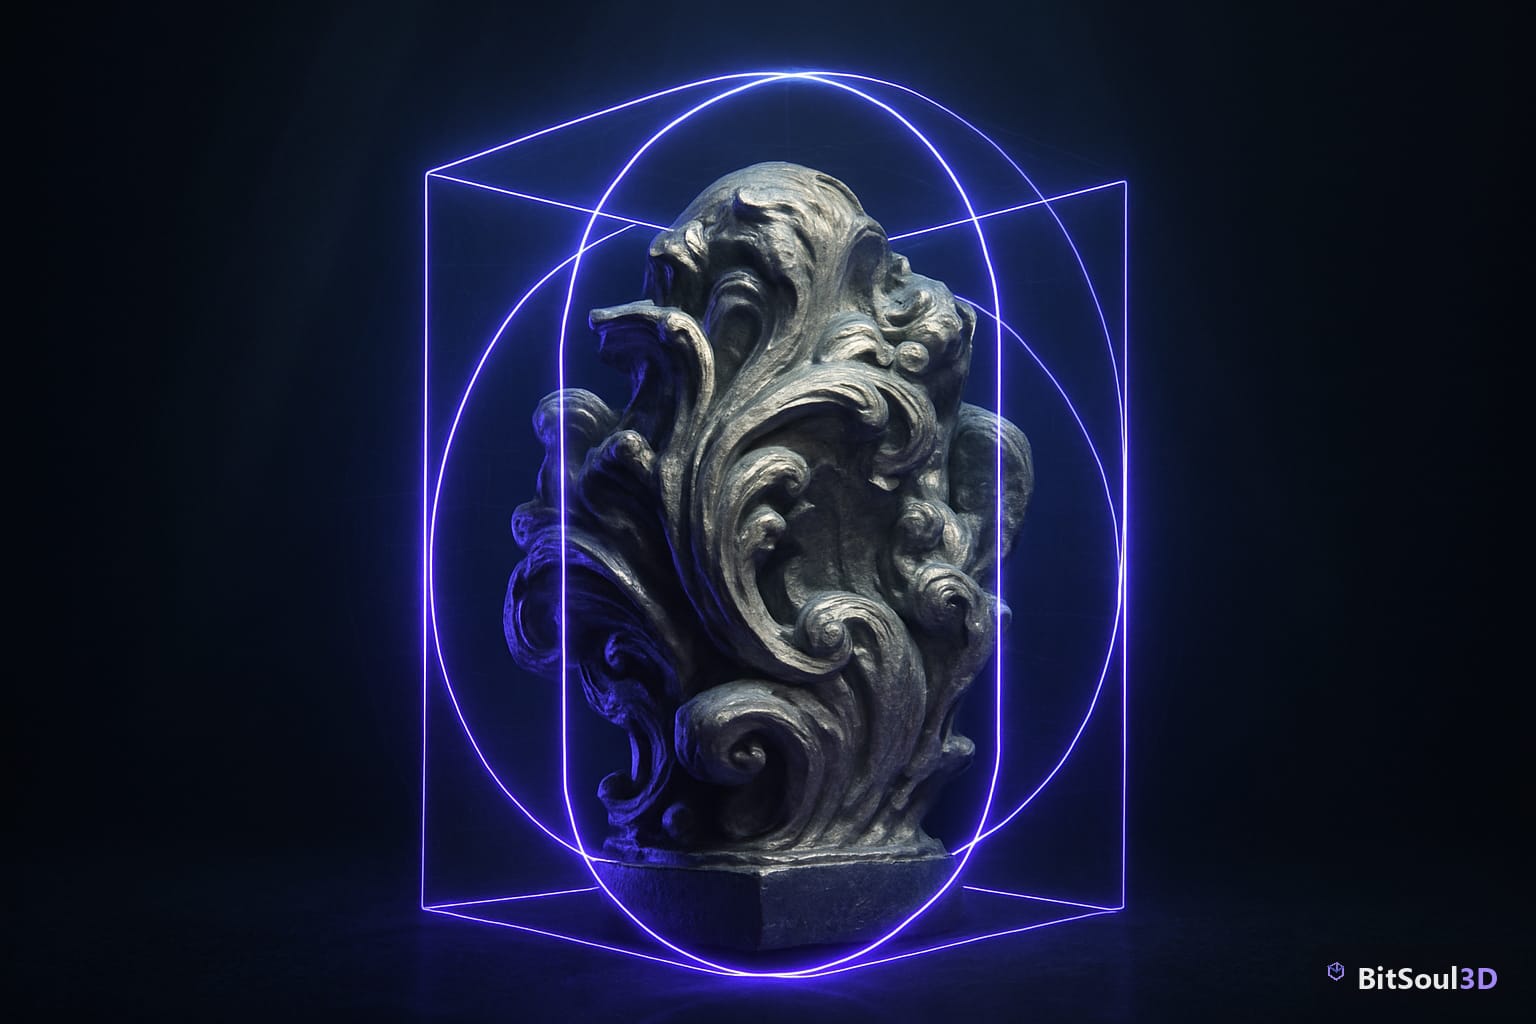
Understanding the Four Collider Types
Before touching the engine, you need to understand what you're choosing from. Game engines offer four fundamental collision shapes, each with a distinct performance and accuracy profile:
Primitive colliders (box, sphere, capsule) are the fastest. They require no per-polygon math — the engine solves intersections analytically. Use these for any asset where the player never examines the collision boundary closely: crates, barrels, pillars, weapons in a player's hand.
Convex hull colliders wrap the asset in the smallest convex shape that contains all its vertices. They support dynamic rigidbodies (a hard engine requirement for mesh colliders in most pipelines), are far cheaper than true mesh collision, and handle most props well. Think chairs, rocks, broken wall chunks.
Concave / triangle mesh colliders trace the actual surface topology. They are expensive, static-only in most engines, and should be reserved for level geometry — floors, walls, terrain — where accuracy is non-negotiable and the object never moves.
Compound colliders combine multiple primitives to approximate a complex shape cheaply. A character's torso might be a capsule plus two box shoulders. This is usually the right answer for anything humanoid or vehicle-shaped.
Quick reference:
| Collider Type | Dynamic? | Cost | Best For |
|---|---|---|---|
| Primitive (box/sphere/capsule) | Yes | Lowest | Props, pickups, projectiles |
| Convex hull | Yes | Low | Furniture, rocks, irregular props |
| Compound (multiple primitives) | Yes | Low–Medium | Characters, vehicles |
| Concave mesh | Static only | High | Level floors, walls, terrain |
Setting Up Colliders in Unity
Unity auto-assigns a Box Collider when you drag a mesh into a scene via the default import settings. That's fine for cubes; it's wrong for everything else.
Workflow for a typical environment prop:
- Select the asset in the Inspector and open the Model import tab.
- Under Meshes, set Generate Colliders to off — you'll add them manually with precision.
- Add the GameObject to the scene, then choose Add Component → Physics → Mesh Collider.
- Enable Convex for any dynamic rigidbody. Leave it disabled for static world geometry.
- For complex characters, build a compound collider hierarchy: create empty child GameObjects, attach primitive colliders to each, position and scale them in the viewport.
// Programmatically add a convex mesh collider at runtime
MeshCollider col = gameObject.AddComponent<MeshCollider>();
col.convex = true;
col.sharedMesh = GetComponent<MeshFilter>().sharedMesh;
Unity's physics profiler (Window → Analysis → Physics Debugger) renders all active collision shapes. Run it during play mode and look for mesh colliders on moving objects — those are your first optimization targets.
Performance checklist for Unity:
- All dynamic rigidbodies use primitives or convex hulls
- Static level geometry uses concave mesh colliders (Convex unchecked)
- Characters use compound capsule + box rigs, not mesh colliders
- Triggers use the simplest primitive that fits
- No mesh colliders with >255 polygons marked Convex (Unity's hard limit)
Configuring Colliders in Unreal Engine 5

Unreal takes a different approach: collision shapes are embedded in the FBX or authored directly in the Static Mesh Editor. The engine won't guess for you — it expects deliberate setup.
Naming convention for FBX export from Blender:
Unreal reads collision meshes from the FBX file automatically if you follow its naming rules:
UBX_MyMesh_01   → box collider
USP_MyMesh_01   → sphere collider
UCX_MyMesh_01   → convex hull
UCX_MyMesh_02   → second convex hull (compound)
Export these invisible collision meshes alongside your visual mesh in Blender, and Unreal imports them as compound convex bodies automatically — no manual work in-engine.
For complex level geometry, open the Static Mesh Editor, navigate to Collision → Add Complex Collision, and select Use Complex as Simple only as a last resort for static floor meshes. For everything that moves, click Collision → Add Convex Decomposition and adjust the Voxel Count slider — lower values give coarser, faster hulls.
Unreal's Collision Analyzer (console command p.CollisionAnalyzer 1) streams a live log of every collision event. Filter by actor name to isolate expensive queries during gameplay.
Physics Bodies in Godot 4
Godot 4 uses a node-based collision system. Every physics-aware object is a body node (StaticBody3D, RigidBody3D, CharacterBody3D, Area3D), and collision shapes are child CollisionShape3D nodes.
Node setup for a dynamic prop:
# In a RigidBody3D scene:
# RigidBody3D
#   └─ MeshInstance3D   (visual)
#   └─ CollisionShape3D (physics)
#        └─ ConvexPolygonShape3D.mesh = preload("res://meshes/prop_hull.tres")

# Generate convex hull from mesh in GDScript:
var hull = ConvexPolygonShape3D.new()
hull.set_points(mesh.get_faces())
$CollisionShape3D.shape = hull
For static environment meshes, use ConcavePolygonShape3D attached to a StaticBody3D. Godot bakes this at import time with the Trimesh Static collision option in the Import panel.
Godot 4.3+ ships with Jolt Physics as an optional backend (enable in Project Settings → Physics → 3D → Physics Engine → JoltPhysics3D). Jolt handles convex decomposition significantly faster than the default Godot Physics engine — worth enabling for projects with heavy physics simulation.
Performance tips for Godot:
- Avoid ConcavePolygonShape3D on any moving body
- Use the Simplified import collision preset for props, Trimesh only for level geometry
- Reduce CollisionShape3D count in compound rigs — Godot evaluates each child separately
- Keep convex hull vertex count under 64 where possible
General Optimization Best Practices
Regardless of engine, these rules always apply:
Author collision-specific meshes. Don't rely on auto-generation for hero assets. In Blender, model a separate low-poly collision mesh, apply Object Data Properties → Normals to ensure manifold geometry, and export it with the main mesh using the engine's naming convention or as a separate file.
Scale matters. Collision detection degrades at very small (< 0.01 m) and very large (> 100 m) scales in most engines. Maintain a consistent scale of 1 unit = 1 meter across your assets before export.
Triggers are free — use them. For overlap detection (item pickups, zone triggers, enemy awareness radii), use trigger volumes (Unity) or Area3D (Godot) / Overlap volumes (UE5). These skip the collision response calculation entirely.
Profile before optimizing. Unity's Physics Profiler, UE5's Insight profiler, and Godot's built-in profiler all expose physics cost per frame. Look for outliers — a single mistyped mesh collider on a spawning projectile can double your physics budget.
Every asset on BitSoul's marketplace is available in game-ready formats — many include pre-authored collision meshes following these conventions, saving you setup time on the most complex props.
Start with the Right Foundation
Collision shapes are invisible, but they define how your game feels. A character that stutters on stair steps, a projectile that clips through cover, a door that pushes the player sideways — these are all collider bugs. Build the habit of setting collision intent at asset creation time, not as a last-minute engine fix.
Browse game-ready 3D assets with correct collision setups at BitSoul Marketplace — every model is export-ready for Unity, Unreal Engine 5, and Godot 4.
This post is part of the Ultimate Guide to Free 3D Game Assets — BitSoul's complete reference for formats, texturing, rigging, optimization, and engine integration.
Need drop-in assets for this workflow? Grab the 67-model Weapons Bundle on the BitSoul marketplace and drop them straight into your project.