Your game runs fine in an empty scene. Add 300 characters, a dense forest, and a city block, and suddenly you're at 12 FPS. Nine times out of ten, the culprit is mesh complexity at distance — and the fix is Level of Detail (LOD) meshes.
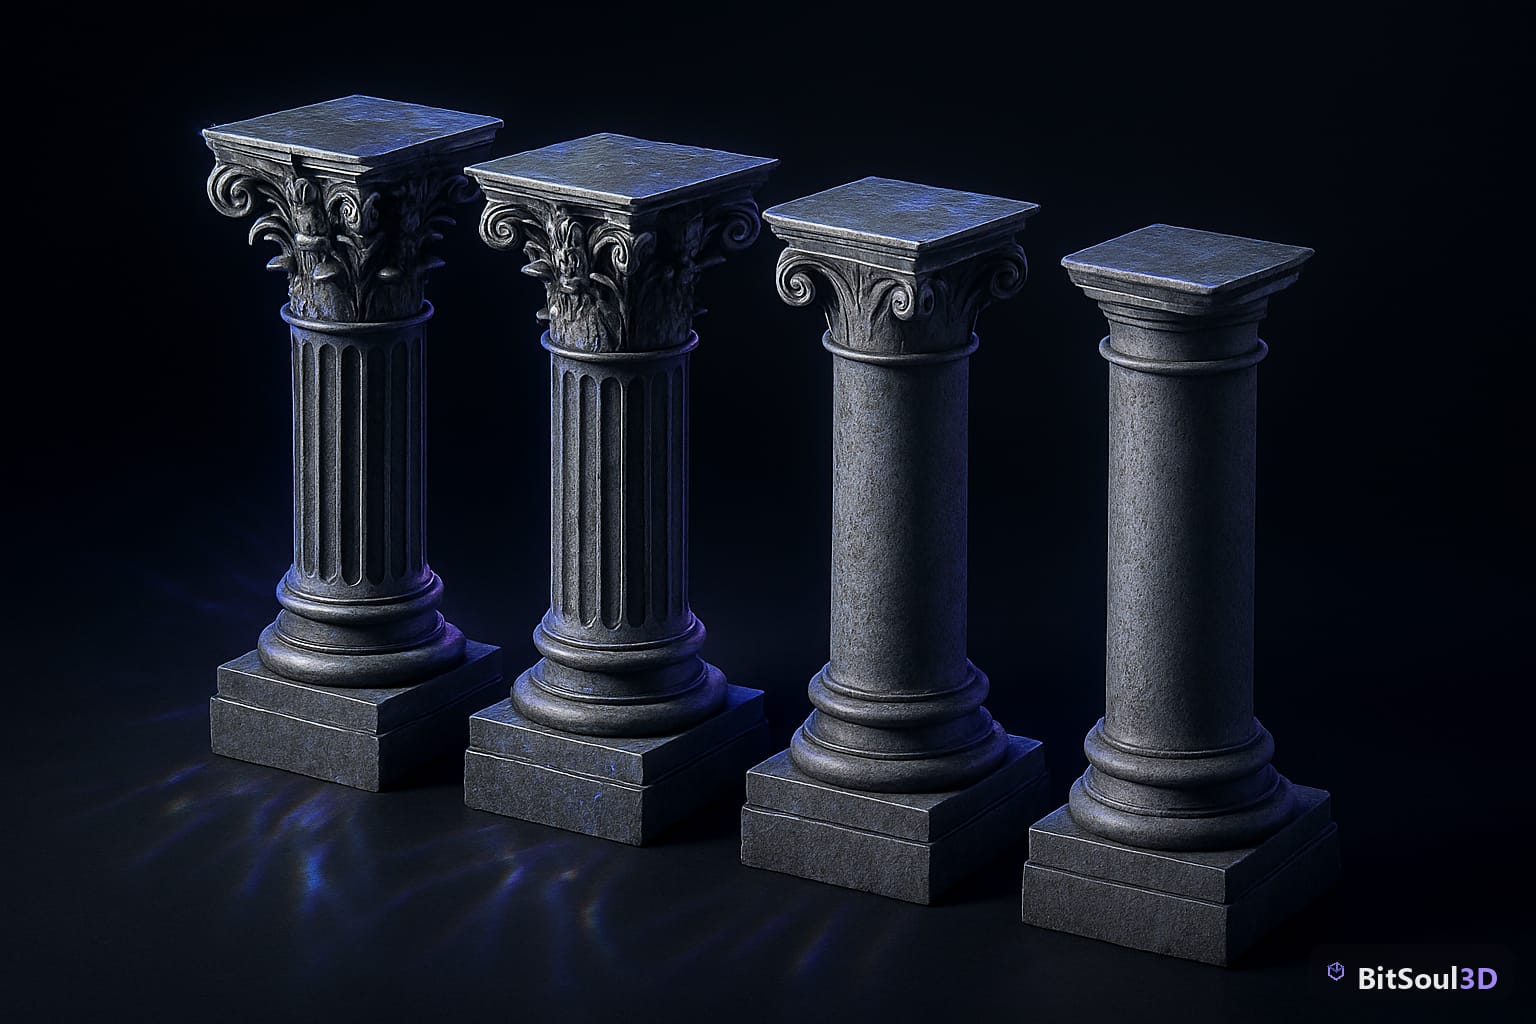
LODs are lower-poly versions of a mesh that swap in as the camera moves away. Done right, they're invisible to the player and dramatic for performance. This guide walks through creating production-quality LODs in Blender and exporting them correctly for Unity, Unreal Engine, and Godot.
Why LODs Matter for Game Performance
Modern GPUs are fast, but they're not magic. Every visible polygon has to be transformed, lit, and rasterized every frame. A hero character at 15,000 polygons in the center of the screen is worth the cost — that same character at 200 meters away, rendered at 40 pixels tall, is pure waste.
LOD systems solve this by substituting simplified meshes based on screen-space coverage or camera distance. A typical LOD chain looks like this:
| LOD Level | Distance | Poly Reduction | Use Case |
|---|---|---|---|
| LOD0 | 0–10m | 0% (full res) | Close-up, hero shots |
| LOD1 | 10–30m | 50% reduction | Mid-range visibility |
| LOD2 | 30–80m | 80% reduction | Crowd/background filler |
| LOD3 | 80m+ | 95% reduction | Far distance, near cull |
For open-world games, a well-LODed scene can reduce GPU vertex load by 60–80% with zero perceptible quality loss.
Setting Up Your LOD Workflow in Blender
Start with your full-resolution LOD0 mesh. Make linked duplicates (not full copies) before decimating — this keeps your material assignments intact and makes updates easier.
# Blender Python: batch-create LOD duplicates
import bpy

lod_ratios = [1.0, 0.5, 0.2, 0.05]  # LOD0 through LOD3
obj = bpy.context.active_object

for i, ratio in enumerate(lod_ratios):
    if i == 0:
        continue  # skip LOD0, it's the original
    new_obj = obj.copy()
    new_obj.data = obj.data.copy()
    new_obj.name = f"{obj.name}_LOD{i}"
    bpy.context.collection.objects.link(new_obj)

    # Add decimate modifier
    mod = new_obj.modifiers.new(name="Decimate", type='DECIMATE')
    mod.ratio = ratio
    bpy.ops.object.select_all(action='DESELECT')
    new_obj.select_set(True)
    bpy.context.view_layer.objects.active = new_obj
    bpy.ops.object.modifier_apply(modifier="Decimate")

print("LOD chain created.")
Run this script via Scripting > Run Script with your base mesh selected. It outputs Mesh_LOD1, Mesh_LOD2, and Mesh_LOD3 with decreasing polygon counts.
Decimating Without Destroying Your Silhouette
The Decimate modifier is fast, but naive — it doesn't understand which geometry is perceptually important. Follow these rules to avoid LODs that look broken at transition distances:
Preserve silhouette edges. Enable Symmetry in the Decimate modifier if your mesh is symmetrical — it cuts polygons evenly and keeps the outline clean. For organic shapes, use Un-Subdivide mode instead of Collapse for LOD1; it respects edge loops better.
Lock seams and sharp edges. Before decimating, mark important edges as Sharp (Edge menu > Mark Sharp). Then in Decimate, enable Lock Boundaries and limit boundary iterations. This prevents UV seams and hard-surface creases from melting.
Manual cleanup for hero assets. For characters and props that appear at LOD0 frequently, run the Decimate modifier then spend 15–20 minutes in Edit Mode merging stray vertices and fixing stretched polygons. The automated result is a starting point, not a finish line.
A useful rule of thumb: LOD1 should look identical to LOD0 when viewed in your game at LOD1 transition distance. If you can tell they're different from the intended viewing distance, your LOD1 needs more polygons.
Naming Conventions by Engine
Each engine has its own LOD naming or grouping convention. Getting this right means zero manual setup inside the engine.
Unity (FBX import): Name meshes with the suffix _LOD0, _LOD1, etc., all parented to an empty named after the root asset (e.g., Tree_LOD0, Tree_LOD1). Unity's FBX importer automatically detects this pattern and creates an LOD Group component.
Unreal Engine: Name meshes SM_AssetName_LOD0, SM_AssetName_LOD1, etc. When you import an FBX with these names, the Static Mesh Editor auto-populates the LOD slots. You can also enable Auto LOD in import settings, but manual LODs built in Blender give better results.
Godot 4: Use the GeometryInstance3D LOD properties, or parent multiple MeshInstance3D nodes and control visibility via visibility_range_begin / visibility_range_end. Import each LOD as a separate mesh and configure in-engine.
Exporting LOD Chains from Blender
For Unity and Unreal, FBX is the safest format for LOD chains. GLB/GLTF doesn't have a standardized LOD extension yet (EXT_mesh_gpu_instancing exists, but LOD support varies).
Export settings for LOD FBX:
File > Export > FBX (.fbx)
- Include: Selected Objects (select all LOD meshes + root empty)
- Transform: Apply Unit = ON, Apply Transform = ON
- Geometry: Apply Modifiers = ON, Smoothing = Edge
- Armature: only if skinned
- Bake Animation: OFF (unless you need it)
For Godot, export as GLTF with individual LOD meshes and configure ranges in the editor. The Godot GLTF importer is solid and handles multiple mesh nodes cleanly.
LOD Best Practices Checklist
- ✅ LOD0 poly count matches your art-direction target (not "as high as possible")
- ✅ UV islands are preserved on LOD1 (check for stretched UVs after decimate)
- ✅ Normal maps are shared across all LODs unless LOD3+ drops to unlit
- ✅ Collision mesh is separate from all LOD meshes (use LOD2 geometry as a base)
- ✅ Named correctly per engine convention before export
- ✅ Test LOD transitions in-engine at intended play distance, not in the editor
- ✅ Billboard/imposter created for LOD4+ on large foliage/distant props
Sourcing Pre-LODed Assets from BitSoul
Building a full LOD chain from scratch for every asset in your scene is time-consuming. The BitSoul marketplace stocks game-ready 3D models that ship with complete LOD chains — correctly named for Unity and Unreal, UV-unwrapped, and PBR-textured out of the box. For indie studios on deadline, starting from a well-built foundation and customizing is almost always faster than building from zero.
LODs are one of the highest-leverage optimizations you can apply to a 3D scene. A few hours of work in Blender translates directly to smoother frame rates, lower hardware requirements, and a broader player base. Start with your highest-poly assets, build your LOD chain with the script above, and test transitions in-engine before shipping.
Browse production-ready, LOD-optimized assets at BitSoul and cut your optimization workload in half.
This post is part of the Ultimate Guide to Free 3D Game Assets — BitSoul's complete reference for formats, texturing, rigging, optimization, and engine integration.
Need drop-in assets for this workflow? Grab the 94-model Animal Bundle on the BitSoul marketplace and drop them straight into your project.