Introduction
Rigging is one of the most technically demanding steps in a 3D game dev pipeline. Get it wrong and your animations will look broken, your skin weights will glitch, and you will spend days debugging in Unity Animator instead of building your game. Get it right and your characters move fluidly across locomotion states, react to IK targets, and plug directly into Mecanim.
This guide walks through the full process: armature structure, weight painting best practices, export settings, and what to check before your character touches Unity Animator.
What You Need Before You Start
Before rigging, ensure you have:
- A clean, triangulated mesh with no overlapping UVs
- Blender 3.x or 4.x (examples use Blender, but principles apply to Maya and 3ds Max)
- Unity 2022 LTS or newer
- Basic familiarity with Blender Object and Edit modes
If your mesh still needs cleanup—duplicate vertices, non-manifold edges, inverted normals—fix those first. A dirty mesh causes unpredictable deformations no matter how clean your rig is.
Step 1: Plan Your Armature Hierarchy
Unity Mecanim expects a specific humanoid bone hierarchy if you want to use the Humanoid Avatar rig type, which is required for Unity built-in locomotion and IK. The mandatory bones are:
- Hips (root)
- Spine, Chest, UpperChest
- Neck, Head
- LeftShoulder, LeftUpperArm, LeftLowerArm, LeftHand
- RightShoulder, RightUpperArm, RightLowerArm, RightHand
- LeftUpperLeg, LeftLowerLeg, LeftFoot, LeftToes
- RightUpperLeg, RightLowerLeg, RightFoot, RightToes
You can add extra bones (fingers, jaw, twist bones) but the hierarchy above must be present and correctly named for Avatar auto-mapping to succeed.
Pro tip: Name your bones using Unity expected names from the start. Renaming after skinning is painful and error-prone.
Step 2: Build the Armature in Blender
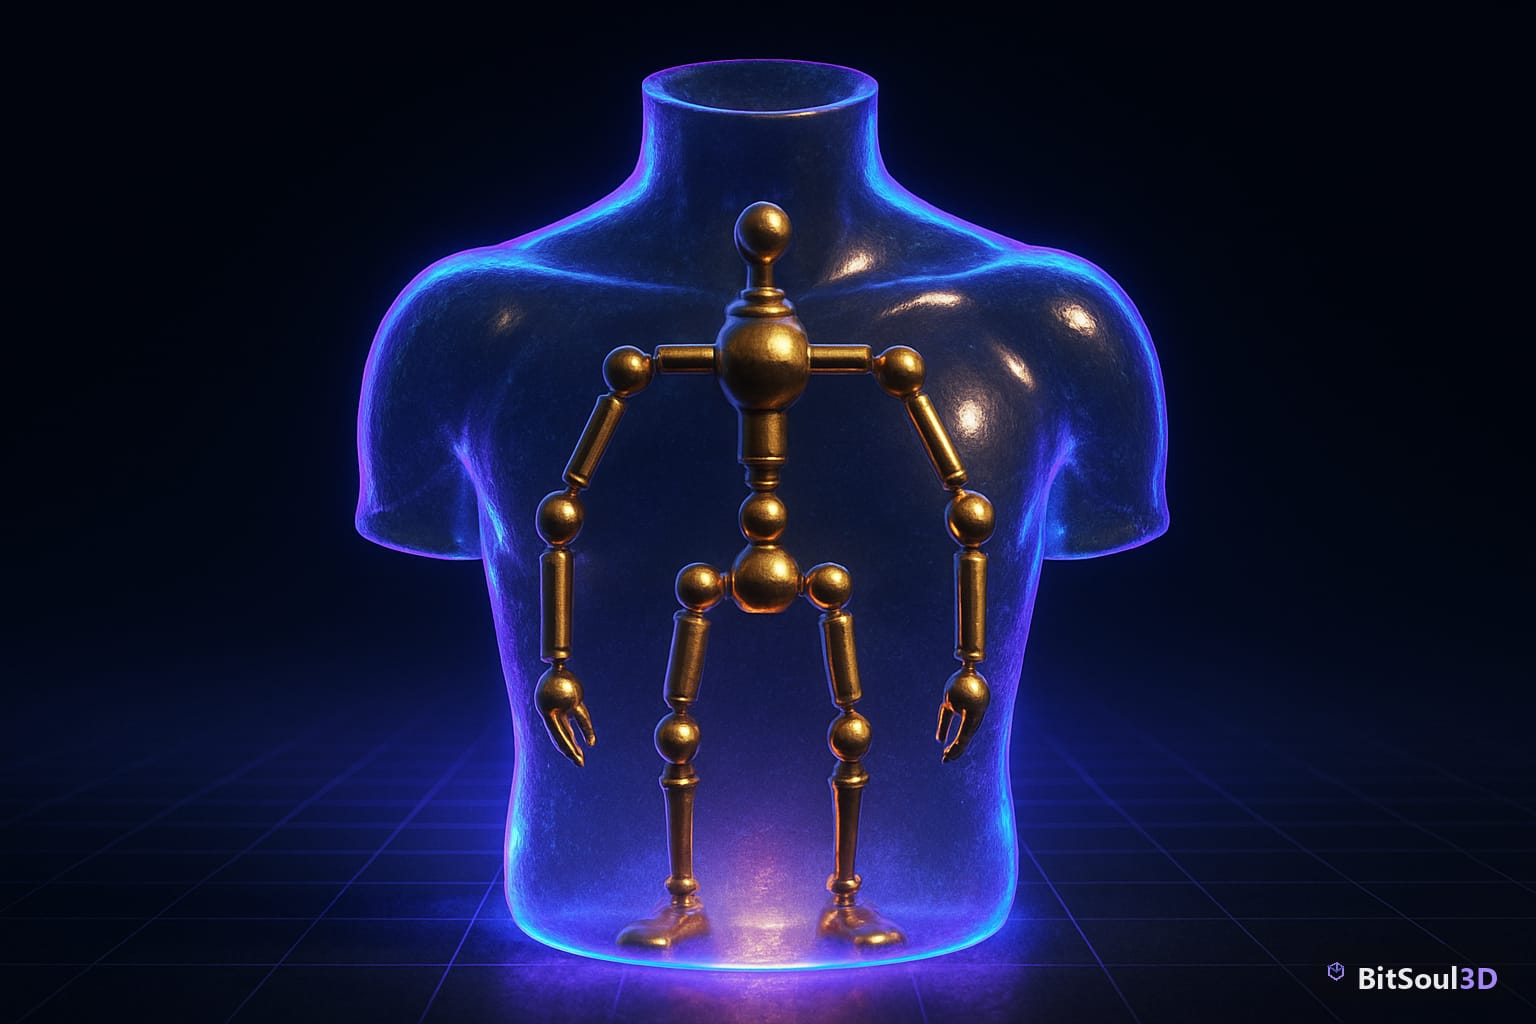
- In Object Mode, add an Armature: Shift+A, then Armature, then Single Bone.
- Switch to Edit Mode and position the root bone at the hips.
- Extrude (E) each child bone along the correct anatomical direction.
- Enable X-Axis Mirror before creating limb bones — this mirrors left/right bones simultaneously.
- Use bone roll to align local axes. For leg and arm bones, the local Y axis should point along bone length; local Z should point in the bend direction.
Bone Roll and Why It Matters
Poor bone rolls are the leading cause of axis-flipping bugs in Unity. When Blender exports to FBX, local bone axes are baked into the file. If a bone roll is off, Unity Animator rotates around the wrong axis and your IK chains break.
Test early: pose the rig with a simple walk cycle motion before skinning. If a limb bends backward, fix the roll now.
Step 3: Skin the Mesh with Weight Painting
Parent your mesh to the armature using Armature Deform with Automatic Weights as a starting point, then refine manually.
Setting Up Automatic Weights
Select your mesh, then Shift-select the armature, then press Ctrl+P and choose Armature Deform with Automatic Weights.
Automatic weights are rarely production-ready, but give a reasonable baseline. You will need to:
- Paint out seams where influences bleed across the body
- Sharpen twist bone influences on forearms for natural rotation
- Clean up finger weights manually — auto weights almost always need a pass here
Weight Painting Best Practices
- Use Normalize All after major painting sessions to prevent vertex weights summing above 1.0.
- Keep a maximum of 4 influences per vertex. Unity default skinning caps at 4. Set this in Blender: Object Data Properties, Vertex Groups, Limit Total = 4.
- Use the Smooth weight brush at low strength (0.1 to 0.2) to blend boundaries naturally.
- Pose the rig to 90-degree flexion at each joint and check for collapse or candy-wrapping artifacts.
Step 4: Export to FBX for Unity
Blender FBX exporter settings make a significant difference. Recommended settings:
Transform tab:
- Scale: 0.01 (Unity uses meters; Blender defaults to centimeters)
- Apply Unit: checked
- Apply Transform: checked
Armature tab:
- Add Leaf Bones: unchecked (Unity does not need them)
- Primary Bone Axis: Y Axis
- Secondary Bone Axis: X Axis
Geometry tab:
- Smoothing: Face
- Triangulate Faces: checked
Before exporting, apply your object scale in Blender with Ctrl+A, then Scale. If the character was modeled at the wrong scale, Unity will import it incorrectly regardless of export settings.
Step 5: Configure the Avatar in Unity
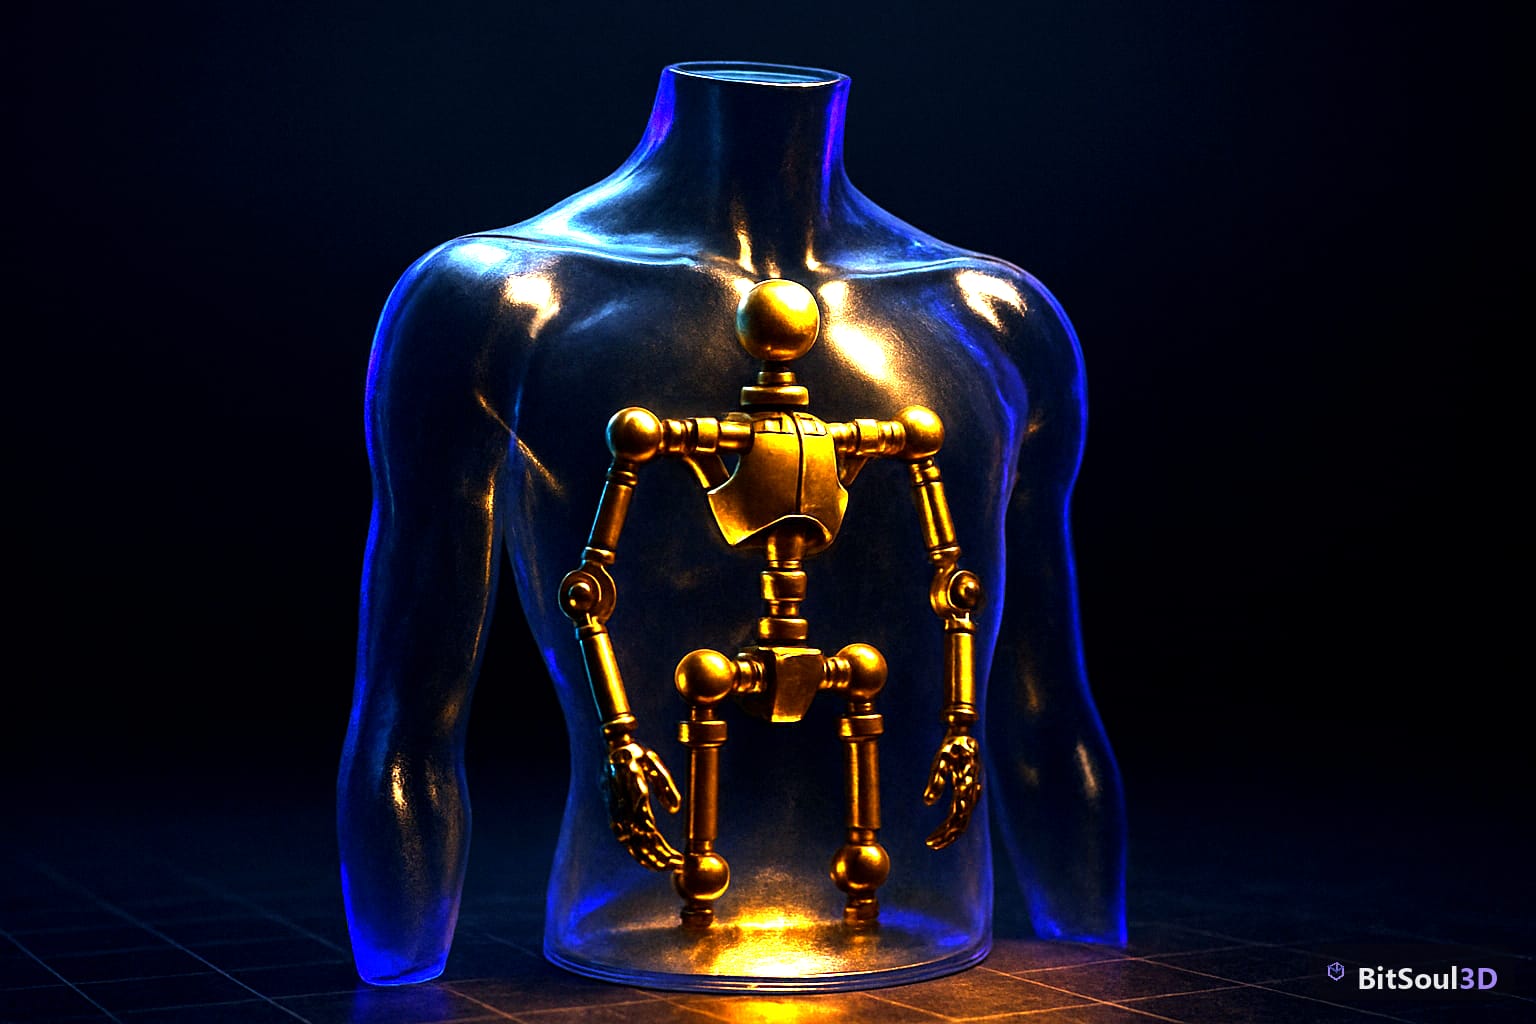
- Import the FBX into Unity.
- Select the asset and go to the Rig tab in the Inspector.
- Set Animation Type to Humanoid.
- Click Configure Avatar.
- Unity will auto-map your bones. Green bones are correctly mapped; yellow or red need manual assignment.
- Check the Muscles and Settings tab — any muscle range hitting a hard limit at rest pose indicates a bone roll issue.
- Click Apply.
Common Avatar Mapping Errors
| Error | Cause | Fix |
|---|---|---|
| Spine chain not detected | Bone names do not match Unity expected names | Rename bones in Blender |
| Feet flipped underground | Incorrect bone roll on UpperLeg | Fix roll in Blender and re-export |
| T-pose arms drooping | Scale not applied before export | Ctrl+A, Scale in Blender |
Step 6: Test with Unity Built-in Locomotion
Drag the configured character into a scene. Add an Animator component and assign Unity Starter Assets Third Person controller (free on the Unity Asset Store) to verify your rig works with a standard locomotion state machine before writing custom animations.
If foot IK slides or hands do not reach IK targets, revisit your bone rolls and re-check the Avatar configuration.
Shortcut: Start With a Production-Ready Rigged Character
The rigging process above takes 4 to 12 hours per character depending on complexity. For indie teams and solo devs shipping on a deadline, that is a significant investment for every new character.
BitSoul Marketplace offers a growing library of production-ready rigged 3D characters, creatures, and props — all exported with Unity-compatible FBX and GLB files, correct bone hierarchies, and clean weight maps. Members get unlimited downloads, so you can pull a rigged base mesh, customize it, and keep your sprint moving.
Whether you need a humanoid NPC, a fantasy creature, or a stylized hero, a solid rigged starting point cuts the technical groundwork and lets you focus on building your game.
Rigging Checklist Before You Ship
- All required Humanoid bones present and correctly named
- Bone rolls verified — no axis flips at 90-degree flexion
- Maximum 4 vertex influences applied and normalized
- Object scale applied in Blender before export
- Leaf bones disabled in FBX export settings
- Avatar maps fully green in Unity Configure Avatar
- Muscles and Settings shows no hard-limit violations at rest
- Rig tested with a locomotion state machine in a Unity scene
Get More Done, Faster
Rigging takes practice, but the steps above eliminate the most common failure points. Every hour saved on technical setup is an hour you can spend on design, mechanics, or polish.
See how a BitSoul membership fits into your workflow. Production-ready assets, clean rigs, and consistent format standards — so your team spends less time troubleshooting and more time shipping.
This post is part of the Ultimate Guide to Free 3D Game Assets — BitSoul's complete reference for formats, texturing, rigging, optimization, and engine integration.
Build with real assets: grab the 98-model Character Pack on the BitSoul marketplace and drop them straight into your project.