If you've ever hit the resolution ceiling on a single UV tile—visible pixels on close-up character faces, blurry detail on hero props—UDIMs are the solution the professional pipeline has used for years. Originally a VFX standard, UDIM multi-tile texturing is now fully supported in Blender, Substance Painter, Unity, and Unreal Engine 5, making it a realistic choice for high-quality game assets that need to hold up at close range.
What Are UDIMs and Why Game Artists Use Them
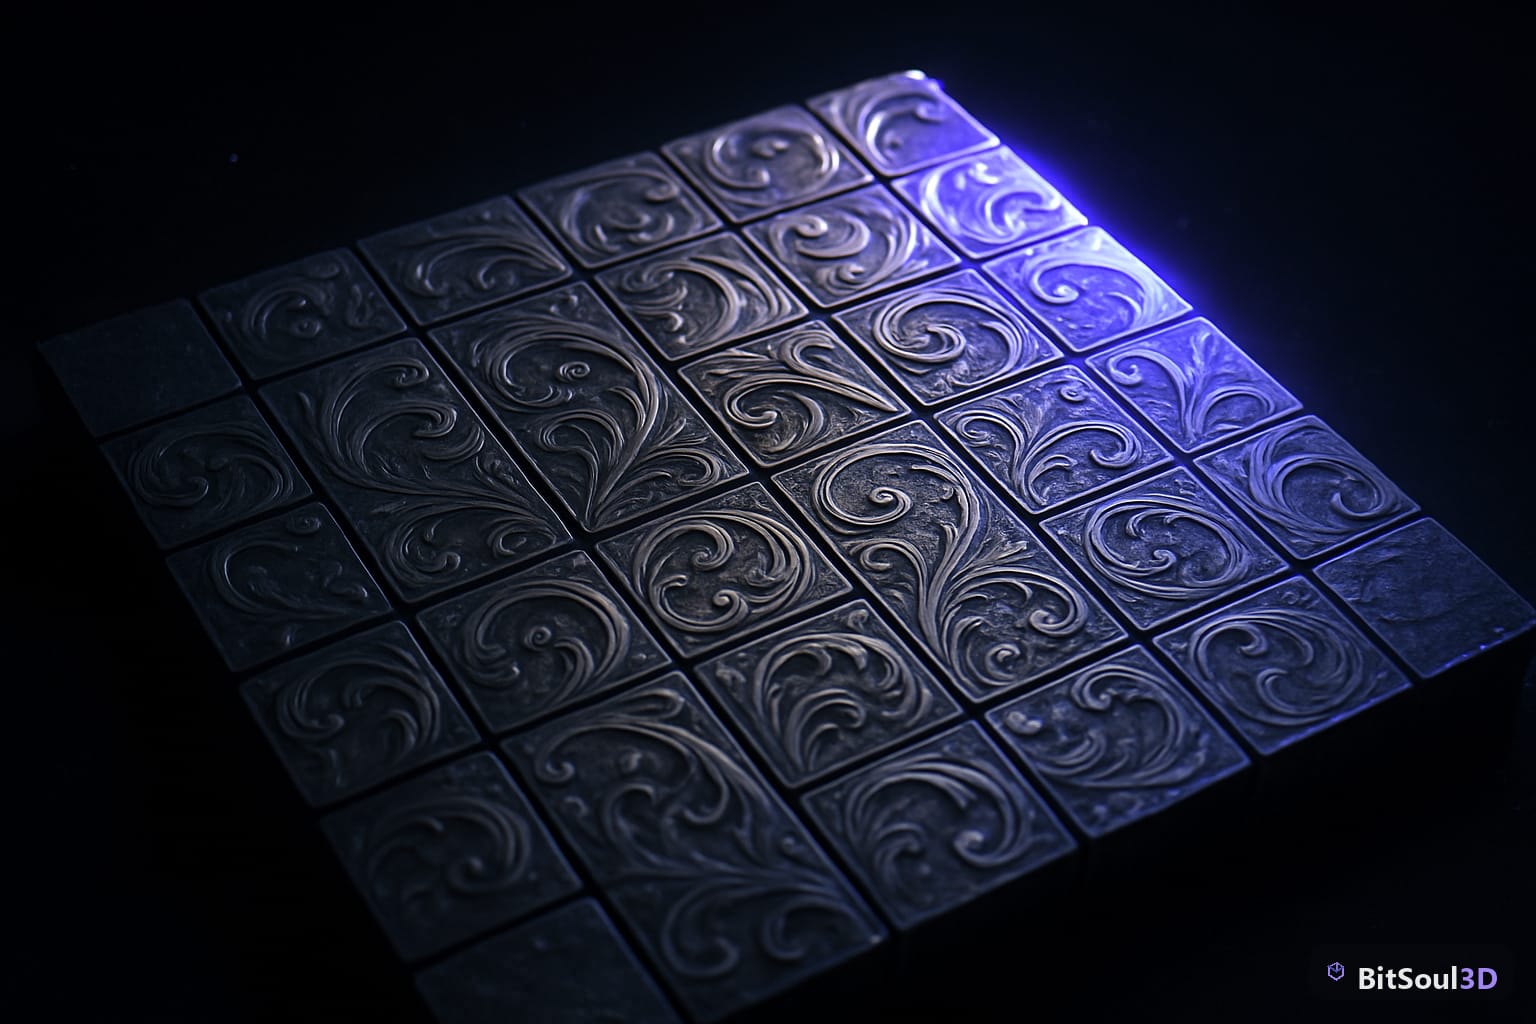
UDIM stands for U DIMension. Instead of packing every UV island into a single 0–1 UV space, you distribute islands across a numbered grid of tiles: 1001 is the standard 0–1 space, 1002 is the tile immediately to the right, 1011 starts the second row, and so on.
Each tile gets its own texture map (albedo, roughness, normal, etc.) at whatever resolution you choose—typically 4K per tile. A character head might occupy 1001, the torso 1002, the hands 1003. The result is effectively a 12K+ texture set with no atlas packing overhead and no wasted UV space.
When UDIMs make sense for game assets:
- Hero props or characters that appear at close range (weapons held in first-person view, playable characters in cutscenes)
- Assets sold on marketplaces where buyers expect maximum quality and flexibility
- Environments where a single high-res surface must look good from multiple distances
- Film-to-game pipelines where the high-poly source is already on a UDIM layout
When to skip them:
- Background props, foliage, and LOD assets — a single packed UV atlas is more efficient
- Mobile targets where texture memory is tightly constrained
- Any asset that will never be seen closer than ~3 metres in-engine
Setting Up UDIM Tiles in Blender
Blender has had UDIM support since version 3.0. The workflow is straightforward once you know where to look.
Enable UDIM in the UV Editor:
- Open the UV Editor and select your mesh in Edit Mode.
- In the UV Editor header, enable Show UDIM Grid (the grid icon).
- When you unwrap, place each island in the appropriate tile by selecting islands and using G → X to move them one unit along the U axis.
Tile naming convention:
| Tile Number | UV Space | Common Use |
|---|---|---|
| 1001 | 0–1, 0–1 | Head / primary surface |
| 1002 | 1–2, 0–1 | Torso / secondary surface |
| 1003 | 2–3, 0–1 | Hands / detail surface |
| 1011 | 0–1, 1–2 | Legs / lower body |
Set up a UDIM image in the Shader Editor:
# Blender Python — create a UDIM image node
import bpy

# Create a new UDIM image
img = bpy.data.images.new(
    name="MyAsset_Albedo_UDIM",
    width=4096,
    height=4096,
    tiled=True  # This is the key flag
)

# Add tiles
img.tiles.new(tile_number=1002)
img.tiles.new(tile_number=1003)

# Assign to material
mat = bpy.data.materials["MyMaterial"]
nodes = mat.node_tree.nodes
tex_node = nodes.new("ShaderNodeTexImage")
tex_node.image = img
Once you have your UDIM image node in place, Blender will load and display each tile independently in the viewport, and you can paint directly across tile boundaries using Texture Paint mode.
Painting Across UDIM Tiles in Substance Painter
Substance Painter is the industry-standard tool for UDIM painting. Import your FBX or OBJ with the UDIM UV layout and Painter will automatically detect tiles and create per-tile texture sets.
Import settings that matter:
- Document Resolution: Set per-tile resolution here. 4096 × 4096 is the sweet spot for hero assets.
- Normal Map Format: OpenGL for Blender/Godot, DirectX for Unity/Unreal.
- UV Tile Workflow: Enable in the New Project dialog — this locks Painter into UDIM mode.
Once inside, each UDIM tile appears as a separate entry in the Texture Set List. You can apply materials globally (affecting all tiles) or per-tile. Brush strokes that cross tile boundaries paint seamlessly — Substance Painter handles the seam management automatically.
Exporting from Substance Painter:
File → Export Textures → Output Template: PBR Metallic Roughness
File Type: EXR (for 32-bit) or PNG (for 8-bit game exports)
Padding: Dilation + Background (prevents seam bleed at mip levels)
The exported files will follow the naming convention AssetName_1001_Albedo.png, AssetName_1002_Albedo.png, etc. This naming is what Blender, Unity, and Unreal Engine 5 all expect.
Exporting UDIM Assets for Unity and Unreal Engine 5
Unreal Engine 5
UE5 has native UDIM support. When you import an FBX or GLTF with UDIM UVs:
- In the Import Options dialog, enable Import UDIM Textures.
- Place all your UDIM texture files in the same folder before importing — UE5 auto-detects the tile number suffix and links them.
- In the Material Editor, use a Texture Sample node; UE5 resolves which tile to sample at runtime automatically.
UDIM assets play well with Nanite — you can have a Nanite mesh with a full UDIM texture set and get both geometric and texture fidelity on close-up hero assets.
Unity (URP / HDRP)
Unity's UDIM support requires a small manual step:
- Import each tile texture separately (they'll have the
_1001_,_1002_suffix). - In the Material, use a Texture Array or a Tiled texture approach via Shader Graph.
- For simpler workflows, use a custom Shader Graph node that samples based on UV range:
// UDIM sampling in HLSL (simplified)
float2 udimUV = IN.uv;
int tileU = (int)floor(udimUV.x);
int tileV = (int)floor(udimUV.y);
int tileIndex = 1001 + tileU + tileV * 10;
float2 localUV = frac(udimUV);
// Sample appropriate texture based on tileIndex
For assets destined for BitSoul's marketplace or distribution, providing both a flattened single-texture version and the full UDIM set covers the widest range of buyer needs.
Performance Considerations and When Not to Use UDIMs
UDIMs have real costs. Each tile is an independent texture sample in the shader, which means:
- Draw calls: More texture binds per draw call. UE5 handles this gracefully; Unity requires more manual management.
- Memory: A 3-tile UDIM set at 4K uses 3× the VRAM of a single 4K texture — roughly 192 MB for uncompressed RGBA.
- Streaming: Mip generation and texture streaming are per-tile, which can cause pop-in on lower-end hardware.
UDIM optimization checklist:
- Only use UDIMs for hero assets — apply a 1-tile UV atlas to everything else
- Compress UDIM tiles with BC7 (DirectX) or ASTC (mobile/Vulkan)
- Generate mip chains for all tiles — without mips, distant tiles will alias badly
- Test streaming priority: hero assets should be high priority in the streaming pool
- Provide a baked-down single-tile version as an LOD fallback for mid and far distances
For Unreal Engine 5, you can combine Nanite (geometric detail) with UDIM textures (surface detail) and Virtual Textures (streaming) to get film-quality results at game-engine framerates. This is the pipeline major studios use for cinematic-quality characters delivered at BitSoul marketplace quality standards.
Conclusion
UDIM workflows close the gap between VFX and game asset quality. The setup overhead is real — tile management, per-tile exports, engine-specific import steps — but for hero assets that need to hold up at close range, there's no better approach. Start with a two-tile layout (1001 + 1002) on your next character project, get comfortable with the export pipeline, then scale up.
Ready to browse or sell UDIM-ready character and prop assets? Visit BitSoul's 3D asset marketplace for game-ready assets built with professional pipelines.
Need drop-in assets for this workflow? Grab the 82-model Vehicle Bundle on the BitSoul marketplace and drop them straight into your project.