Vertex color painting is one of the most underrated tools in a game artist's workflow. While most developers reach for texture maps first, painting directly onto mesh vertices gives you instant feedback, zero UV unwrap headaches, and near-zero memory overhead — making it a critical skill for optimization-conscious game devs.
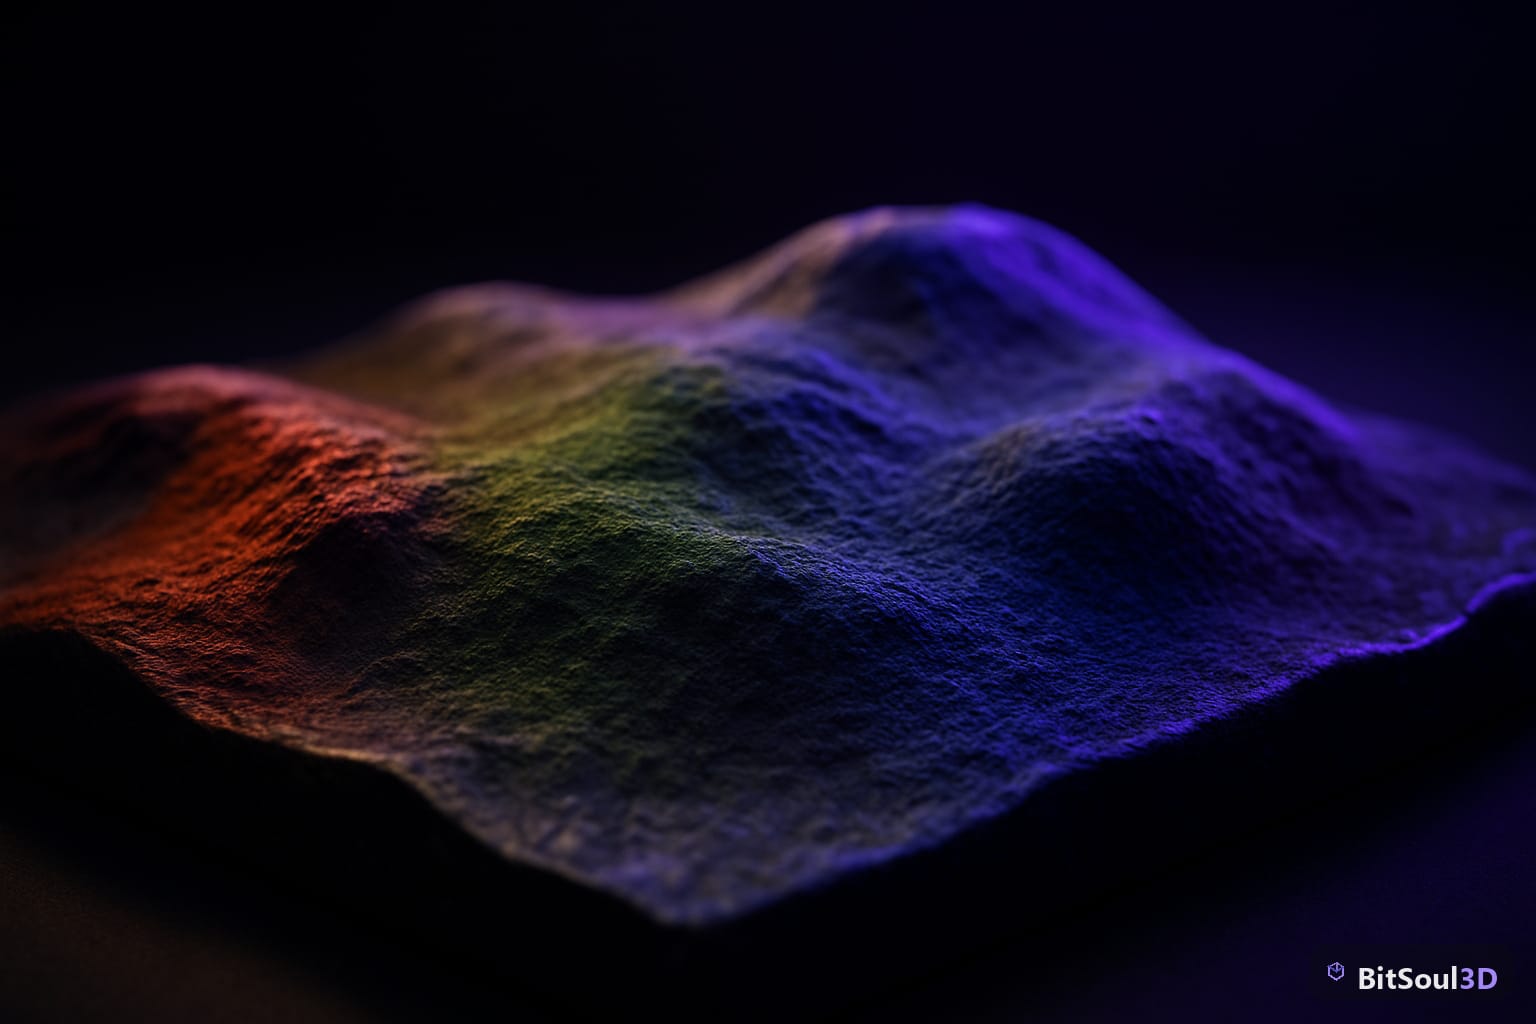
Why Vertex Colors Matter for Game Performance
Vertex colors are stored per-vertex, not per-pixel, which means they cost almost nothing compared to an additional texture channel. A 2048x2048 texture map consumes ~16 MB of GPU memory uncompressed. A vertex color layer on a 5,000-polygon mesh? Roughly 60 KB. That's a 99.6% reduction for the same visual information when the geometry resolution is sufficient.
In practice, vertex colors shine in several scenarios:
- Terrain blending: Paint blend weights directly onto landscape meshes to transition between dirt, grass, and rock without a separate blend mask texture.
- Foliage animation: Store wind influence in the red channel so shaders can animate leaves and branches per-vertex.
- Ambient occlusion baking: Pre-bake AO into vertex colors for static meshes that won't cast dynamic shadows.
- Damage and weathering: Mask wear patterns on props without adding texture atlas slots.
The real-time render cost is minimal because GPUs interpolate vertex colors across faces during rasterization — it's essentially "free" data once the mesh is uploaded to VRAM.
Setting Up Vertex Color Painting in Blender
Before painting, you need a color attribute layer on your mesh. Here's the exact setup:
1. Add a Color Attribute
In Object Mode, select your mesh and open the Properties panel -> Data (green triangle) -> Color Attributes. Click the + button and name your attribute — use something descriptive like vertex_blend or wind_mask.
Set the domain to Face Corner for smoother gradients between vertices, or Vertex if you need hard per-vertex values. For most game use cases, Face Corner gives better results.
2. Enter Vertex Paint Mode
Switch from Object Mode to Vertex Paint using the mode dropdown (top-left of the 3D viewport). Your mesh will turn solid grey — that's the unpainted state.
3. Configure the Brush
In the Tool panel (press N if hidden), adjust:
- Radius: Larger for broad strokes, smaller for detail
- Strength: 0.3-0.6 for gradual blends, 1.0 for solid fills
- Blend Mode: Normal for direct painting, Multiply/Add for layered effects
4. Useful Keyboard Shortcuts
| Shortcut | Action |
|---|---|
| F | Adjust brush radius |
| Shift+F | Adjust brush strength |
| Alt+Click | Sample color from mesh |
| K | Fill selection with current color |
| Shift+K | Fill all faces |
5. Preview in Material
Create a simple material and add an Attribute node (Shift+A -> Input -> Attribute). Enter your attribute name and connect the Color output to Base Color. Switch to Material Preview (Z -> Material Preview) to see your paint in real time.
# Blender Python: Programmatically set vertex colors
import bpy

obj = bpy.context.active_object
mesh = obj.data

# Add or get color attribute
if "vertex_blend" not in mesh.color_attributes:
    mesh.color_attributes.new(name="vertex_blend", type='BYTE_COLOR', domain='CORNER')

attr = mesh.color_attributes["vertex_blend"]

# Set all vertices to red channel = 1.0 (full influence)
for data in attr.data:
    data.color = (1.0, 0.0, 0.0, 1.0)  # RGBA
Exporting Vertex Colors to Unity, Unreal, and Godot
Getting vertex colors out of Blender and into your engine correctly requires knowing each engine's expectations.
Exporting from Blender
Use GLTF 2.0 / GLB as your primary format — it natively supports vertex colors with no data loss. In the export dialog:
- Enable Export -> Mesh -> Vertex Colors
- Set Color Space to Linear (not sRGB) for data channels like wind masks
For FBX export, vertex colors are supported but check "Smoothing: Face" to avoid normal artifacts. Unity handles FBX vertex colors well; Unreal may need the VertexColor material node specifically.
Unity
Unity exposes vertex colors through the Mesh.colors or Mesh.colors32 arrays. In a shader, access them via the COLOR semantic:
// Unity ShaderLab vertex shader input
struct appdata {
    float4 vertex : POSITION;
    float4 color : COLOR;  // Vertex color
    float2 uv : TEXCOORD0;
};

// In fragment shader - use red channel as blend weight
float blendWeight = i.color.r;
float3 finalColor = lerp(textureA.rgb, textureB.rgb, blendWeight);
Unreal Engine 5
In UE5's Material Editor, add a Vertex Color node. Each RGBA channel maps to R/G/B/A outputs. Common uses:
- R channel: texture blend mask
- G channel: roughness variation
- B channel: emissive intensity
- A channel: opacity/dissolve
Godot 4
In Godot's shader language, vertex colors arrive as COLOR in both vertex and fragment functions:
// Godot 4 spatial shader
void fragment() {
    float windMask = COLOR.r;  // Red channel from Blender
    ALBEDO = mix(texture1.rgb, texture2.rgb, COLOR.r);
    ROUGHNESS = 0.5 + COLOR.g * 0.5;
}
You can find rigged and textured game-ready assets pre-configured for these workflows at the BitSoul Marketplace, saving hours of manual setup.
Using Vertex Colors as Masks and Blend Layers
The most powerful application of vertex colors is as multi-channel masks — treating R, G, B, and A as four independent grayscale layers, each controlling a different shader parameter.
The Four-Channel Mask Strategy
| Channel | Common Use |
|---|---|
| Red | Texture blend weight (grass to dirt) |
| Green | Ambient occlusion pre-bake |
| Blue | Specular/wetness variation |
| Alpha | Foliage wind animation strength |
This approach lets a single vertex color attribute drive an entire material's variation system with zero texture memory cost.
Workflow: Painting a Terrain Blend
- Paint the Red channel fully white (1.0) in areas that should show Texture B (e.g., a dirt path)
- Leave areas black (0.0) where Texture A (grass) should dominate
- Use Blur (Shift+drag in Vertex Paint Mode) to soften transitions
- In your engine shader, use
color.rto lerp between the two texture samples
Checking Your Work Before Export
Always verify channels separately before export. In Blender, go to Viewport Overlays -> Vertex Colors and toggle channels via the Attribute node to confirm each channel has the intended data. A common mistake is accidentally painting in sRGB space when engines expect linear data.
Best Practices and Common Mistakes
Do:
- Use Face Corner domain for smooth gradients on curved surfaces
- Paint on sufficiently dense geometry — vertex colors cannot represent detail finer than your polygon density
- Name your attributes consistently (vc_blend, vc_ao, vc_wind) so shaders stay readable
- Export as GLB to preserve vertex color data reliably
Don't:
- Rely on vertex colors for high-frequency detail — that's what textures are for
- Forget to set color space to Linear for data channels (non-color data)
- Paint in Edit Mode selection mode — always be in Vertex Paint Mode for accurate strokes
- Assume vertex colors survive all FBX importers without validation
Troubleshooting: Colors Look Wrong in Engine
If vertex colors appear washed out or overly saturated after import, the culprit is almost always a color space mismatch. In Blender, set your render color management to Filmic and export with Linear color space. In Unity, mark vertex color usage in your shader as linear. In Unreal, verify the Vertex Color node is not being gamma-corrected by enabling the material's "Vertex Color is sRGB" flag to match your source.
Vertex color painting pairs especially well with modular asset kits. Browse modular game environments and character assets at the BitSoul Marketplace to find assets already structured for multi-channel vertex color workflows.
Vertex color painting is a force-multiplier for any game artist: free render data, instant artist feedback, and universal engine support. Add it to your standard export checklist and you will find yourself reaching for extra texture slots far less often.
This post is part of the Ultimate Guide to Free 3D Game Assets — BitSoul's complete reference for formats, texturing, rigging, optimization, and engine integration.
Build with real assets: grab game-ready nature 3D models on the BitSoul marketplace and drop them straight into your project.