Bad skinning ruins good characters. You can have a perfectly modeled, beautifully textured game character — but if the weight painting is wrong, the mesh will collapse at the elbows, pinch at the shoulders, and look broken the moment it moves. Weight painting is the step that determines how your skeleton actually deforms your mesh, and getting it right is the difference between a sellable asset and one that never leaves your hard drive.
Understanding Vertex Groups and Bone Weights
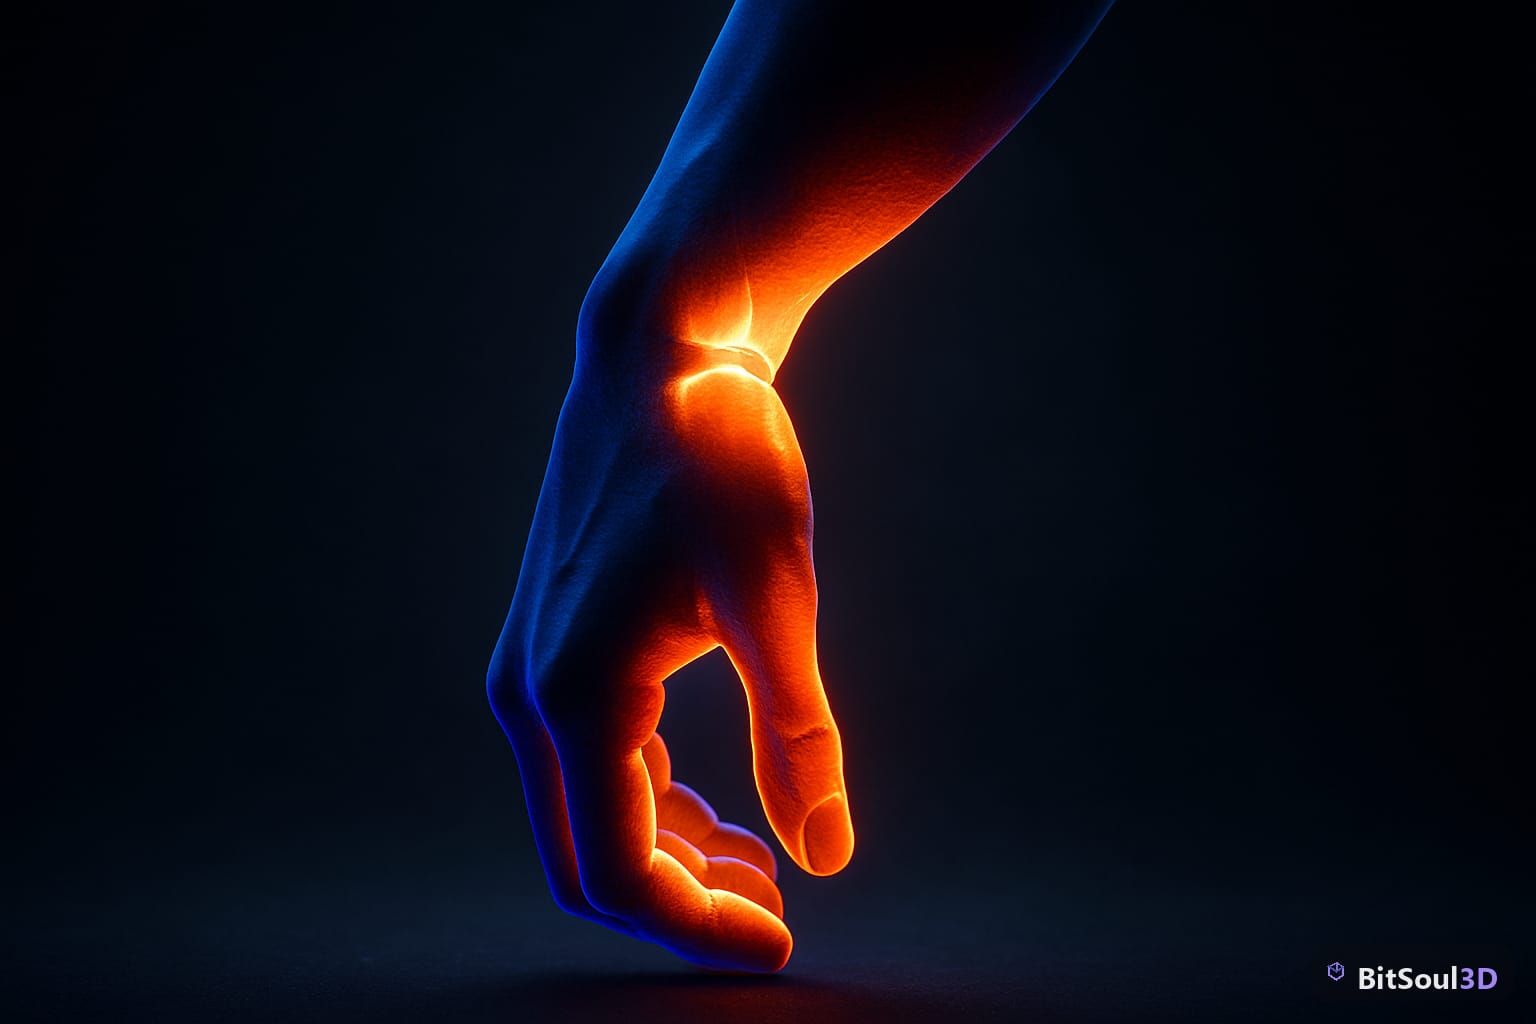
In Blender, every bone in your armature corresponds to a vertex group on your mesh. Each vertex can be influenced by multiple bones, and the weight value (0.0 to 1.0) controls how strongly that bone pulls the vertex. The sum of all bone influences on any vertex should equal 1.0 — Blender normalizes this automatically when you enable it, but understanding this rule is essential.
Enter Weight Paint mode by selecting your mesh, then switching from Object Mode to Weight Paint. You'll see the mesh colored from blue (0.0 weight, no influence) through green and yellow to red (1.0, full influence). The active vertex group in the Properties panel determines which bone's influence you're painting.
Key shortcuts:
Ctrl+Click— paint with subtract (remove weight)F— adjust brush sizeShift+F— adjust brush strengthAlt+Click— sample weight from mesh
Always enable Auto Normalize (Sidebar → Tool → Options) before painting. This ensures that as you add weight for one bone, other bones' weights are automatically reduced to keep the total at 1.0.
Automatic Weights vs Manual Painting
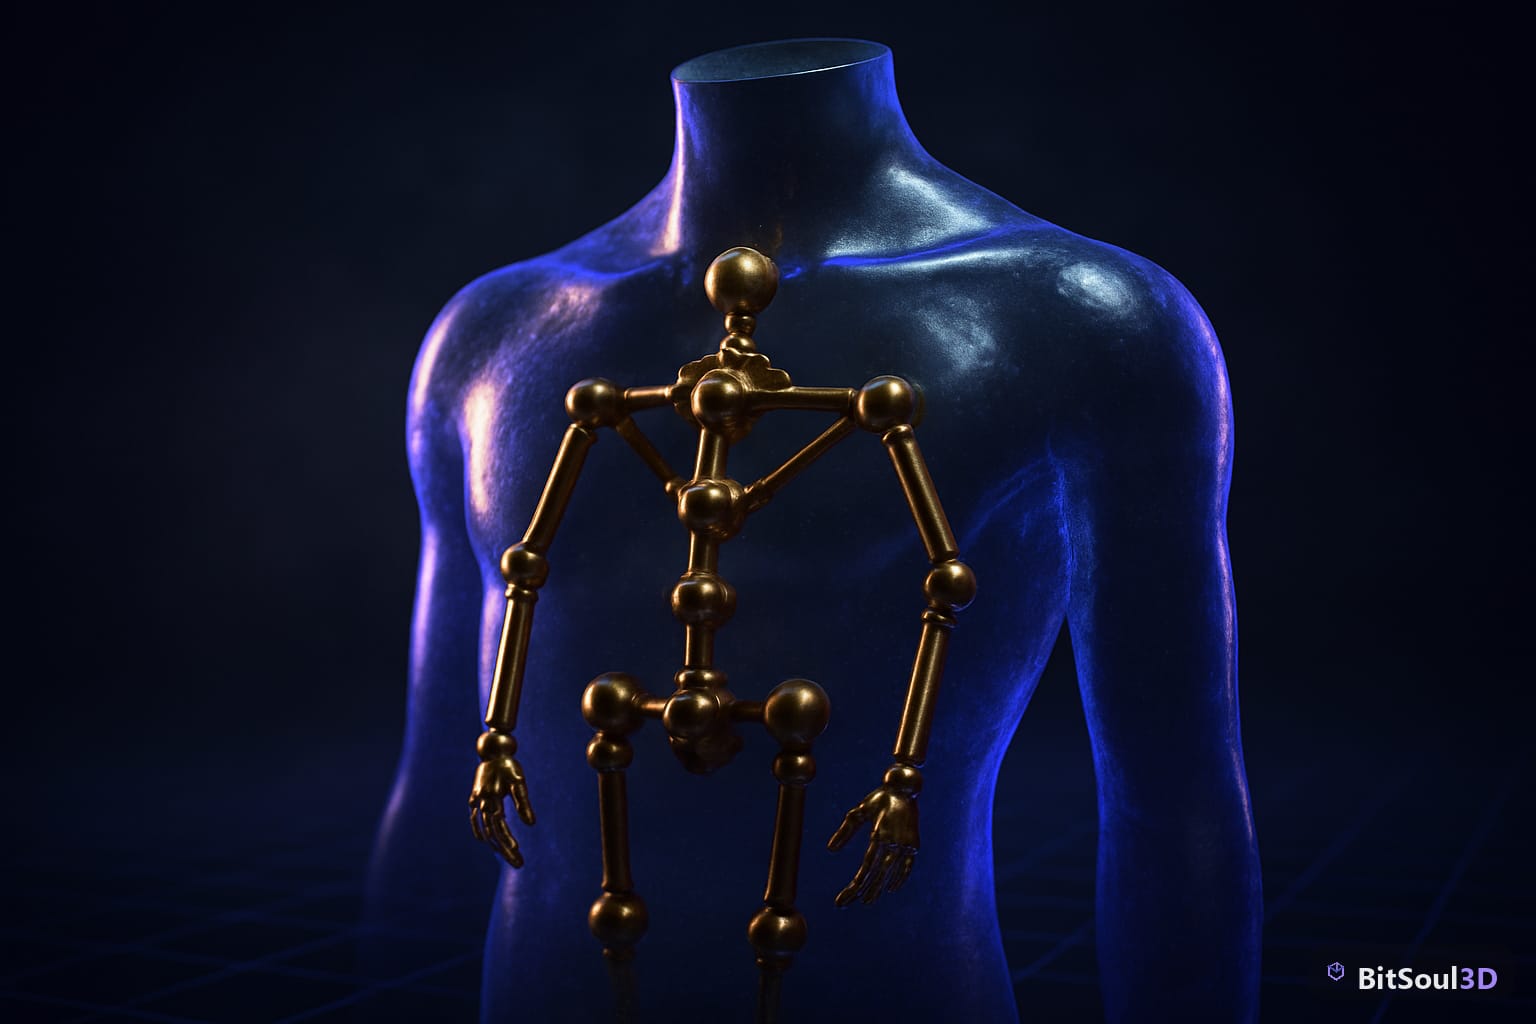
With Automatic Weights (Ctrl+P → Armature Deform → With Automatic Weights) Blender uses a heat diffusion algorithm to calculate initial weights based on mesh proximity to bones. For humanoid characters with clean topology this gives a reasonable starting point — but it's never production-ready out of the box.
When to use automatic weights:
- Low-poly characters with simple bone structures
- Rigid-body props that need minimal skin deformation
- As a starting point before manual refinement
When to paint from scratch:
- Complex characters with fingers, facial bones, or cloth
- Any mesh where auto weights produced obvious artifacts
- Characters with asymmetrical geometry
Manual workflow (recommended for game assets):
- Add armature, enter Pose mode, zero all weights on the mesh
- Select mesh, switch to Weight Paint mode
- Enable X-Mirror if your character is symmetrical
- Paint one bone at a time, moving the armature in Pose mode to test
- Use the Gradient and Blur brushes to smooth transitions
For hard-surface game assets (armor, weapons attached to characters), assign full weight (1.0) to a single bone and lock those vertex groups. This prevents any blending at rigid attachment points.
Fixing Common Weight Paint Problems
These are the issues that appear in nearly every beginner rig:
| Problem | Cause | Fix |
|---|---|---|
| Mesh collapses at elbow/knee | No corrective weights around joint | Paint gradients that extend past the joint fold |
| Shoulder pulls mesh incorrectly | Clavicle bone has too much influence | Redistribute weight between clavicle and upper arm |
| Vertices stick to wrong bone | Auto weights miscalculated proximity | Manually paint the affected vertex group to 0, repaint correct one |
| Seams visible when posed | Weight mismatch at UV seam vertices | Select overlapping verts, use Merge Weights |
| Fingers have no independent movement | All finger verts assigned to hand bone | Assign each finger bone to its respective vertex group |
# Blender Python: zero all weights on selected vertices
import bpy

obj = bpy.context.active_object
mesh = obj.data

bpy.ops.object.mode_set(mode='EDIT')
bpy.ops.mesh.select_all(action='SELECT')
bpy.ops.object.mode_set(mode='OBJECT')

for v in mesh.vertices:
    if v.select:
        for g in v.groups:
            g.weight = 0.0

print("All weights zeroed on selected vertices")
Use Pose Mode testing constantly. After every significant paint session, rotate each bone 90° to 120° to see how the deformation looks. Catch problems here rather than in-engine.
Limiting Bone Influences for Game Engines
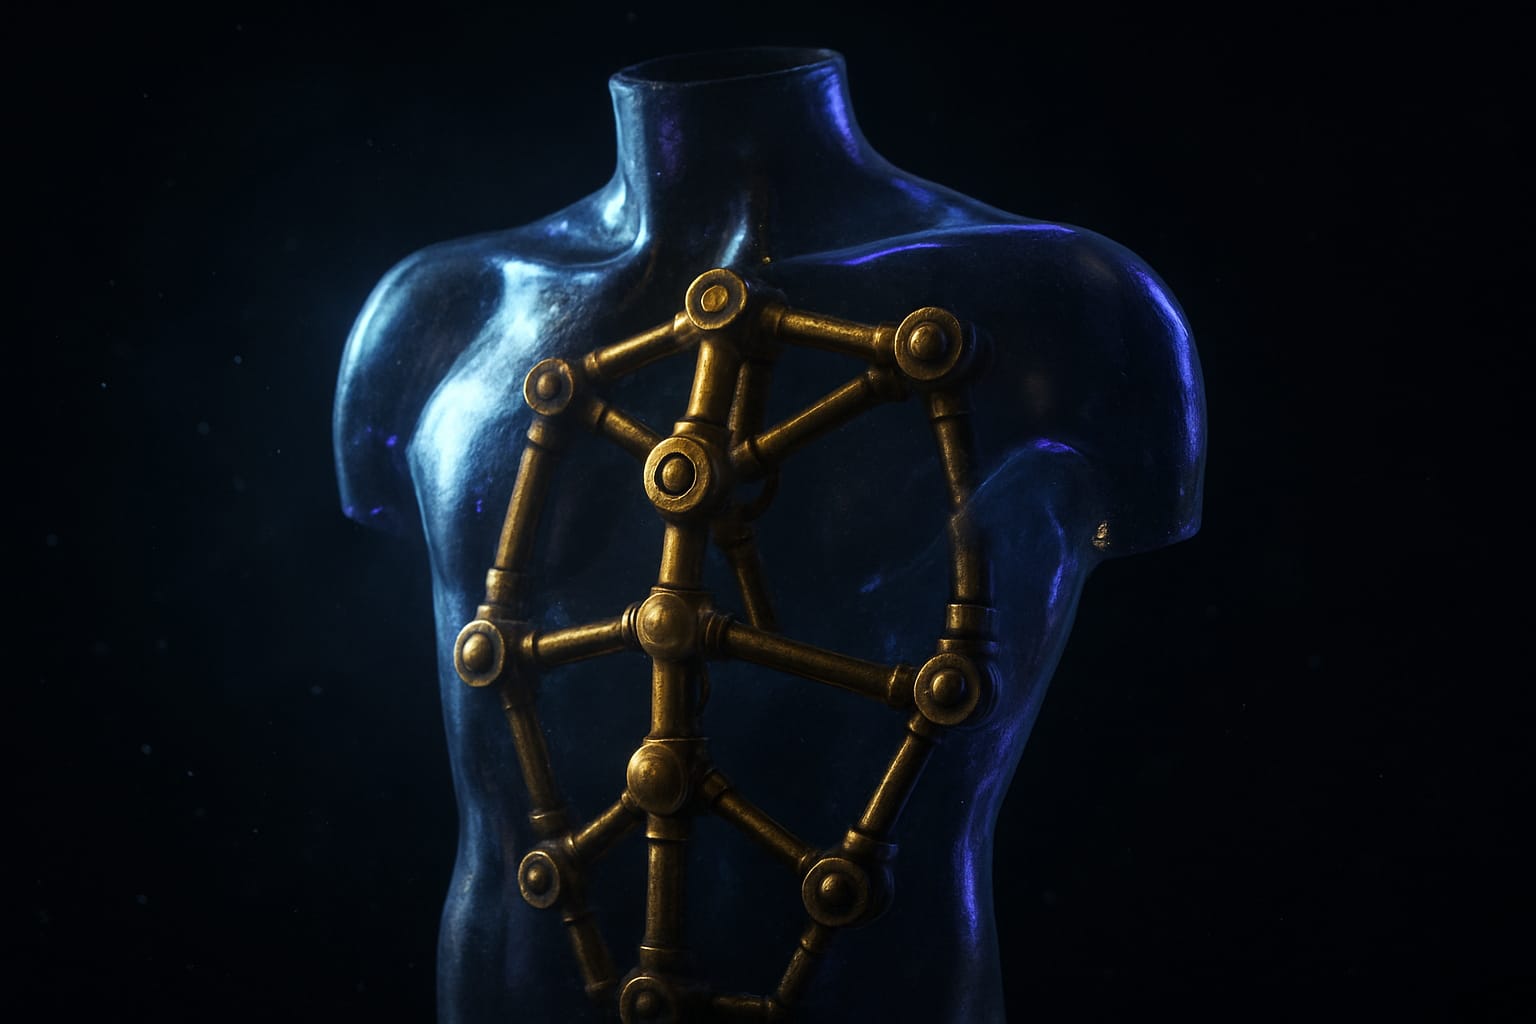
Game engines impose limits on how many bones can influence a single vertex. Unity defaults to 4 bones per vertex; Unreal Engine 5 supports up to 8 but recommends 4 for performance. Exceeding this limit silently truncates influences during import, causing visible deformation artifacts that are nearly impossible to debug after the fact.
Blender's solution: Limit Total (Weight Paint mode → Weights menu → Limit Total). Set the maximum to 4 before export. This trims the lowest-weight influences and renormalizes the remainder.
Weight Paint Mode → Header → Weights → Limit Total
Set: Maximum = 4
Apply to: All Vertex Groups
For mobile game targets, reduce to 2 bones per vertex to hit performance budgets on lower-end hardware. Characters destined for the BitSoul marketplace should include the bone limit in the asset description so buyers know what they're working with.
Exporting Weight-Painted Meshes to Unity, Unreal, and Godot
Once weights are clean and limits are applied, export settings matter.
FBX export (Unity / Unreal):
- Include: Armature + Mesh (apply modifiers)
- Primary Bone Axis: Y Axis
- Secondary: X Axis
- Uncheck "Add Leaf Bones" — these create phantom bones in the engine
- Scale: 0.01 for Unreal (converts cm to m), 1.0 for Unity
GLB/GLTF export (Godot / web):
- Format: GLTF Embedded or Separate
- Include: Selected Objects, Custom Properties
- Skinning data is embedded automatically — no extra config needed
- Godot 4 imports GLB with full skeletal data intact
Quick validation checklist before publishing:
- All vertex groups correspond to bones in the armature
- No orphaned vertex groups (delete unused ones)
- Bone influences capped at 4 per vertex
- X-Mirror weights verified (left side matches right side)
- Rest pose tested in target engine with a T-pose or A-pose animation
- File size is reasonable (bloated files often mean unmerged duplicate vertex groups)
If you're selling skinned characters on the BitSoul marketplace, always include a test animation (even a basic idle loop) so buyers can immediately verify the rig works in their engine.
Start Selling Better-Rigged Assets
Clean weight painting is an invisible skill — buyers won't notice it when it's done right, but they'll immediately refund a character that deforms badly. Take the time to test every joint, limit your bone influences, and validate in-engine before publishing.
Ready to publish your game-ready characters? Browse and sell rigged 3D assets on the BitSoul marketplace →
This post is part of the Ultimate Guide to Free 3D Game Assets — BitSoul's complete reference for formats, texturing, rigging, optimization, and engine integration.
Build with real assets: grab the 98-model Character Pack on the BitSoul marketplace and drop them straight into your project.