Most 3D artists obsess over topology and textures but treat lighting as an afterthought. That's a mistake. Lighting is the single biggest factor in whether your asset reads as professional or amateurish — and in game engines, getting it wrong means wasted draw calls, blown-out materials, and players who can't see what they're looking at.
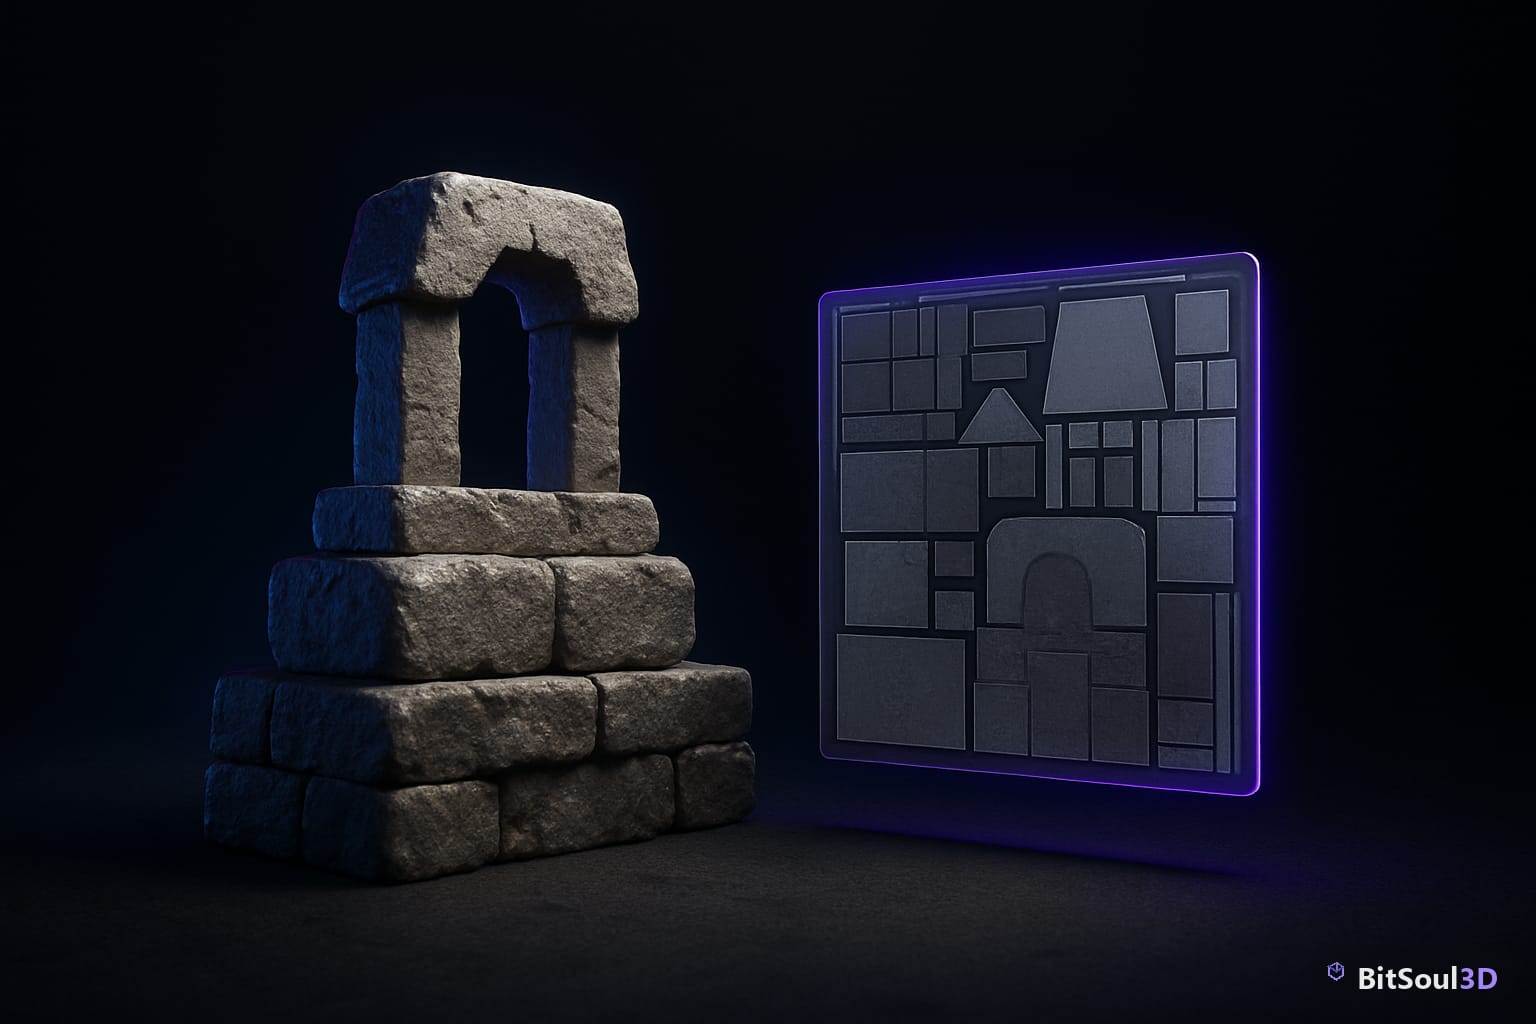
This guide covers the full Blender lighting and baking pipeline: HDRI setup for accurate PBR preview, light map baking, and exporting assets that behave consistently in Unity, Unreal Engine 5, and Godot 4.
Why Lighting Accuracy Starts in Blender
Blender's Cycles and EEVEE renderers are physically based, which means lighting behaves the same way as it does in modern game engines — if you set things up correctly. The key is using HDRI environment lighting for your preview and baking workflow, rather than relying on arbitrary point lights that won't transfer to the engine.
When you preview your asset under a neutral HDRI (3000–6500K, low intensity), what you see in Blender's viewport should closely match what Unity's URP or Unreal's Lumen produces. This matters because it lets you catch material problems — over-bright speculars, blown albedo values, incorrect roughness — before you're deep inside the engine.
For PBR accuracy, keep albedo values between 30–240 sRGB (never pure black or pure white), roughness non-zero for most real-world surfaces, and metallic strictly at 0 or 1. These constraints are enforced by Unreal's material validator and will save hours of debugging.
Setting Up HDRI Lighting in Blender
A proper HDRI setup takes under two minutes and dramatically improves your preview accuracy:
import bpy

# Remove all existing lights
bpy.ops.object.select_all(action='DESELECT')
for obj in bpy.data.objects:
    if obj.type == 'LIGHT':
        obj.select_set(True)
bpy.ops.object.delete()

# Set up world HDRI
world = bpy.data.worlds['World']
world.use_nodes = True
nodes = world.node_tree.nodes
links = world.node_tree.links

# Clear defaults
nodes.clear()

# Add Environment Texture node
env_tex = nodes.new('ShaderNodeTexEnvironment')
env_tex.image = bpy.data.images.load('/path/to/your/hdri.hdr')

# Add Background and Output nodes
bg = nodes.new('ShaderNodeBackground')
bg.inputs['Strength'].default_value = 1.0
output = nodes.new('ShaderNodeOutputWorld')

# Link
links.new(env_tex.outputs['Color'], bg.inputs['Color'])
links.new(bg.outputs['Background'], output.inputs['Surface'])

print("HDRI world lighting configured.")
For neutral preview, use a studio or overcast HDRI at strength 1.0. For final asset renders on marketplaces like BitSoul marketplace, a dramatic HDRI at 0.3–0.5 strength with a complementary key light produces compelling thumbnails.
Baking Lightmaps for Static Assets
Lightmap baking is essential for static environment props — walls, floors, furniture, architecture. Rather than calculating lighting at runtime, you pre-bake it into a texture that the engine samples cheaply.
The baking workflow in Blender:
- Create a dedicated UV channel for lightmaps (UV Channel 1). Use Blender's Smart UV Project with island margin 0.02–0.04. This channel must be non-overlapping — unlike albedo UVs which can reuse tiles.
- Add a new Image Texture node in the material, create a new 1024×1024 or 2048×2048 image (power-of-two only), and leave it selected but unconnected.
- Set bake type to Combined (for full lighting) or Diffuse with Direct + Indirect only (to exclude albedo from the bake).
- Set samples to 64–128 for draft, 256–512 for production.
- Bake and export the lightmap as a 16-bit EXR or PNG.
# Bake lightmap via Python
bpy.context.scene.cycles.bake_type = 'DIFFUSE'
bpy.context.scene.render.bake.use_pass_direct = True
bpy.context.scene.render.bake.use_pass_indirect = True
bpy.context.scene.render.bake.use_pass_color = False  # exclude albedo
bpy.context.scene.render.bake.margin = 4
bpy.context.scene.cycles.samples = 128
bpy.ops.object.bake(type='DIFFUSE')
In Unity, assign the baked lightmap to the secondary UV channel in the mesh renderer. In Unreal, use the Lightmass static lighting system and point it to the pre-baked texture. In Godot 4, use LightmapGI baking with the imported mesh.
Bake Types and When to Use Each
| Bake Type | Use Case | Engine Target |
|---|---|---|
| Combined | Full scene preview render | Marketing renders |
| Diffuse (no color) | Static prop lightmaps | Unity, Unreal, Godot |
| AO | Cavity/contact shadow maps | All engines (multiply blend) |
| Normal | High-poly → low-poly detail | All engines |
| Roughness | Procedural → baked roughness | All engines |
| Emit | Self-illuminated surfaces | Unreal Lumen supplement |
For most game assets, you'll bake Diffuse (no color pass) for lightmaps and AO separately, then composite them in the engine's material. This gives you the most flexibility — you can swap the albedo without re-baking.
Exporting Baked Assets to Game Engines
Once baked, export follows the standard FBX or GLB workflow with one critical addition: you must export both UV channels.
For FBX (Unity / Unreal):
- In Blender's FBX export dialog, ensure UV Maps is checked under Geometry
- Both UV0 (albedo) and UV1 (lightmap) will export automatically if they exist on the mesh
- In Unity, verify the second UV channel appears under Mesh Inspector → UV Channels
For GLB (Godot / web):
- GLB (glTF 2.0) supports multiple UV sets via
TEXCOORD_0andTEXCOORD_1 - Use Blender's built-in glTF exporter — it handles multi-UV correctly
- In Godot, assign the lightmap texture to the
LIGHTMAPslot in the SpatialMaterial
Assets with pre-baked lightmaps dramatically reduce the lighting calculation load at runtime — important for mobile targets and VR. If you're distributing game-ready assets through the BitSoul marketplace, including a pre-baked lightmap variant alongside your base asset significantly increases its commercial value.
Common Lighting Mistakes to Avoid
- Baking with overlapping UVs — causes light bleeding between surfaces. Always use a dedicated non-overlapping UV channel for lightmaps.
- Wrong color space on lightmap export — lightmaps should be Linear, not sRGB. In Unity, mark the lightmap texture as Linear in import settings.
- Over-relying on ambient occlusion — AO is a hint, not real lighting. Use it as a multiply layer at 0.3–0.5 opacity, not as your primary shadow solution.
- Ignoring normal map direction conventions — DirectX (Unreal) uses inverted green channel vs. OpenGL (Blender, Unity, Godot). Flip the green channel in your normal texture when switching between Unreal and other engines.
- Baking at too low resolution — 512×512 lightmaps show seams and blurring on anything larger than a small prop. Use 1024 minimum for medium props, 2048 for large environment pieces.
Getting Production-Ready
Lighting and baking isn't the most glamorous part of the 3D pipeline, but it's the difference between an asset that looks like it belongs in a shipped game and one that looks like a portfolio exercise. Invest in a solid HDRI library, establish consistent bake settings across your projects, and always verify your baked assets under multiple engine lighting environments before shipping.
For ready-to-use game assets with pre-baked lighting, optimized UV maps, and multi-engine support, browse the full library at https://bitsoulhosting.com/marketplace — every asset ships with documented texture channels and export presets.
This post is part of the Ultimate Guide to Free 3D Game Assets — BitSoul's complete reference for formats, texturing, rigging, optimization, and engine integration.
Need drop-in assets for this workflow? Grab the Architecture Modern Bundle on the BitSoul marketplace and drop them straight into your project.