Procedural materials in Blender let you create infinitely scalable, non-destructive PBR textures without a single image file. If you're still hand-painting every texture from scratch, you're leaving time and flexibility on the table.
What Are Procedural Materials and Why They Matter
Procedural texturing means generating surface detail entirely through mathematical nodes in Blender's Shader Editor - no UV maps required, no texture resolution limits, no blurry close-ups. The Principled BSDF shader combined with Blender's noise, voronoi, and wave texture nodes gives you a near-infinite library of surfaces from a handful of parameters.
For game asset artists, procedural materials solve several real problems: you can adjust tiling, scale, and color variation non-destructively at any stage of production. You can bake the result to image textures at whatever resolution your target engine requires. And you can share the .blend material library across projects without dragging along gigabytes of texture files.
The tradeoff is render time in Cycles and a steeper learning curve - but for asset pipelines feeding BitSoul marketplace or a studio library, the workflow dividends are substantial.
Core Node Patterns Every Artist Should Know
Noise-based roughness variation is the fastest way to break up the plasticky uniformity of flat PBR values. Connect a Noise Texture into a ColorRamp (set to B&W), then feed that into the Roughness socket of Principled BSDF. Adjusting Scale, Detail, and Roughness on the Noise Texture gives you everything from smooth ceramic to pitted concrete.
Voronoi for cell-based patterns - cracked earth, reptile scales, oxidized metal - works the same way. Voronoi Texture ? ColorRamp ? whatever socket you're driving. The Distance output gives you a float; the Color output gives you random per-cell color variation useful for Hue Saturation Value tweaks.
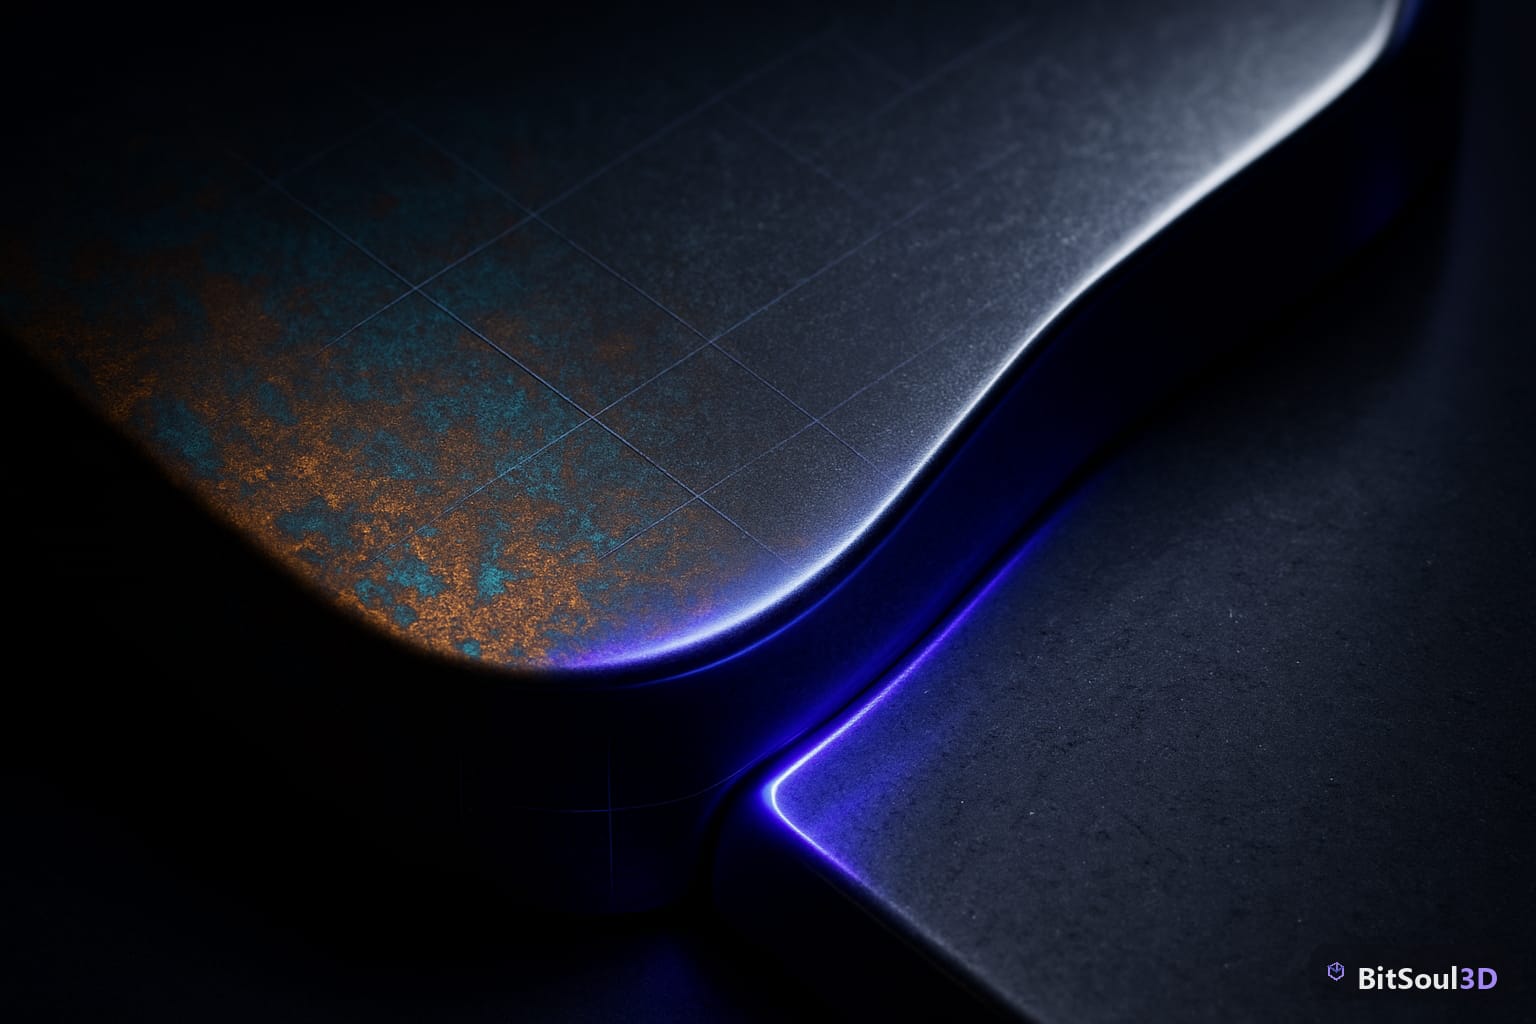
Layered materials with Mix Shader let you blend two complete material setups based on a mask. A common pattern: Base metal + surface rust, where the mask is a Noise Texture with high Detail to simulate natural wear. This is the foundation of every weathered-metal asset in professional pipelines.
Object vs. Generated texture coordinates matter for seamless tiling on complex shapes. Use Object coordinates when you want the pattern to stay fixed in world space regardless of mesh deformation; use Generated for UV-like wrapping that follows the mesh. For most hard-surface assets, Object coordinates with a Mapping node for scale control is the right default.
Building a Procedural Metal Material
Here's a reusable node setup for a brushed-steel-like PBR material:
# Blender Python - create a procedural brushed metal material
import bpy

mat = bpy.data.materials.new(name="ProceduralBrushedMetal")
mat.use_nodes = True
nodes = mat.node_tree.nodes
links = mat.node_tree.links

# Clear defaults
nodes.clear()

# Output
output = nodes.new("ShaderNodeOutputMaterial")
output.location = (600, 0)

# Principled BSDF
pbsdf = nodes.new("ShaderNodeBsdfPrincipled")
pbsdf.location = (300, 0)
pbsdf.inputs["Metallic"].default_value = 1.0
pbsdf.inputs["Base Color"].default_value = (0.7, 0.72, 0.75, 1.0)

# Wave texture for brushed direction
wave = nodes.new("ShaderNodeTexWave")
wave.location = (-300, 100)
wave.wave_type = 'BANDS'
wave.inputs["Scale"].default_value = 80.0
wave.inputs["Distortion"].default_value = 2.5
wave.inputs["Detail"].default_value = 12.0

# ColorRamp to remap roughness range
ramp = nodes.new("ShaderNodeValToRGB")
ramp.location = (0, 100)
ramp.color_ramp.elements[0].position = 0.35
ramp.color_ramp.elements[0].color = (0.05, 0.05, 0.05, 1)
ramp.color_ramp.elements[1].position = 0.65
ramp.color_ramp.elements[1].color = (0.35, 0.35, 0.35, 1)

# Texture coordinates
texcoord = nodes.new("ShaderNodeTexCoord")
texcoord.location = (-600, 0)

mapping = nodes.new("ShaderNodeMapping")
mapping.location = (-450, 0)

# Wire it up
links.new(texcoord.outputs["Object"], mapping.inputs["Vector"])
links.new(mapping.outputs["Vector"], wave.inputs["Vector"])
links.new(wave.outputs["Color"], ramp.inputs["Fac"])
links.new(ramp.outputs["Color"], pbsdf.inputs["Roughness"])
links.new(pbsdf.outputs["BSDF"], output.inputs["Surface"])

# Assign to active object
bpy.context.object.data.materials.append(mat)
print("Procedural brushed metal material created.")
Run this in Blender's Text Editor or Scripting workspace. Tweak Scale and Distortion on the Wave Texture to shift between fine grain and coarse brushing.
Baking Procedural Materials to Game-Ready Textures
Procedural shaders don't export to Unity or Unreal - you need image textures. Blender's Cycles bake workflow handles this:
| Map | Node Socket | Bake Type | Recommended Resolution |
|---|---|---|---|
| Albedo (Base Color) | Base Color | Diffuse (Color only) | 2048?2048 |
| Roughness | Roughness | Roughness | 1024?1024 |
| Metallic | Metallic | Emit (driven by metallic socket) | 1024?1024 |
| Normal | Normal | Normal | 2048?2048 |
| AO | - | Ambient Occlusion | 1024?1024 |
Bake workflow:
- Add an Image Texture node to each material (don't connect it - just have it selected).
- Set the bake type in Properties ? Render ? Bake.
- For non-standard sockets (Roughness, Metallic), route them through an Emission shader on a duplicate material object, then bake as Emit.
- Export all maps as 16-bit PNG for lossless quality before engine import.
Keep baked maps in a /textures subfolder alongside your mesh files. When uploading to the BitSoul marketplace, include both the .blend source with procedural nodes intact and the baked texture set - buyers at both ends of the skill spectrum will thank you.
Engine-Specific Considerations
Unity (URP/HDRP): Import your baked maps and assign them to the Lit shader. The Metallic map goes into the Metallic slot; pack Metallic (R) and Smoothness (A) into a single texture to save a sampler. Smoothness = 1 ? Roughness, so invert your roughness map before packing.
Unreal Engine 5: UE5 expects Roughness and Metallic as separate grayscale maps (or packed into ORM: Occlusion/Roughness/Metallic). The Normal map should use DirectX convention (green channel flipped vs. Blender's OpenGL default). In Blender's bake settings, flip the green channel with an invert node on Y before baking, or handle it in the UE5 material graph.
Godot 4: Import as ORM texture (Occlusion + Roughness + Metallic packed). Godot's StandardMaterial3D has explicit slots for each. Normal maps use OpenGL convention natively - no flipping needed from Blender's default bake.
Performance and Workflow Tips
- Keep node trees shallow. Every extra node in a real-time shader costs GPU cycles. Bake complex procedural stacks before engine import.
- Use Blender's Asset Library to store finished procedural materials as reusable assets. Mark a material as an Asset in the Asset Browser; drag it across any project.
- Version your .blend material library in git or a cloud backup. Procedural materials are tiny files with massive reuse value.
- Match baked resolution to mesh screen size. A small prop that never fills more than 128?128 pixels on screen doesn't need a 4K albedo map.
Procedural materials are a force multiplier in any serious 3D pipeline. Build your library once, bake on demand, and ship assets that look production-grade at any resolution. Browse ready-to-use 3D assets and material packs at https://bitsoulhosting.com/marketplace to see how professionals structure their deliverables.
This post is part of the Ultimate Guide to Free 3D Game Assets — BitSoul's complete reference for formats, texturing, rigging, optimization, and engine integration.
Need drop-in assets for this workflow? Grab the 94-model Animal Bundle on the BitSoul marketplace and drop them straight into your project.