Normal map baking is one of the highest-leverage skills in a game artist's toolkit—it lets a 500-polygon prop carry the surface detail of a 500,000-polygon sculpt. If you're shipping flat-looking game assets or burning GPU budget on unnecessarily dense meshes, this guide will fix both problems.

Why Normal Maps Matter for Game Asset Performance
Real-time game engines render lighting per-vertex or per-pixel. A high-poly mesh with every rivet, scratch, and panel indentation modeled directly requires millions of polygons for each asset—impossible at scale in a game scene. Normal maps encode surface direction (the surface normal) as RGB color data. The engine reads these vectors at render time and simulates the lighting of a complex surface on a flat mesh.
The result: a low-poly door frame (12 polygons) that catches light across raised molding detail baked from a 400,000-polygon sculpt. Performance cost is a single texture sample, not geometry processing. For mobile or VR targets where draw call and polygon budgets are severe, normal maps are non-negotiable.
A well-baked normal map also preserves hard-surface detail—bolts, panel lines, fabric weave, wood grain—that would require impractical poly counts to model directly. Combined with a roughness and albedo map, it completes a full PBR material set that works across Unity, Unreal Engine 5, and Godot 4.
Setting Up Your High-Poly and Low-Poly Mesh Pair
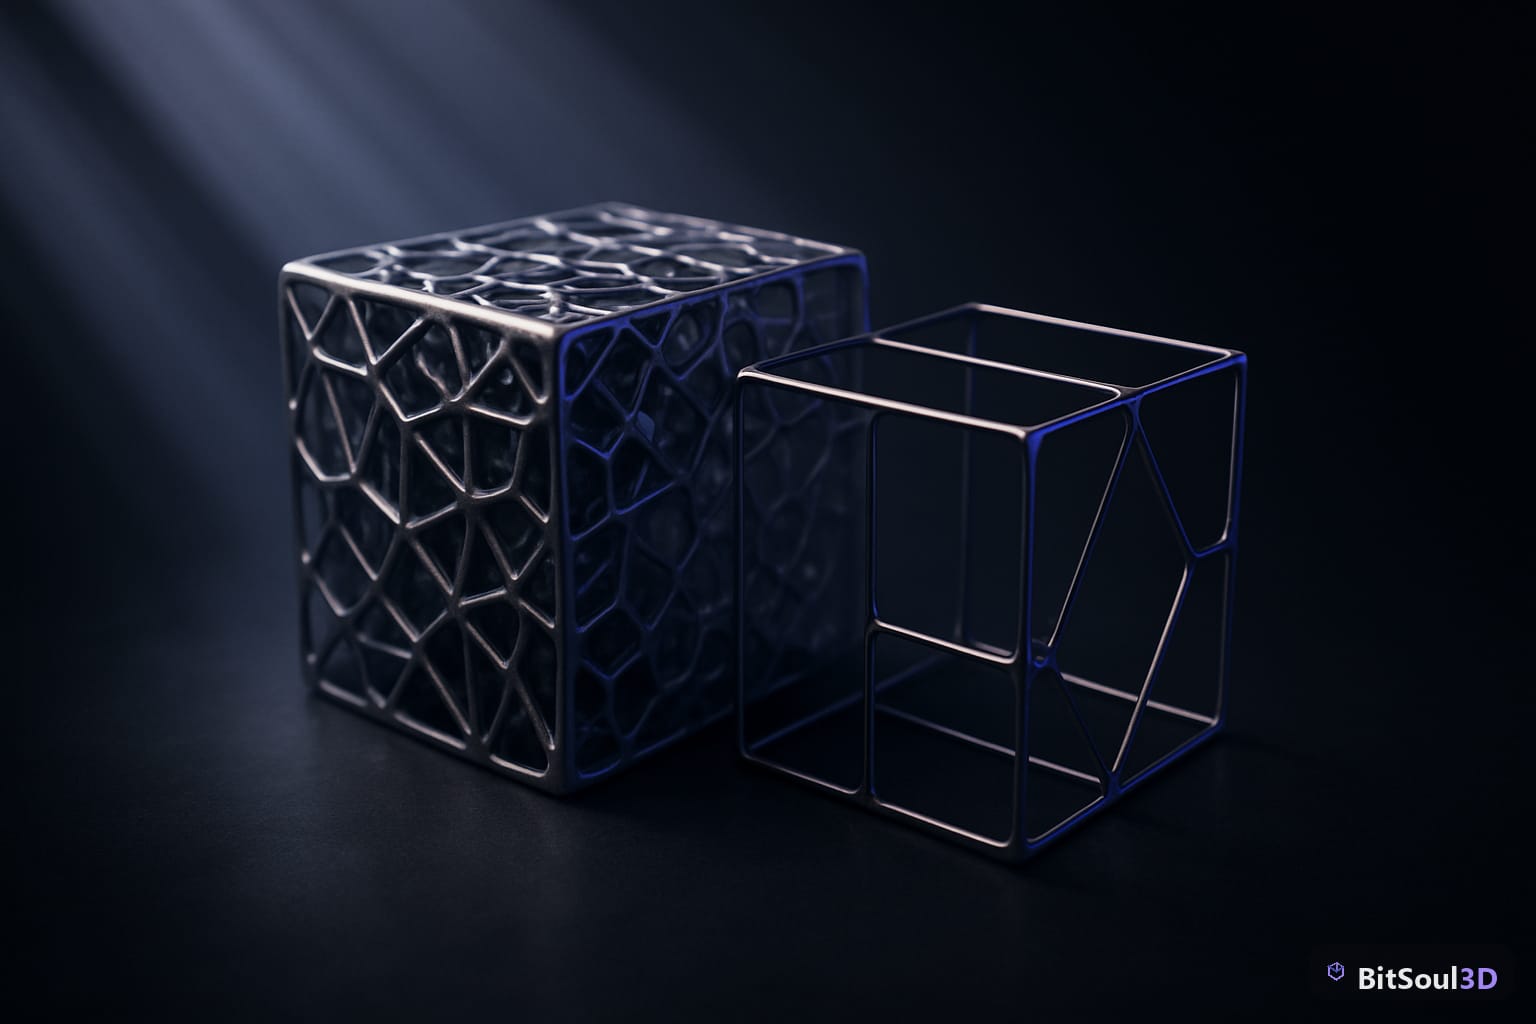
The quality of your bake is determined before you open the bake panel. Mesh cage alignment is everything.
High-poly mesh: This is your sculpt or fully detailed model. It should have all the surface information you want to transfer—bevels, screws, displacement details. It doesn't need to be game-ready; dense geometry is fine here.
Low-poly mesh: This is your game-ready target. It should follow the major silhouette of the high-poly and have clean, non-overlapping UV islands. Aim for 1–4 polygon faces where the high-poly might have 100–1000.
Critical setup rules:
- Name both meshes clearly:
wall_panel_LPandwall_panel_HP - Keep them in the same world position—do not move one relative to the other after unwrapping
- Ensure the low-poly UV map has no overlapping islands (use Blender's UV > Check for Overlaps)
- Set normals consistently: use Face Orientation overlay (blue = correct outward normals) and flip any red faces
# Quick Blender Python snippet to recalculate normals
import bpy

obj = bpy.context.active_object
bpy.ops.object.mode_set(mode='EDIT')
bpy.ops.mesh.select_all(action='SELECT')
bpy.ops.mesh.normals_make_consistent(inside=False)
bpy.ops.object.mode_set(mode='OBJECT')
print(f"Normals recalculated for: {obj.name}")
For organic shapes (characters, foliage), use cage-based baking with a cage offset of 0.005–0.03 depending on the scale of the model. For hard-surface props, ray distance of 0.01–0.05 typically works without a cage.
Baking Normal Maps in Blender Step-by-Step
Blender's Cycles renderer handles baking. EEVEE cannot bake.
- Switch to Cycles in Render Properties
- Select the low-poly mesh, then Shift-click the high-poly mesh (low-poly must be active)
- In the low-poly's material, add an Image Texture node (do not connect it to anything), create a new 2048×2048 or 4096×4096 image, and select it
- In Render Properties > Bake, set Bake Type to Normal, Space to Tangent, enable Selected to Active, and set Extrusion to 0.02
- Click Bake
Recommended bake settings:
┌──────────────────┬────────────────────┐
│ Setting          │ Value              │
├──────────────────┼────────────────────┤
│ Bake Type        │ Normal             │
│ Space            │ Tangent            │
│ Selected to Act. │ Enabled            │
│ Extrusion        │ 0.02 (adjust)      │
│ Max Ray Distance │ 0.0 (auto)         │
│ Output Margin    │ 16px               │
│ Image Size       │ 2048 or 4096       │
└──────────────────┴────────────────────┘
Always save the baked image manually: in the Image Editor, go to Image > Save As and export as a 16-bit PNG for maximum precision.
Fixing Common Normal Map Baking Errors
Baking errors are almost always caused by one of four things:
1. Dark blotches and incorrect shading seams — UV seams are aligned with hard edges without split normals. Fix: In the low-poly, select all UV seams, then go to Mesh > Normals > Set Seam from Sharp.
2. Inverted detail (bumps look like dents) — The high-poly or low-poly has flipped normals, or the normal map Y-channel needs flipping for your target engine. Unity (HDRP/URP) expects OpenGL (green up), which matches Blender's default. Unreal Engine 5 expects DirectX (green down)—flip the G channel on export. Godot 4 uses OpenGL and matches Blender's default.
3. Bake misses detail or has coverage gaps — Ray distance is too small, or meshes are misaligned. Increase Extrusion value incrementally from 0.01 to 0.05. If using a cage, ensure it fully envelops the high-poly.
4. Visible UV seams in-engine — Insufficient margin (padding) around UV islands. Increase bake Margin to 16–32px, and in the UV editor run UV > Pack Islands with a margin value set.
Exporting Normal Maps for Unity, Unreal, and Godot
Each engine has specific expectations for normal map format and import settings.
| Engine | Normal Map Format | Import Setting | Notes |
|---|---|---|---|
| Unity (URP/HDRP) | OpenGL (green up) | Mark as Normal Map | Auto-converts to DXT5nm |
| Unreal Engine 5 | DirectX (green down) | Flip Green Channel | Use Texture Compression: Normalmap |
| Godot 4 | OpenGL (green up) | Set as Normal Map | Use .basis or .dds for performance |
For Unreal Engine 5, the fastest workflow is to flip the G channel before export. In Blender's compositor, add Separate RGBA nodes, invert the green channel with a Math > Subtract (1 minus G) node, then recombine with Combine RGBA.
For all engines, export as PNG (16-bit) or TGA. Avoid JPEG—compression artifacts destroy normal map data and cause visible banding in real-time lighting.
Once your normal maps are baked and engine-ready, they become the foundation of every PBR material set in your asset pack. Pair them with albedo, roughness, and metallic maps and your assets will hold up at any render distance.
Ready to put your baked assets to work? Browse game-ready 3D assets with complete PBR texture sets—including pre-baked normal maps—at BitSoul's asset marketplace. Whether you need rigged characters, modular environments, or hard-surface props, every asset is optimized and export-ready for Unity, Unreal, and Godot. Visit BitSoul Marketplace to find your next asset.
This post is part of the Ultimate Guide to Free 3D Game Assets — BitSoul's complete reference for formats, texturing, rigging, optimization, and engine integration.
Need drop-in assets for this workflow? Grab the 82-model Vehicle Bundle on the BitSoul marketplace and drop them straight into your project.