Furniture props are the backbone of every interior game scene — and getting them right in Unity URP takes more than dropping a GLB file into your project. This guide walks through the full pipeline: evaluating free assets, setting up your lighting rig, enabling batching, and verifying performance before you ship.
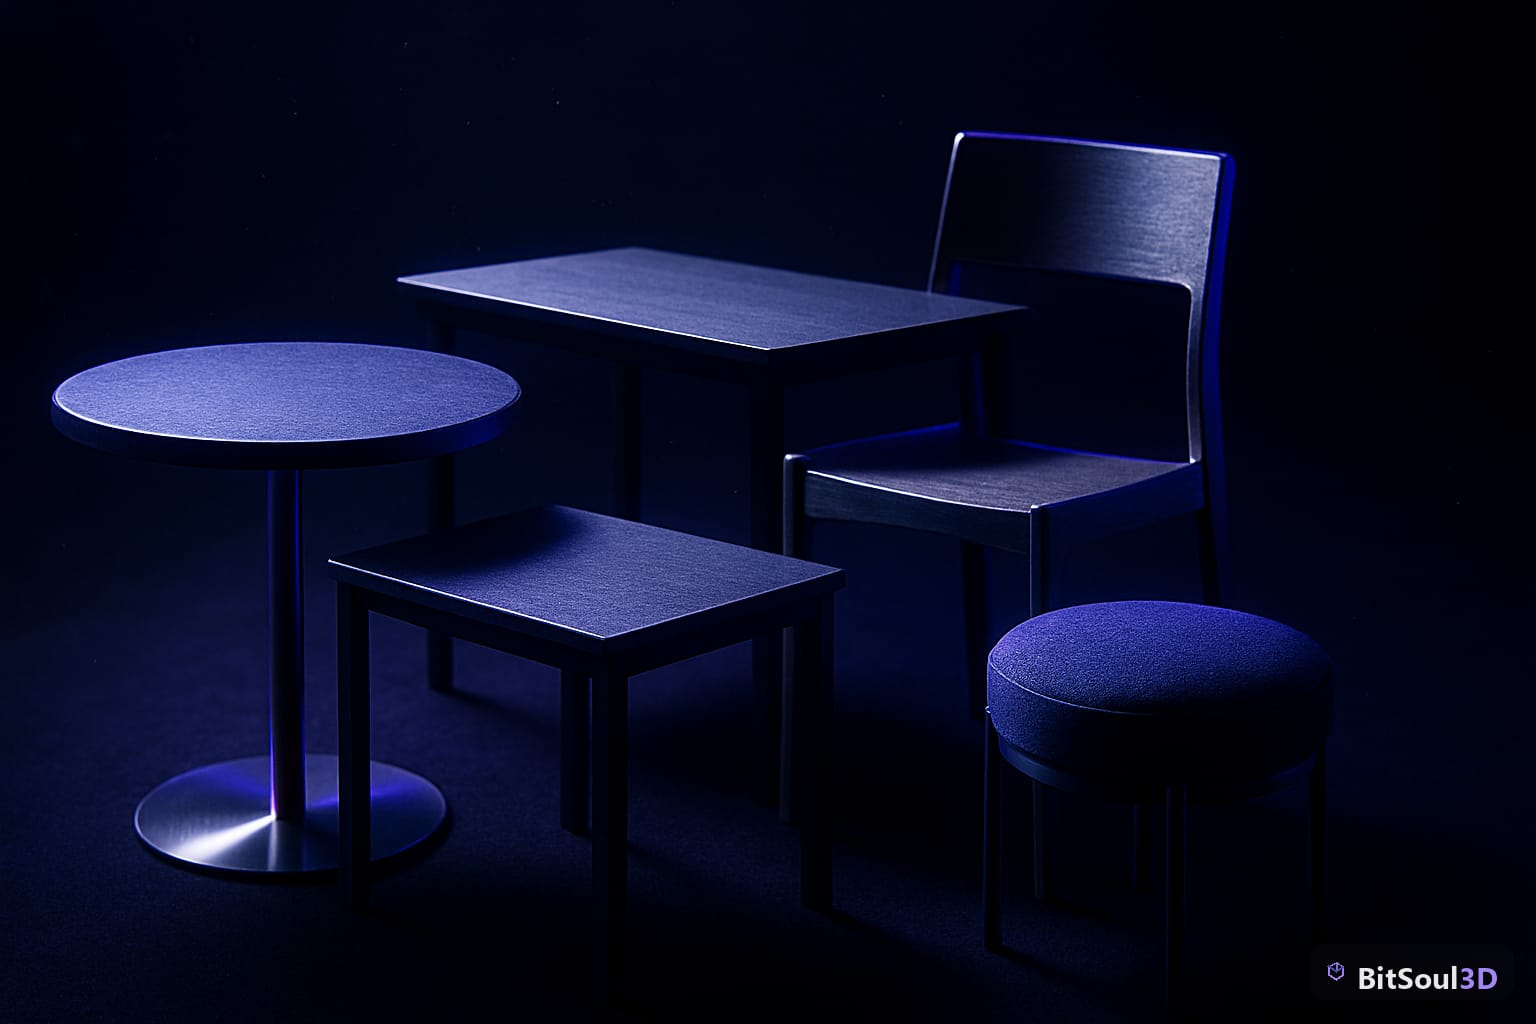
Evaluating free GLB furniture assets before importing
Not every free model on a marketplace deserves a slot in your scene. Before importing, open the GLB in a viewer (Blender, or Unity's own preview) and check for:
- Triangle count: a dining chair should be 500–2 000 tris for mobile, up to 5 000 for PC. Sofas with cushion detail can push 8 000 tris on PC — flag anything over 15 000 as a candidate for decimation.
- UV layout: look for overlapping islands or wasted UV space. Poor UVs mean texture shimmering at distance.
- Material count per mesh: every extra material is an extra draw call. Aim for one material per prop; two at most for hero pieces.
- Normal map orientation: Unity URP uses OpenGL-style normals (green channel up). If imported normals look inverted, flip the green channel in your texture import settings or bake a corrected map.
Free assets from BitSoul's marketplace ship in GLB format with embedded PBR textures — base color, metallic/roughness, and normals all packed in — which removes the texture-reassignment step that plagues FBX imports.
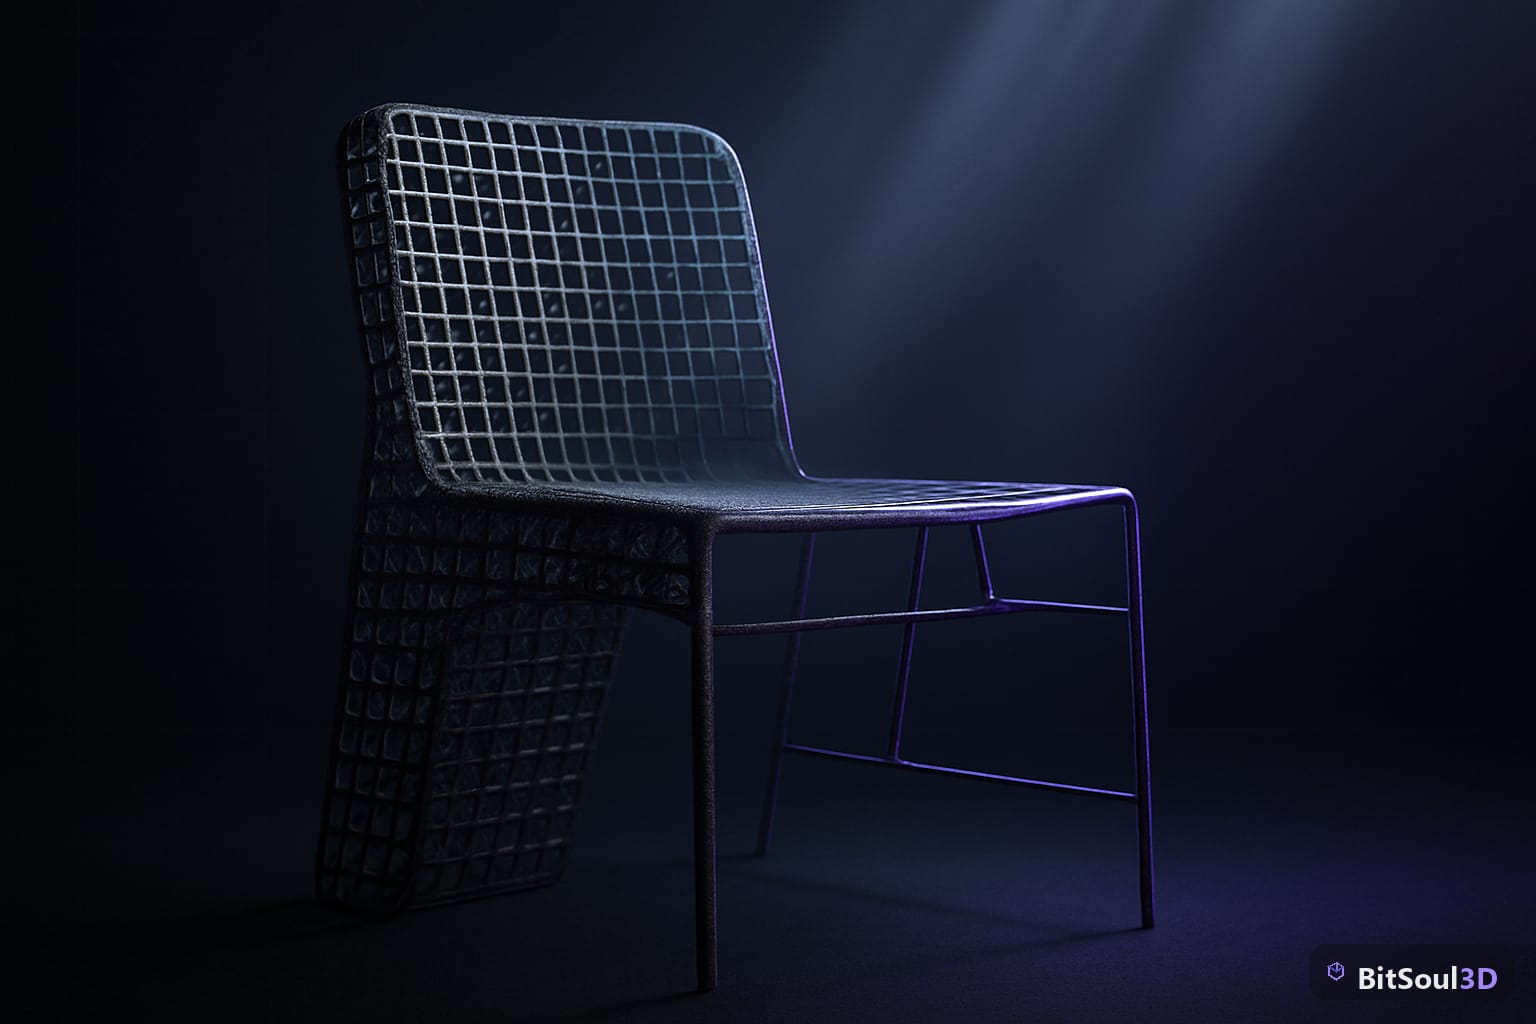
Mesh import settings in Unity
In the Model import tab, set:
Mesh Compression: Off (GLB already optimises geometry)
Read/Write Enabled: Off (saves memory unless you modify verts at runtime)
Generate Lightmap UVs: On (required for baked lighting)
Blendshapes: Off (unless the prop has morph targets)
In the Materials tab, leave Extract Textures unchecked — Unity will automatically wire the embedded GLB textures to a URP Lit material.
Setting up lighting for imported GLB furniture props
Unity URP offers three lighting paths: fully real-time, baked, and mixed. For interior furniture scenes, mixed lighting hits the sweet spot — static surfaces get baked indirect, while dynamic objects (characters, interactive props) receive real-time shadows.
Directional light and ambient setup
For an interior scene, rotate your Directional Light to simulate a window source: roughly 30–45° elevation, angled 15° off-axis. In Window → Rendering → Lighting, set:
- Lighting Mode: Mixed
- Environment Lighting Source: Gradient (set sky color to a muted daylight blue, equator to neutral grey, ground to a warm off-white)
- Ambient Intensity: 0.6–0.8 (avoid washing out the baked shadows)
Reflection probes for PBR accuracy
PBR materials on metallic or semi-gloss furniture (chrome legs, lacquered tabletops, glass) need a Reflection Probe to look correct. Place a Box probe that tightly encompasses the room:
// Minimum reflection probe setup via script
var probe = gameObject.AddComponent<ReflectionProbe>();
probe.mode = UnityEngine.Rendering.ReflectionProbeMode.Baked;
probe.size = new Vector3(roomWidth, roomHeight, roomDepth);
probe.center = Vector3.zero;
probe.resolution = 128; // 64 for mobile
Bake the probe after placing all static furniture. Without a baked probe, metallic surfaces default to the skybox — which looks wildly wrong indoors.
Light Probe Groups for dynamic objects
If characters or hand-held props move through the scene, drop a Light Probe Group with probes at head height and floor level across the room. This gives moving objects cheap per-vertex indirect lighting that matches the baked environment.
Batching furniture props: static batching vs GPU instancing
Each unique mesh + material combination costs a draw call. A furnished room with 30 props can easily hit 60–80 draw calls — unacceptable on mobile. Unity URP offers two weapons:
Static Batching — mark every immovable prop as Static in the Inspector. Unity merges geometry at build time into a single combined mesh per material. Best for:
- Scenes with many different prop types that share few materials
- PC and console where the combined mesh memory overhead is acceptable
GPU Instancing — for scenes with many copies of the same prop (stacked crates, identical chairs around a table), enable GPU Instancing on the material. All instances render in one draw call regardless of count.
You can combine both: mark repeated props as Static and GPU-instanced — Unity is smart enough to prefer instancing when it applies.
// Quick batching audit in the Unity Profiler:
// Frame Debugger → look for "Draw Mesh" calls
// Target: < 30 draw calls for mobile, < 100 for PC/console
Batching checklist
| Prop type | Batching method | Notes |
|---|---|---|
| Unique static furniture | Static Batching | Mark Static in Inspector |
| Repeated chairs/stools | GPU Instancing | Enable on URP Lit material |
| Shadow-casting dynamic props | None / manual LOD | Too expensive to batch |
| Small decorative clutter | Static Batching | High payoff, low poly |
Final scene performance checklist
Before committing a furnished interior to production, run through these checks:
- Bake lighting (Window → Rendering → Lighting → Generate Lighting) and verify lightmap texels aren't blown out on any surface
- Open the Frame Debugger (Window → Analysis → Frame Debugger) and count draw calls in a representative camera angle
- Profile on target hardware — URP's GPU profiler in a development build shows exactly which prop is the culprit if frame time spikes
- Check lightmap UV seams: UV islands that share texel borders cause dark seams on baked meshes — increase Lightmap Padding to 4–8 texels if visible
- Verify reflection probe assignment: select a metallic prop and check the Mesh Renderer → Anchor Override is set correctly so it samples the nearest probe
Free GLB furniture assets from BitSoul's marketplace give you a solid starting library — the embedded textures, clean topology, and single-material-per-prop convention make all of the above dramatically faster to set up than assets sourced from multiple vendors.
This post is part of the Ultimate Guide to Free 3D Game Assets — BitSoul's complete reference for formats, texturing, rigging, optimization, and engine integration.
Build with real assets: grab game-ready furniture 3D models on the BitSoul marketplace and drop them straight into your project.