Decals solve one of the most tedious problems in environment art: adding localised surface variation — cracks, stains, painted arrows, bullet holes, puddle residue — without touching the base texture or rebaking a single lightmap. Godot 4's Decal node brings this capability to any mesh with almost zero setup cost, and once you understand its PBR channel system, you can use it to punch well above your texture budget.
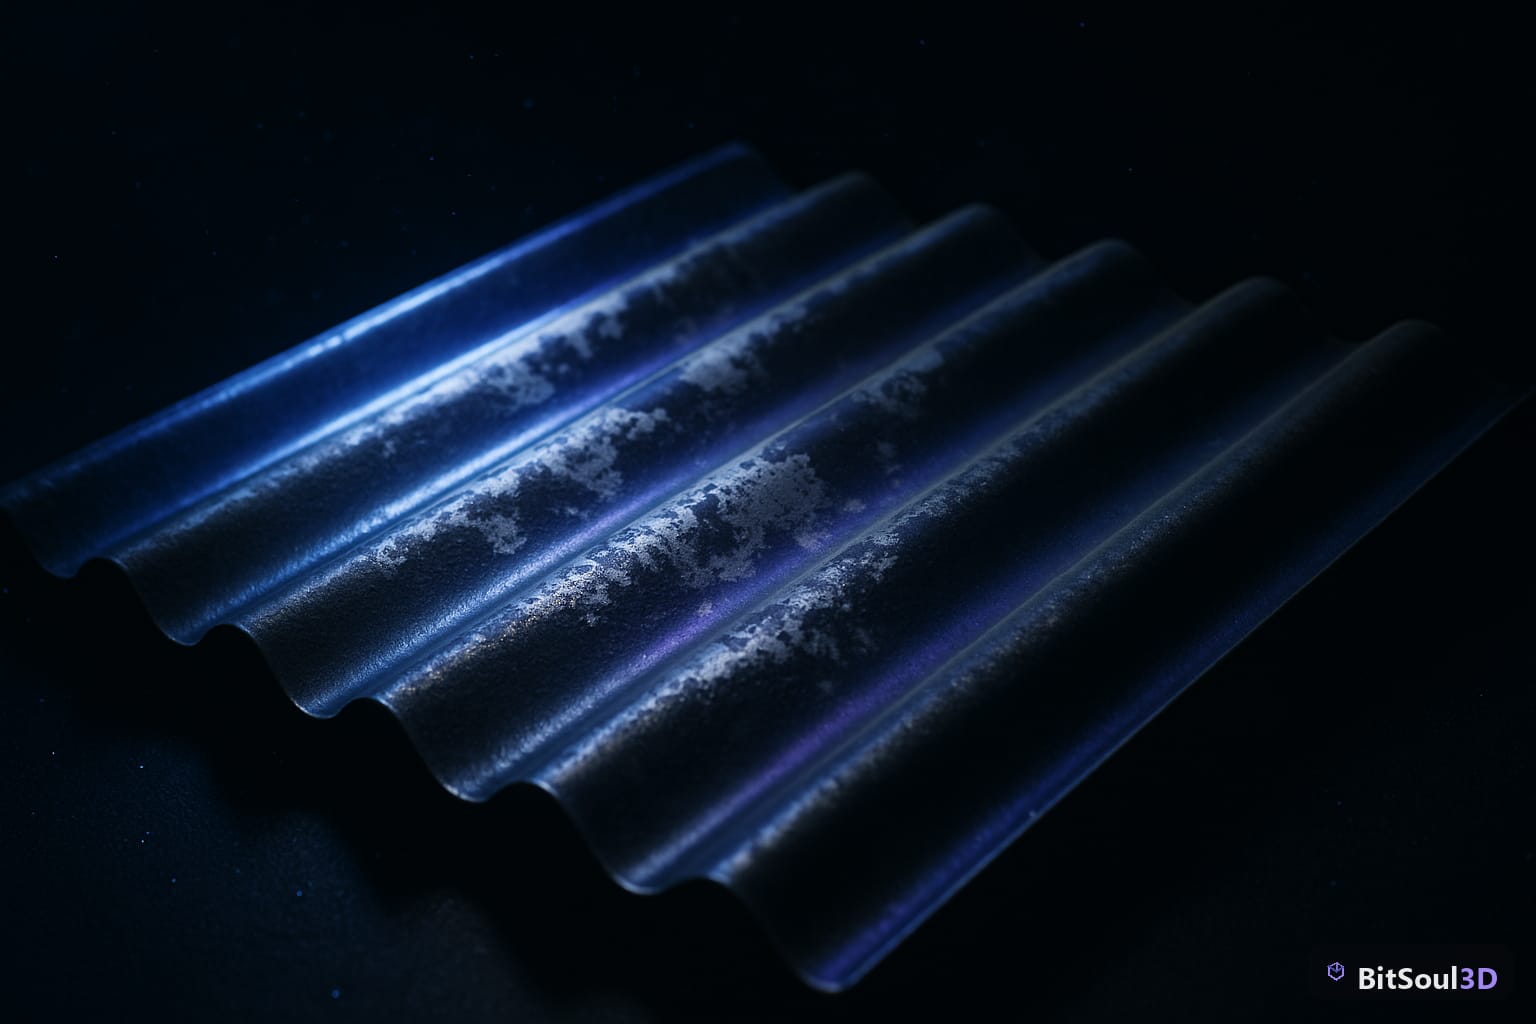
What Decal nodes actually do in Godot 4
A Decal node projects a set of textures onto any mesh that falls inside its box-shaped volume. The projection is orthographic along the node's local -Y axis, so you rotate and scale the box to aim it.
Internally, the renderer reprojects the decal texture using the fragment's world position and the decal's inverse transform. This means:
- The base mesh needs no UV changes
- The decal works on any surface inside the volume — multiple meshes simultaneously
- Decals are drawn in a deferred pass, so they cost an additional draw call but avoid texture duplication
- Transparency and blending are controlled per PBR channel
The node sits under Node3D in the scene tree. You can instance it, animate it, toggle visibility, and attach it to moving objects — useful for projected headlights, magic circles, or interactive highlights.
Setting up your first Decal node
Add a Decal node to your scene. In the Inspector you'll see a bounding box defined by Size (X/Y/Z extents). The decal projects downward along local -Y; the box height controls how far the projection reaches before it fades.
# Spawn a decal at runtime — useful for bullet holes or spills
func place_decal(world_pos: Vector3, texture: Texture2D) -> void:
    var d := Decal.new()
    d.texture_albedo = texture
    d.size = Vector3(0.4, 0.2, 0.4)
    d.upper_fade = 0.1
    d.lower_fade = 0.3
    d.add_to_group("runtime_decals")
    get_tree().current_scene.add_child(d)
    d.global_position = world_pos
    d.rotate_y(randf() * TAU)  # randomise orientation
Key properties to know:
| Property | Effect |
|---|---|
texture_albedo | Colour + alpha (alpha drives overall opacity) |
texture_normal | Normal map blended on top of surface normal |
texture_orm | Packed ORM: R=Occlusion, G=Roughness, B=Metallic |
texture_emission | Emissive mask — useful for glowing markings |
upper_fade / lower_fade | Soft falloff at top/bottom of volume |
cull_mask | Limit which layers the decal affects |
Set cull_mask carefully. If your scene uses render layers to separate props from terrain, you can restrict the decal to terrain only — preventing it from bleeding onto unrelated meshes that happen to enter the volume.
Authoring decal textures and PBR channels
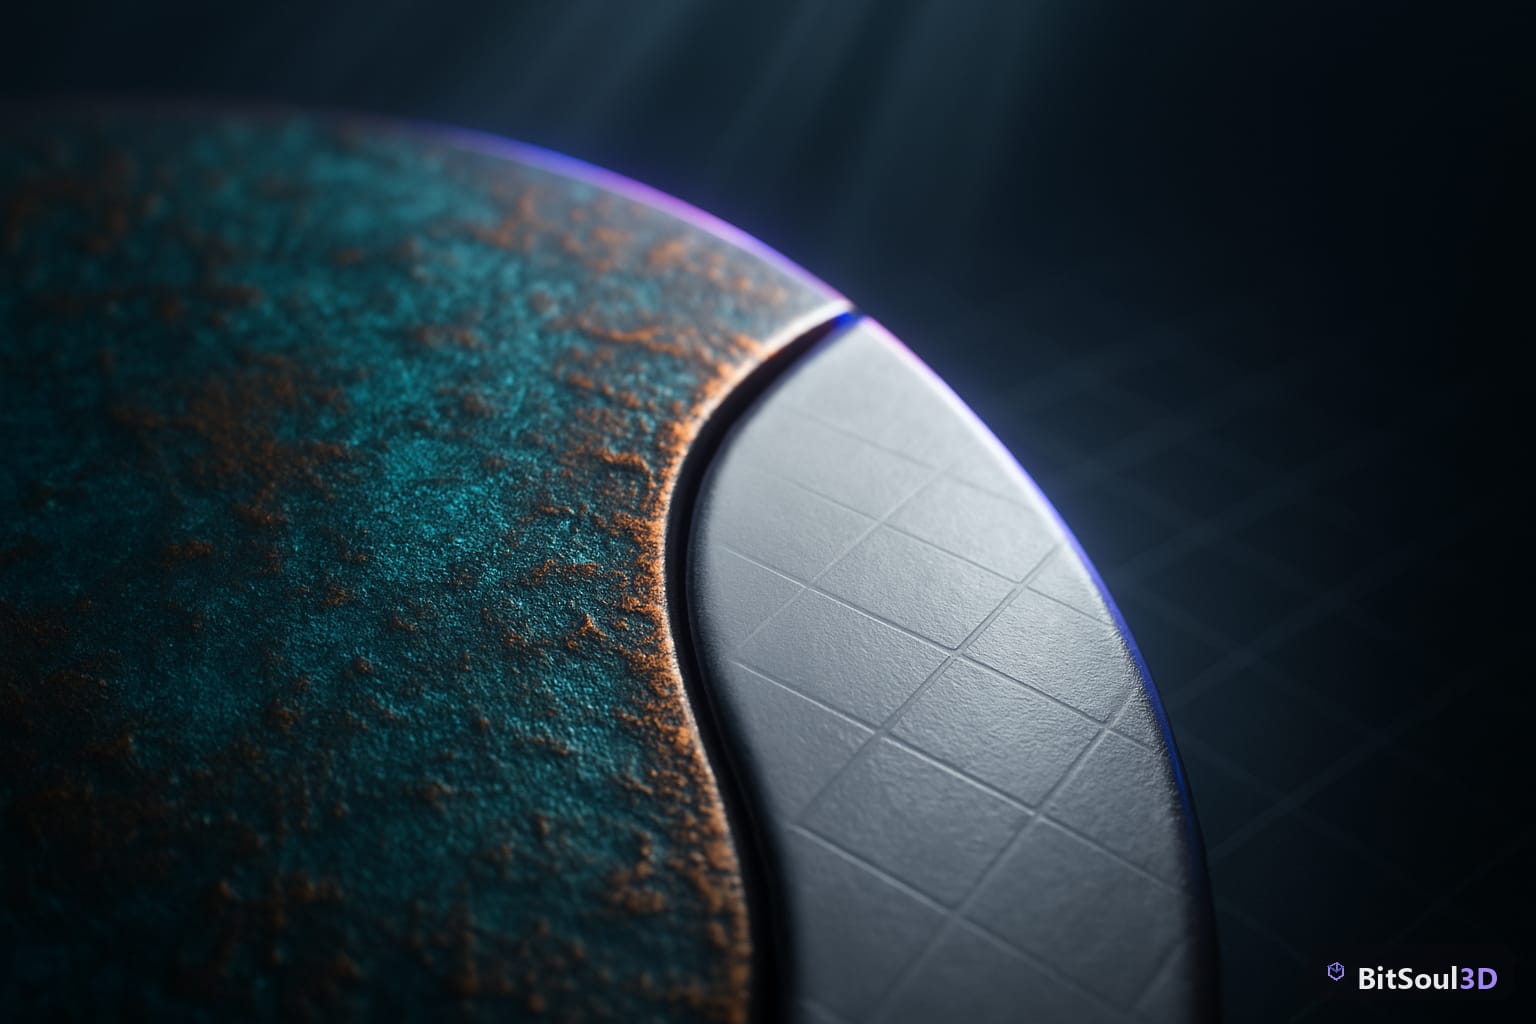
Decal textures follow the same conventions as any StandardMaterial3D input. For the ORM map, pack your channels in Blender or your image editor:
# Quick ORM pack in Python / Pillow
from PIL import Image

ao    = Image.open("ao.png").convert("L")
rough = Image.open("roughness.png").convert("L")
metal = Image.open("metallic.png").convert("L")

orm = Image.merge("RGB", (ao, rough, metal))
orm.save("decal_orm.png")
For most decals — dirt, stains, cracks — you only need texture_albedo with a clean alpha mask and a subtle roughness boost via texture_orm. Normal maps add convincing depth for damage or raised markings.
Authoring checklist:
- Export albedo at 512 × 512 for small props, 1024 × 1024 for large floor markings
- Keep the alpha channel anti-aliased — hard edges alias badly at oblique angles
- For tileable grunge, one 2K tiling texture + multiple Decal instances beats unique decals per surface
- Use the Emission channel for neon signage or magic runes — alpha on
texture_emissioncontrols glow intensity independently of albedo
Performance limits and distance fading
Godot 4's deferred renderer handles Decals well, but they are not free:
- Each visible
Decalthat overlaps a surface adds a screen-space pass over those pixels - Many overlapping decals in a tight area will cost GPU fill rate
- Use
distance_fade_beginanddistance_fade_lengthto pop decals off at range
# Auto-fade a decal beyond 15 m
func _ready() -> void:
    $Decal.distance_fade_begin = 12.0
    $Decal.distance_fade_length = 3.0
Budget guideline: in a typical first-person scene, up to ~20 visible Decal nodes runs comfortably on mid-range hardware. For open-world environments with thousands of decals, stream them with your chunk loader and cull aggressively with VisibleOnScreenNotifier3D.
You can grab base environment and prop assets from the BitSoul marketplace and start placing Decal nodes immediately — the GLB models import into Godot 4 with no material conversion needed.
Godot 4 Decals are one of the highest-value techniques in the environment artist's toolkit: real PBR blending, no UV cost, runtime spawnable, and compatible with any mesh in your scene. Start with a simple stain or crack decal, then layer normal and ORM maps once projection is dialled in. Browse ready-to-use environment props at bitsoulhosting.com/marketplace.
This post is part of the Ultimate Guide to Free 3D Game Assets — BitSoul's complete reference for formats, texturing, rigging, optimization, and engine integration.
Need drop-in assets for this workflow? Grab the 70-model Food Bundle on the BitSoul marketplace and drop them straight into your project.