NavigationMesh is the invisible geometry that turns your 3D level into a space AI agents can reason about. Without it, pathfinding is guesswork; with it, NPCs navigate stairs, avoid obstacles, and reroute in real time — all at a fraction of the cost of runtime collision checks.
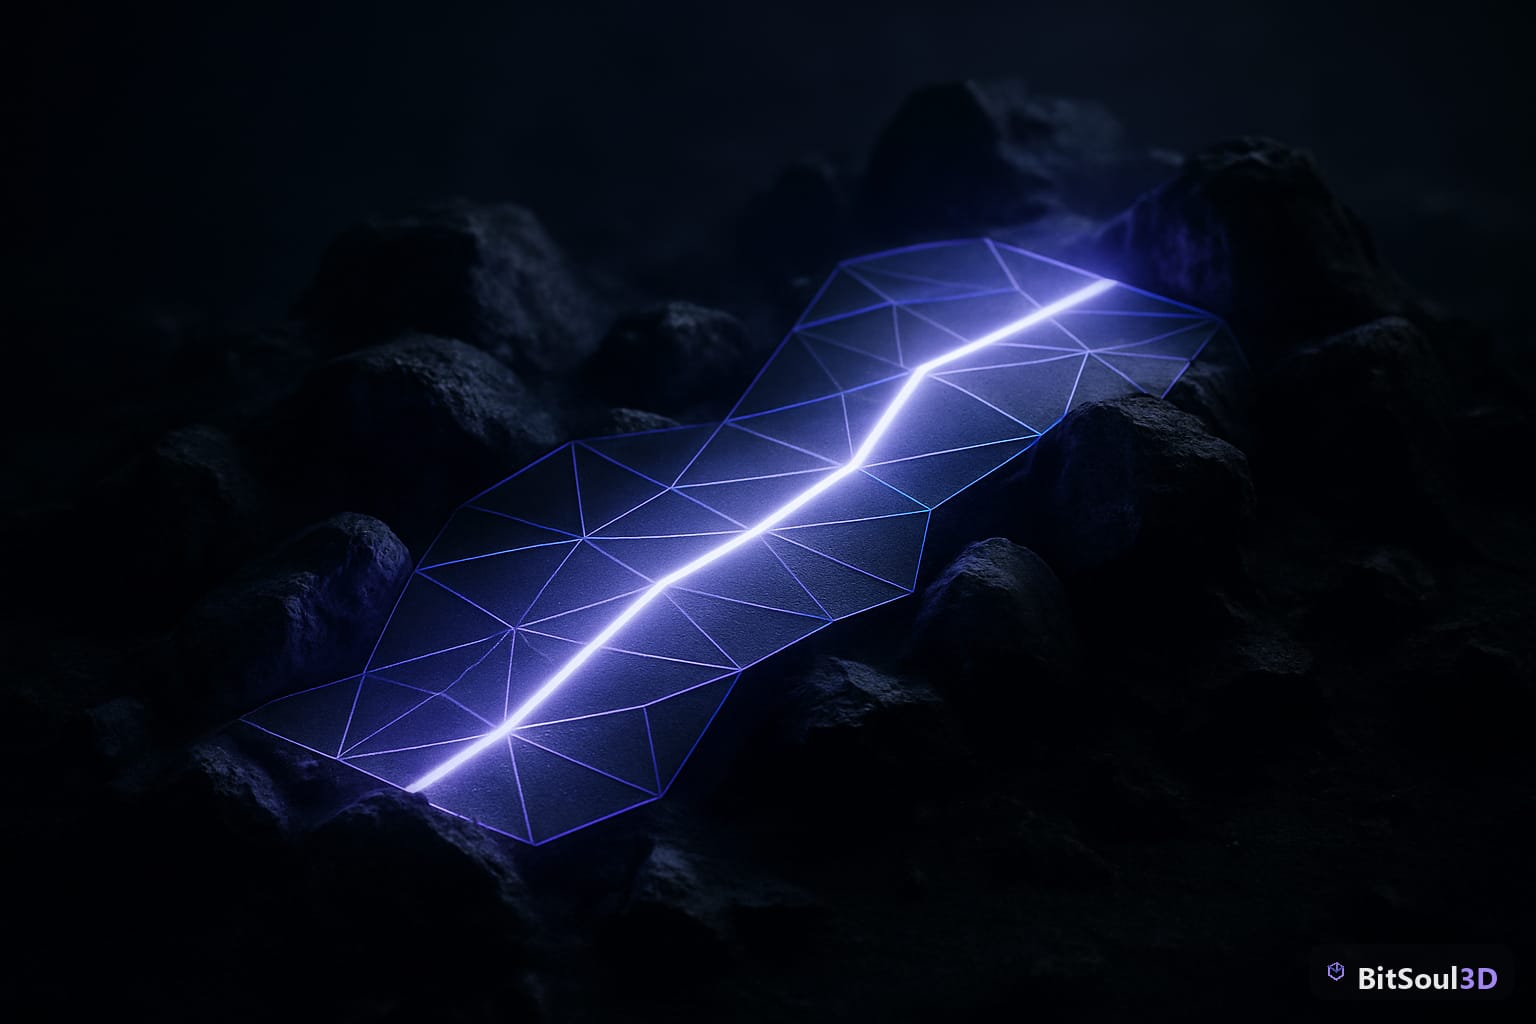
What is a NavigationMesh and how does Godot 4 handle it
A NavigationMesh (NavMesh) is a simplified polygon mesh overlaid on your walkable geometry. Godot 4's navigation system uses NavigationRegion3D nodes to define these walkable areas, and the NavigationServer3D singleton to process pathfinding queries at runtime.

Key components:
- NavigationRegion3D — a node that holds a
NavigationMeshresource and bakes walkable geometry - NavigationAgent3D — attached to AI characters; requests and follows paths automatically
- NavigationObstacle3D — marks dynamic blockers (moving crates, other NPCs) that agents avoid
- NavigationServer3D — the singleton handling all path queries, updated per physics frame
Godot 4 supports runtime rebaking, so you can update NavMesh dynamically when destructible geometry changes.
Baking a NavigationMesh in Godot 4
Start by adding a NavigationRegion3D node to your scene and assigning a new NavigationMesh resource to it. This resource has several critical properties:
# Access the NavigationMesh resource directly
var nav_region = $NavigationRegion3D
var nav_mesh = nav_region.navigation_mesh

# Key baking properties
nav_mesh.agent_height = 1.8        # Minimum clearance for agents
nav_mesh.agent_radius = 0.5        # Horizontal clearance from obstacles
nav_mesh.agent_max_climb = 0.4     # Max step height
nav_mesh.agent_max_slope = 45.0    # Max walkable angle in degrees
nav_mesh.cell_size = 0.25          # NavMesh voxel resolution
nav_mesh.cell_height = 0.25        # Vertical voxel resolution

# Bake at runtime (e.g. after level loads)
nav_region.bake_navigation_mesh()
Cell size is the most impactful parameter: smaller values produce higher-fidelity NavMesh but take longer to bake and consume more memory. For a typical third-person game level, 0.25 is a good starting point. For large open-world tiles, 0.5 or even 1.0 is appropriate.
Geometry parsing modes
Godot 4 offers three geometry sources:
| Mode | When to use |
|---|---|
PARSED_GEOMETRY_MESH_INSTANCES | Bakes from MeshInstance3D nodes — best for static levels |
PARSED_GEOMETRY_STATIC_COLLIDERS | Bakes from StaticBody3D colliders — more accurate for complex shapes |
PARSED_GEOMETRY_BOTH | Combines both — slowest bake, most thorough |
For most projects, PARSED_GEOMETRY_STATIC_COLLIDERS gives the most reliable results because your collision shapes already define what's walkable.
Connecting agents with NavigationAgent3D
Add a NavigationAgent3D node to your AI character. Then set a target position and poll the next path position each frame:
extends CharacterBody3D

@onready var nav_agent: NavigationAgent3D = $NavigationAgent3D

var move_speed := 4.0

func _ready() -> void:
    # Configure agent properties
    nav_agent.path_desired_distance = 0.5  # How close to consider waypoint reached
    nav_agent.target_desired_distance = 1.0
    nav_agent.path_max_distance = 2.0      # Max deviation before repath

    # Set destination
    nav_agent.target_position = $"../Player".global_position

func _physics_process(delta: float) -> void:
    if nav_agent.is_navigation_finished():
        return

    var next_pos := nav_agent.get_next_path_position()
    var direction := global_position.direction_to(next_pos)
    velocity = direction * move_speed
move_and_slide()Important: always set target_position after the NavigationServer has had at least one frame to initialize. Wrap your initial target assignment in await get_tree().physics_frame if agents fail to path on scene load.
Handling dynamic obstacles
For moving blockers, add NavigationObstacle3D as a child of the moving object:
# On the moving obstacle node
var obstacle = $NavigationObstacle3D
obstacle.radius = 1.2
obstacle.avoidance_enabled = true
Avoidance uses RVO (Reciprocal Velocity Obstacles) and runs on a separate thread in Godot 4, so it doesn't block your main physics thread.
Optimizing NavMesh performance for production
NavMesh is cheap at runtime but can be expensive to bake. Here's how to stay within budget:
Split large levels into regions. Instead of one NavigationRegion3D covering the entire map, tile your level into overlapping chunks. Godot 4 merges adjacent regions automatically via NavigationMeshSourceGeometryData3D. This makes incremental rebaking practical — only rebake the region containing destructible geometry.
Filter geometry layers. Set navigation_layers on your NavigationRegion3D to separate walkable surfaces (ground, bridges) from non-walkable (rooftops the player can't reach). Agents query specific layers, reducing path graph complexity.
Use simplified collision for NavMesh baking. Your visual mesh can have 50,000 polygons; your collision mesh used for NavMesh baking should have 200. In Godot 4, mark high-detail MeshInstance3D nodes with a different layer and exclude them from NavMesh geometry parsing.
Pre-bake in editor for static levels. Click Bake NavigationMesh in the editor and save the baked resource. At runtime, skip the bake call entirely — the agent starts pathing immediately with zero startup cost.
# Only rebake if geometry changed at runtime
if level_has_changed:
    nav_region.bake_navigation_mesh()
    await nav_region.bake_completed
NavMesh debug visualization
Enable debug draw in Project Settings → Navigation → Debug → Enable Navigation Debug (or toggle in the editor toolbar). The NavMesh renders as a green overlay — red triangles indicate geometry the bake rejected (too steep, too thin, or below agent height clearance).
Checklist: NavMesh setup for production
cell_sizetuned to character scale (not blindly left at default)agent_heightandagent_radiusmatch your character capsule- Geometry layer filtering separates walkable from decorative meshes
- Large levels split into multiple
NavigationRegion3Dnodes - Static levels pre-baked in editor; dynamic levels bake async with
await bake_completed NavigationObstacle3Dused for moving blockers, not StaticBody3D toggling- Debug visualization checked before shipping — look for red triangles near doorways and stairs
For the 3D assets powering your game environments — ground tiles, modular props, and architecture — grab free GLB packs at BitSoul marketplace. Every model is game-ready and imports directly into Godot 4 with correct scale and axis orientation.
This post is part of the Ultimate Guide to Free 3D Game Assets — BitSoul's complete reference for formats, texturing, rigging, optimization, and engine integration.
Need drop-in assets for this workflow? Grab the 82-model Vehicle Bundle on the BitSoul marketplace and drop them straight into your project.