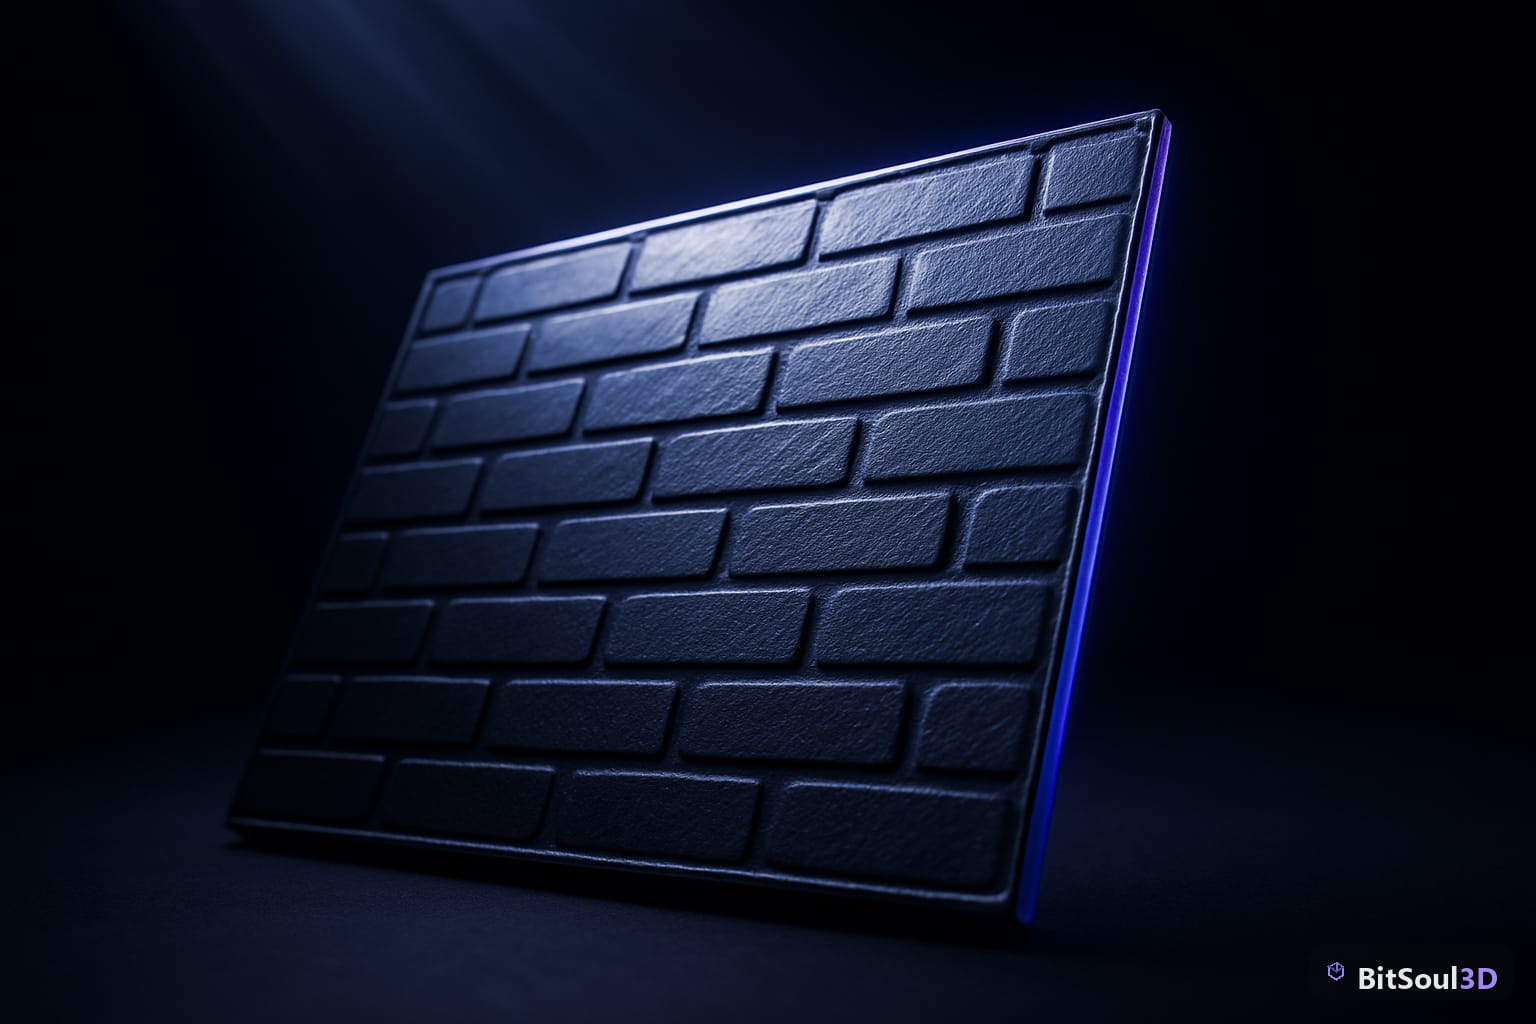
Parallax occlusion mapping in UE5 is one of the highest value-per-polygon techniques in a game artist's toolkit — you get convincing surface depth on a completely flat mesh without adding a single vertex. That stone wall, brick floor, or cobblestone courtyard that would normally need thousands of displaced polygons can stay at its base quad count while still catching correct contact shadows and self-occlusion at grazing angles.
Why POM beats normal maps for surface depth
Normal maps simulate lighting variation to hint at surface detail, but they carry a fundamental limitation: silhouettes and grazing angles expose the illusion. Look at a normal-mapped brick wall from a low angle and the bricks sit perfectly flat against the surface regardless of how convincing the lighting looks head-on. Parallax occlusion mapping solves this by ray-marching into a height map at render time. Each pixel traces a path through the height volume, finds where it intersects the surface, and samples colour and normal data from that depth-corrected UV position.
The result is that bricks protrude visibly from the mortar, flagstone gaps cast real shadows on adjacent tiles, and surface features shift in parallax as the camera moves — all without geometry. POM cannot replace displacement for close-up hero assets or silhouette geometry, but for mid-range environment surfaces it delivers the perception of geometry at a fraction of the draw cost.

Preparing your height map for parallax occlusion mapping in UE5
The height map is the single input that drives the entire POM effect. In Blender or Substance Painter, generate a greyscale map where white = raised and black = recessed. Soft, blurred transitions between values produce smoother ray-march results; sharp binary edges create visible stepping artifacts at coarse sample counts.
Height map checklist:
- Format: 8-bit greyscale is sufficient for most surfaces; use 16-bit if you need fine sub-pixel precision on hero surfaces
- Resolution: match your albedo and normal resolution — 1K for mid-range props, 2K for close-up walls and floors
- Contrast: keep the darkest recesses around 0.1–0.2 rather than pure black to avoid over-marching artifacts
- Channel packing: store the height map in the alpha channel of your normal map to save a texture sample slot in the material
In UE5, import the height texture with Compression Settings → Masks and sRGB → disabled. Using Default or BC7 compression on a height map softens the gradient steps that POM depends on for accurate depth reconstruction.
// Height texture import settings in UE5
Compression Settings: Masks (no sRGB)
sRGB: disabled
Mip Gen Settings: FromTextureGroup
Texture Group: WorldNormalMap
Building the POM material node graph in UE5
UE5's material system includes a dedicated Parallax Occlusion Mapping node (search the palette for ParallaxOcclusionMapping). The wiring pattern is:
[Height Map Texture Sample] --> Height Map   |
[TexCoord[0]]               --> UV           | ParallaxOcclusionMapping --> Parallax UV
[Camera Vector]             --> CameraVector |    |
[Pixel Normal WS]           --> Normal       |  Feed into ALL other texture samples
                                              (Albedo, Normal, Roughness, AO)
Key parameters on the node and recommended values for wall surfaces:
| Parameter | Default | Background wall | Hero surface |
|---|---|---|---|
| Height Ratio | 0.05 | 0.03 | 0.06–0.08 |
| Min Steps | 8 | 4 | 8 |
| Max Steps | 32 | 8 | 24–32 |
| Shadow Steps | 8 | 0 | 8 |
Enable Shadow Steps only on surfaces lit by a directional light — it adds self-shadowing within the height field and is worth the extra sample cost for hero assets, but wasteful on background geometry.
Tuning samples and performance trade-offs
POM cost scales with Max Steps multiplied by pixel count. A 32-step POM material on a surface filling half the viewport will noticeably impact frame time on mid-range hardware. Two strategies keep it manageable.
Distance-based quality LOD: blend POM out and revert to standard normal mapping beyond a threshold using a camera-distance expression. Feed the distance into a Lerp on the Height Ratio parameter — transition POM to zero between 8–15 m. At 10 m most players cannot distinguish POM from a well-authored normal map.
Step count budgeting by surface role:
- Background ceilings and far walls: 4 min / 8 max, no shadow steps
- Walkable floors and mid-range walls: 8 min / 16 max, 8 shadow steps
- Hero close-up surfaces: 16 min / 32 max, 8 shadow steps
Avoid POM on skeletal meshes or decals — tangent-space assumptions break and you will see tearing artifacts on animated surfaces. Restrict POM to static mesh surfaces that tile or span large areas where per-polygon geometry displacement would be genuinely expensive in vertex count or physics collision complexity.
Free stone, brick, and cobblestone GLB assets at BitSoul marketplace already ship with height maps baked into the alpha of their normal textures, so you can drop this POM material directly and tune the Height Ratio slider without any additional texture authoring.
Pick up ready-to-use surface assets and apply this parallax occlusion mapping workflow at bitsoulhosting.com/marketplace — no additional texture prep required.
This post is part of the Ultimate Guide to Free 3D Game Assets — BitSoul's complete reference for formats, texturing, rigging, optimization, and engine integration.
Need drop-in assets for this workflow? Grab the 94-model Animal Bundle on the BitSoul marketplace and drop them straight into your project.