Procedural texture generation solves a problem every game artist eventually hits: you need a wall material for twenty different rooms, but hand-painting twenty variations is a week's work. Substance Designer's node-based graph generates tileable, infinitely customisable PBR textures from mathematical noise functions — edit one parameter and every room updates instantly. This guide walks you through building a complete tileable PBR base material from scratch and exporting it engine-ready for Unity URP, Unreal Engine 5, and Godot 4.
Why Substance Designer beats Painter for tileable base materials
Substance Painter excels at painting unique detail onto a specific mesh. Substance Designer is fundamentally different: it generates textures that exist independent of any mesh. The output is a set of seamless, tileable image maps — albedo, normal, roughness, metallic, height — that you can apply to any surface at any scale without ever touching a UV layout.
Key advantages for game asset pipelines:
- Parametric control: expose sliders for roughness, wear level, dirt amount, and surface variation — one graph, dozens of material variants
- Non-destructive workflow: every node stays live-editable; no bake-and-redo cycle when the art director changes their mind
- Resolution-independent: the same graph exports at 512 px for mobile and 4K for PC; no rework required
- Built-in tileability: Designer enforces seam-free tiling by construction; Painter requires manual seam hiding
For base materials that repeat across your environment — concrete floors, brick walls, metal panels, wooden planks — Designer is the right tool.
Building a tileable rust and bare metal base material
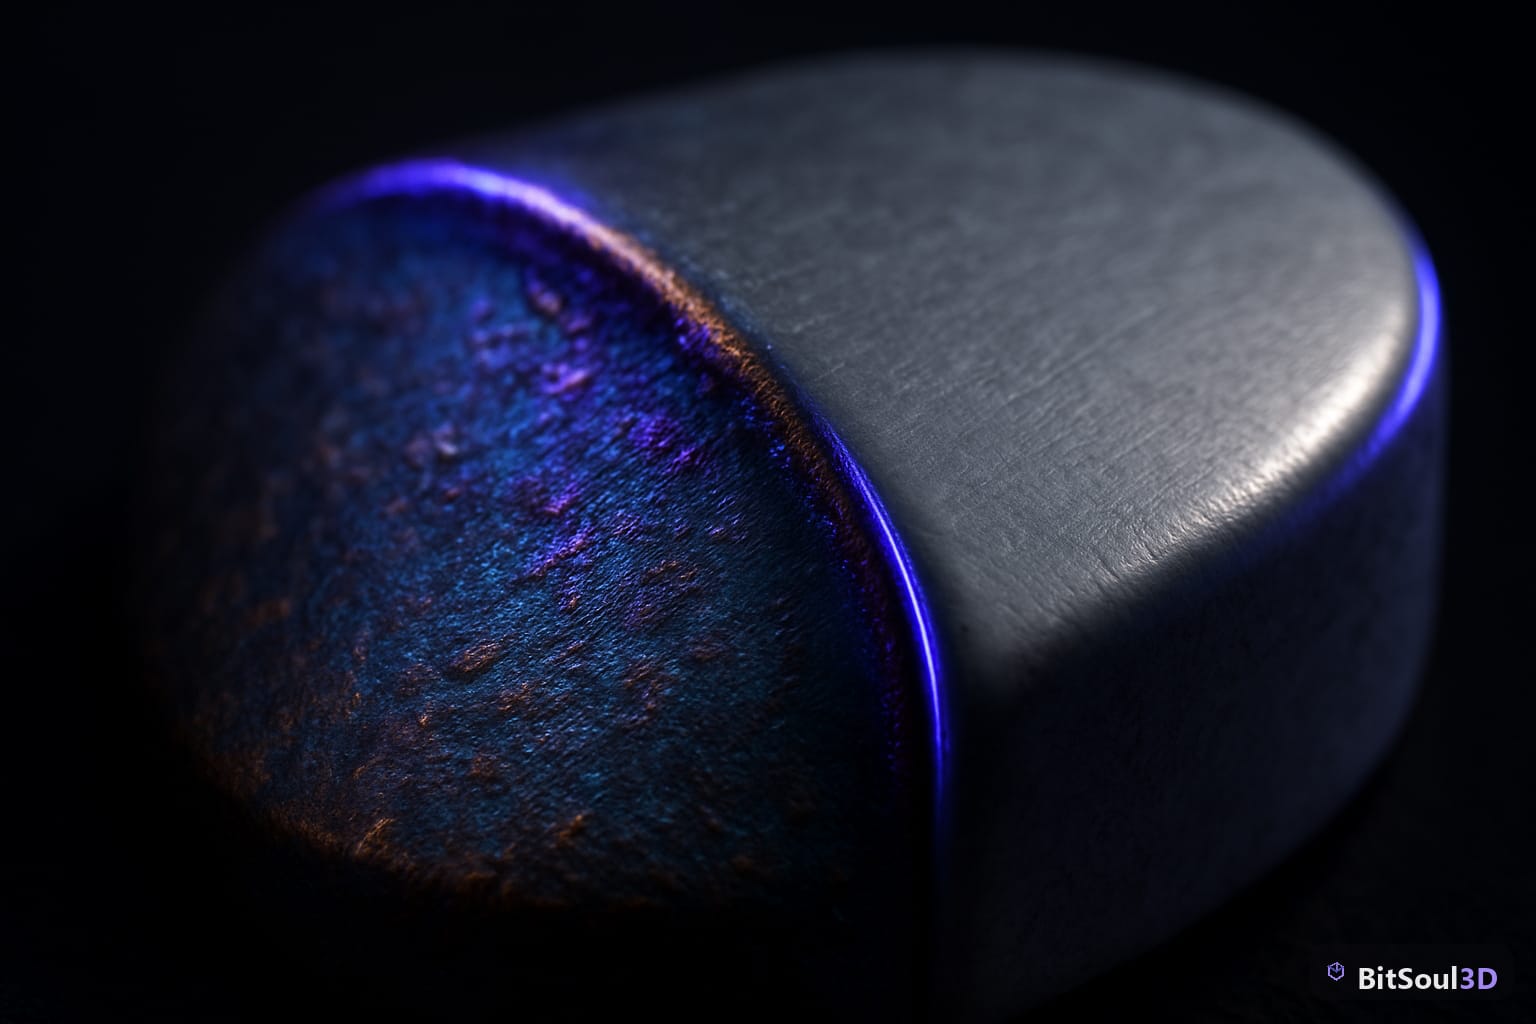
This walkthrough builds a corroded steel material suitable for industrial props, vehicles, and environment assets — the kind you'll find throughout BitSoul's marketplace as free GLB downloads.
Setting up the graph
- New Substance Graph → set output size to 2048 × 2048, 16-bit float
- Base shape:
Grunge Map 002node — delivers organic, non-repeating variation across tile boundaries - Metal base:
Metal Brushedgenerator → connect to the Roughness output via a Levels node - Rust layer:
Grunge Rust 01→ blend over base using a Blend node inMultiplymode; drive opacity from aUniform Colornode exposed as a Rust Amount float parameter (0.0–1.0)
Grunge Map 002
    └─ Warp (intensity: 0.3)
        └─ Blend (mode: Overlay, opacity: 0.4)
            ├─ Metal Brushed  [base]
            └─ Grunge Rust 01 [top layer]
                └─ Levels (In Low: 0.1, In High: 0.8)
Core nodes for realism
The most common beginner mistake is relying on a single noise layer. Frequency layering is what separates convincing materials from flat ones:
| Layer | Node | Frequency | Purpose |
|---|---|---|---|
| Macro | Clouds 3 | Low | Large-scale surface variation |
| Mid | Grunge Spots | Mid | Scratches and wear patterns |
| Micro | High Pass | High | Fine micro-scratch detail |
Connect all three into a Multi-blend node, then pipe the result to your Normal output via a Normal Map node with intensity 0.4–0.6.
Roughness and height calibration
Height feeds UE5's parallax and displacement, and roughness is the most visually prominent PBR channel in real time:
- Height: keep the grayscale range between 0.05 and 0.25 for typical surface depth — deeper values produce extreme parallax at grazing angles
- Roughness: rust sits around 0.7–0.85, clean brushed metal around 0.15–0.3; expose a Wear Level parameter to lerp between states at runtime or per-instance
Exporting PBR maps for Unity URP, Unreal Engine 5, and Godot 4
Designer's export presets handle per-engine channel packing automatically. In File → Export Textures, select the correct template:
Unity URP
Use the Unity 5 (Standard Metallic) preset. This outputs:
_Albedo— RGB albedo, A channel unused_MetallicSmoothness— R metallic, A smoothness (1 − roughness)_Normal— DirectX tangent-space normal (Unity expects this convention)
Import settings: Texture Type: Default for albedo; Normal Map for the normal; sRGB checked only on albedo — all others must be Linear.
Unreal Engine 5
Use the Unreal Engine 4 (Packed) preset. UE5 packs occlusion, roughness, and metallic into a single ORM texture:
ORM— R: Occlusion, G: Roughness, B: MetallicBC— RGB: Base ColorN— OpenGL normal; enable Flip Y in Designer's export settings to match UE5's DirectX convention
In the Material Editor, split the ORM Texture Sample into separate R/G/B channels feeding Occlusion, Roughness, and Metallic inputs. One texture sample instead of three cuts GPU cache pressure noticeably.
Godot 4 StandardMaterial3D
Export an RMA texture (R: Roughness, G: Metallic, B: AO) and set the Godot import to Compress: VRAM Compressed. In StandardMaterial3D:
- Albedo Texture: albedo map (sRGB import)
- ORM Texture: your RMA export — Godot remaps channels internally
- Normal Map: Designer's default OpenGL-convention normal
From graph to game
A single well-built Substance Designer graph — parameterised correctly — can generate the full tileable material library for an entire level. Export presets do the engine-specific channel packing; all you need is to build the source graph once and expose the parameters your art director or level designer will actually touch.
Start with simple two-layer materials (clean + worn state), expose three to five parameters, and lock in your export templates before production begins. The tileable PBR textures you produce work directly on any GLB model from BitSoul's marketplace — free, game-ready, and already sized for real-time engines.
This post is part of the Ultimate Guide to Free 3D Game Assets — BitSoul's complete reference for formats, texturing, rigging, optimization, and engine integration.
Need drop-in assets for this workflow? Grab the 98-model Character Pack on the BitSoul marketplace and drop them straight into your project.