Smart Materials are one of the highest-leverage features in Substance Painter — and most game artists underuse them. Once you build a solid library of reusable PBR presets, you can texture an entire prop kit in minutes instead of hours, with physically consistent results across every asset in your project.
What are Smart Materials and why they change your workflow
A Smart Material in Substance Painter is a saved layer stack: base colour, roughness, metallic, normal, and any procedural generators or masks, all bundled into a single draggable preset. Drop one onto a mesh and Substance Painter auto-projects the full PBR setup using the mesh's curvature, ambient occlusion, and world-space normals.
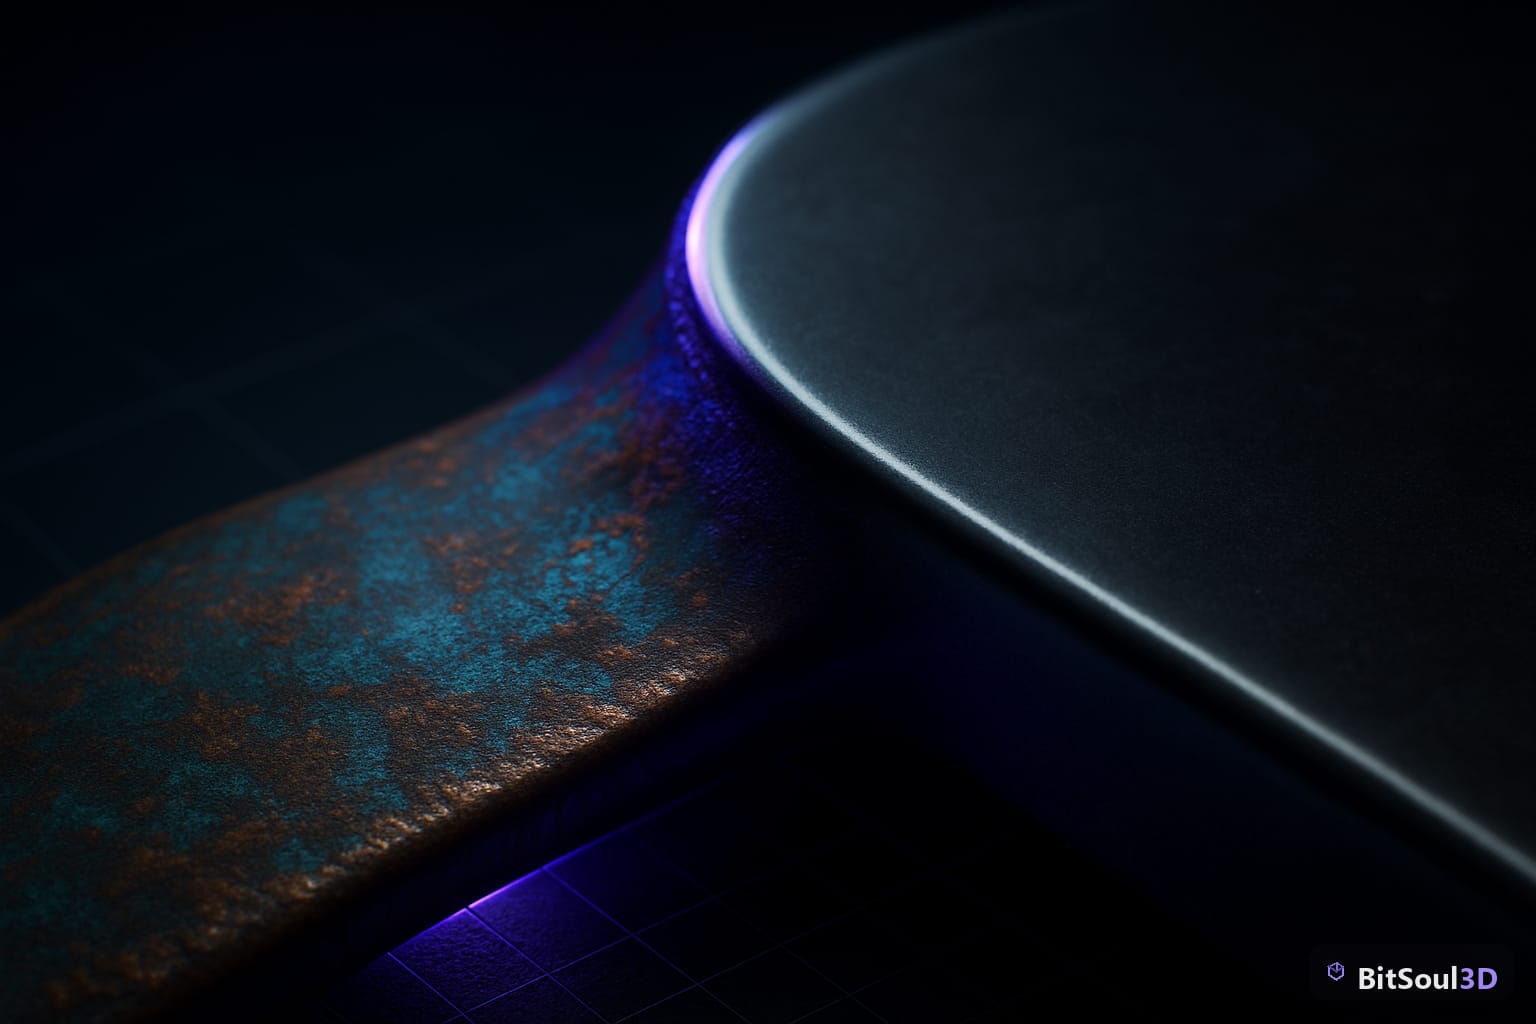
The key difference from a simple layer preset is that Smart Materials include procedural mask generators tied to mesh data. Rust appears on convex edges. Dirt pools in concave crevices. Scratches align with high-curvature zones. You get physically plausible wear without painting a single mask by hand.
For game-asset pipelines, this means:
- Consistency: every prop using "Worn Metal — Industrial" has identical base PBR values and wear logic
- Speed: reapplication takes under 30 seconds per mesh
- Iteration: change the library preset, batch-update every asset using it
Building your first Smart Material from scratch
Start from a well-baked mesh — you need AO, curvature, world-space normals, and position maps. Without these, procedural generators produce garbage.
1. Create a Fill layer → set Base Color, Roughness, Metallic, Normal
2. Add a levels adjustment layer above it (clipped)
3. Add a Generator (e.g. "Metal Edge Wear") as a mask on the Fill layer
4. Add a second Fill layer above for rust or dirt: mask it with "Dirt" generator
5. Adjust generator parameters until edge wear density looks right for your use case
6. Right-click the layer stack → "Save as Smart Material"
7. Give it a descriptive name: "Steel_Industrial_Worn_v1"
Naming convention matters. Use Material_Variant_State_Version: Wood_Oak_Painted_v2, Fabric_Canvas_Clean_v1, Metal_Chrome_Scratched_v1. This makes library search fast and prevents the accumulation of New Smart Material (3) clutter.
Generator parameters to lock before saving
| Generator | Key Parameter | Recommended Starting Value |
|---|---|---|
| Metal Edge Wear | Global Level | 0.6–0.7 |
| Dirt | Level | 0.3–0.5 |
| Curvature | Soften | 2–4 px |
| AO | Levels White | 0.8 |
| Grunge Map | UV Scale | 2.0 (tiling) |
Lock these before saving. They represent neutral defaults you'll override per-asset, but having sensible baselines means less adjustment time on each new mesh.
Exporting and reusing Smart Materials across projects
Substance Painter stores Smart Materials in Documents/Adobe Substance 3D Painter/assets/smart-materials/. These are .spsm files. Back them up to version control — they're small JSON-based archives and diff cleanly.
To share across a team, drop the .spsm files into a shared folder and point each artist's Shelf to it via Edit → Settings → Shelf → Add a network path. Changes to a shared material propagate to all team members on next Shelf refresh.
Unity vs Unreal vs Godot export checklist
| Engine | Export Preset | Normal Map | Roughness Channel |
|---|---|---|---|
| Unity URP | Unity HDRP/URP | DirectX (+Y) | R=Metallic, G=AO, B=blank, A=Smoothness (inverted) |
| Unreal Engine 5 | Unreal Engine 4 | DirectX (+Y) | ORM: R=AO, G=Roughness, B=Metallic |
| Godot 4 | Godot | OpenGL (-Y) | ORM same as UE5 |
The normal map flip is the most common export mistake. Substance Painter bakes in OpenGL convention by default — Unreal and Unity expect DirectX. Set your export template once per project and don't touch it.
# Quick Python rename script for batch-exported texture sets
import os, re

SRC = "./export/"
for f in os.listdir(SRC):
    # Rename Substance Painter default outputs to Unity URP convention
    new = re.sub(r'_BaseColor\.', '_Albedo.', f)
    new = re.sub(r'_Roughness\.', '_Smoothness.', new)  # invert in engine
    if new != f:
        os.rename(os.path.join(SRC, f), os.path.join(SRC, new))
        print(f"{f} → {new}")
Integrating Smart Materials with BitSoul assets
When you pull a prop from the BitSoul marketplace, the GLB already ships with baked normals and AO. You can layer a Smart Material directly on import — but check the bake quality first. Open the Texture Set Settings and confirm the mesh maps are populated.
Workflow for BitSoul GLB assets in Substance Painter:
- Import the GLB via File → New → Select mesh with Import as scene units enabled
- Go to Edit → Bake Mesh Maps — rebake with your project resolution (2048 for most props, 4096 for hero assets)
- Drag your Smart Material from the Shelf onto the Texture Set
- Adjust edge wear intensity via the generator's Global Level slider
- Export with the preset matching your target engine
Rebaking is the step most tutorials skip. The embedded normals in the GLB are for viewport display — Substance Painter needs its own curvature and AO bakes to drive procedural generators correctly. Skipping this step produces flat, un-worn surfaces regardless of the Smart Material.
Build a library of 10–15 Smart Materials covering your core surface types — metal, wood, stone, fabric, painted surfaces, emissive panels — and you'll cover 90% of prop texturing without touching manual masks. Combined with the pre-built GLBs at BitSoul, you get a texturing pipeline that scales to full environments without burning out your art team.
This post is part of the Ultimate Guide to Free 3D Game Assets — BitSoul's complete reference for formats, texturing, rigging, optimization, and engine integration.
Need drop-in assets for this workflow? Grab the 82-model Vehicle Bundle on the BitSoul marketplace and drop them straight into your project.