Calibrating your roughness maps correctly is what separates materials that feel real from ones that just look like painted geometry. Even experienced artists often skip this step, relying on subjective eyeballing instead of physically grounded values — and the result is assets that look fine in isolation but fall apart under different lighting conditions or when ported to another engine.
This guide walks through the full roughness calibration workflow: where drift comes from, how to measure against reference surfaces, engine-specific settings to watch, and a checklist you can run before shipping any PBR asset.
Why roughness values drift — and how to fix them
Roughness maps encode microsurface scatter — a value of 0 is a perfect mirror, 1.0 is fully diffuse. In theory, simple. In practice, drift creeps in from several sources:
Baker settings mismatch. When you bake from a high-poly in Blender, the roughness output is already gamma-corrected by default (sRGB encoding). But PBR roughness should be stored as linear data. If your baker writes sRGB and your engine reads it as linear (or vice versa), your R=0.5 surface will render as R=0.22 or R=0.73 — both wrong.
Screen-space post processing. Bloom, tone mapping, and auto-exposure in UE5 and Unity can wash out or punch up specular highlights, making calibrated roughness look wrong even when it is not. Always validate roughness in a neutral HDRI scene without post-processing before final sign-off.
Subjective grey-ramps. Artists often hand-paint roughness by feel: bright strokes for rough areas, dark for shiny. Without grounding in real-world values, this produces materials that look fine at 10 AM in a bright scene and completely wrong at night or under point lights.
Fix: use a gamma-correct export path
In Blender’s Image Editor, set roughness nodes to Non-Color colorspace before baking:
# In Blender node setup — set colorspace for each map:
# Roughness, Metallic, AO, Height maps → Non-Color
# Base Color, Emission → sRGB
In Substance Painter, the export preset for Unity/UE5/Godot should map Roughness to Linear under the channel encoding settings. Lock this in your project template once and it propagates to every export.
Calibrating roughness maps against reference surfaces
Physically-based rendering uses real-world measurements. Here are calibrated roughness values for common materials — use these as anchors when painting or adjusting roughness maps:
| Material | Roughness (linear) | Notes |
|---|---|---|
| Polished chrome | 0.02–0.05 | Near mirror; any higher reads as frosted |
| Brushed aluminum | 0.20–0.35 | Directional sheen; anisotropy optional |
| Painted metal (glossy) | 0.10–0.20 | Car paint baseline |
| Plastic (matte) | 0.60–0.75 | Diffuse-dominant |
| Raw concrete | 0.80–0.90 | Minimal specular |
| Rough stone | 0.85–0.95 | Essentially no specular |
| Wood (sanded) | 0.55–0.70 | Grain direction matters |
| Leather | 0.65–0.80 | Variable with wear |
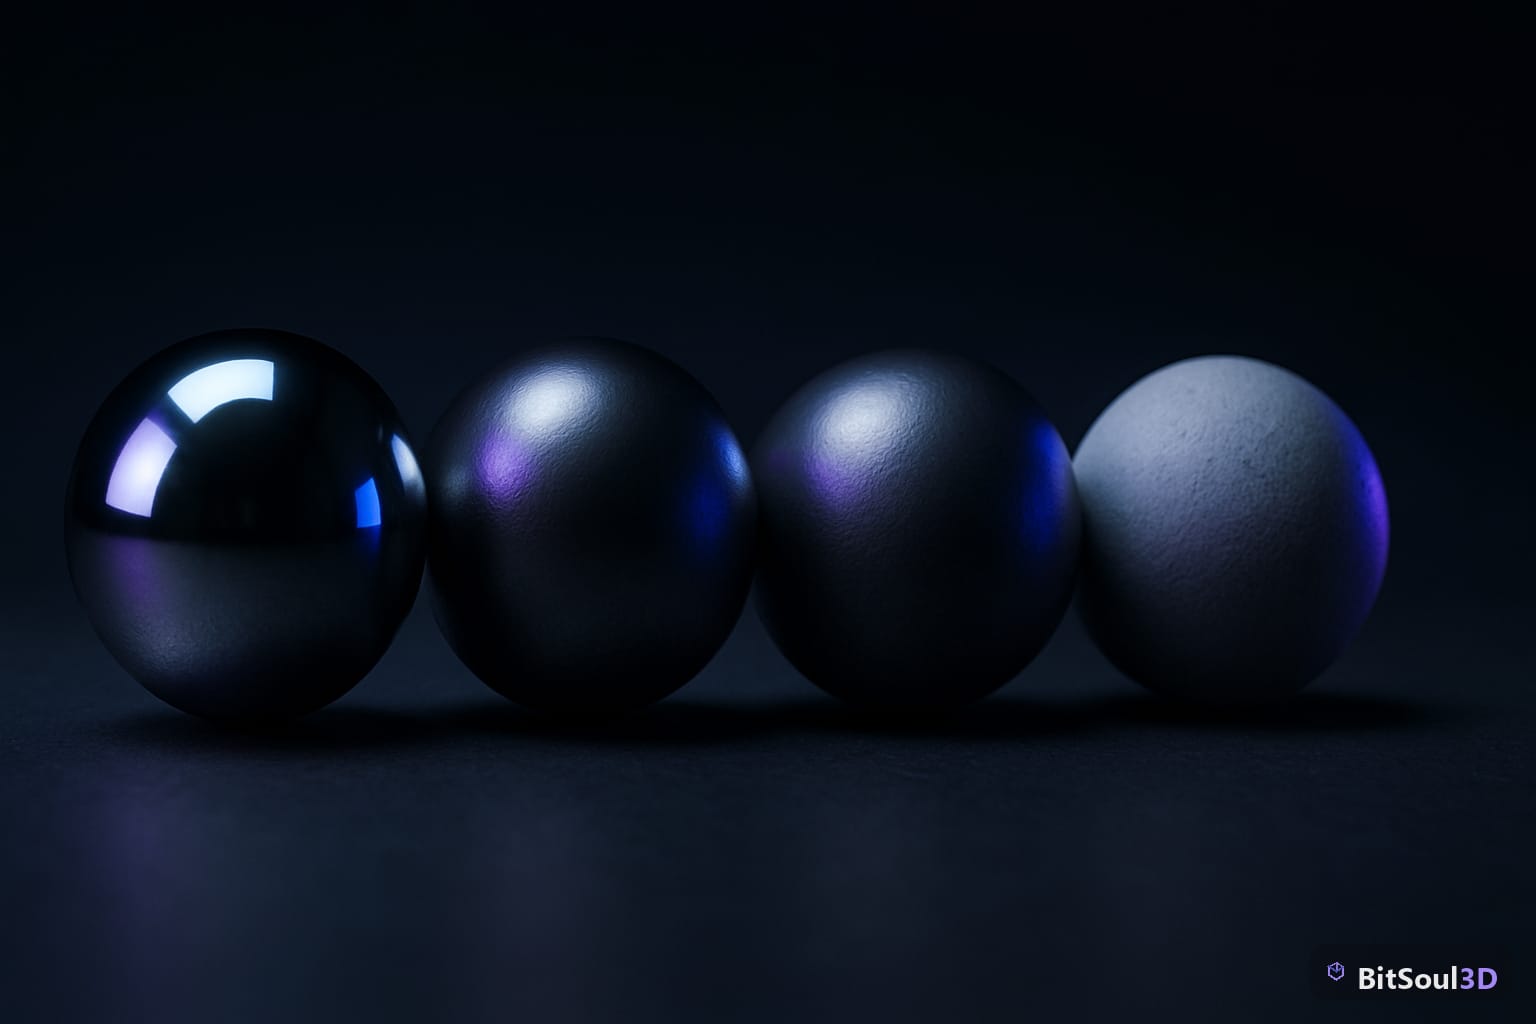
Validation method: In Blender, create a row of spheres with roughness increments from 0.0 to 1.0 and compare against a HDRI-lit reference chart (Poly Haven’s studio HDRI works well). Your baked asset should match these reference spheres at the appropriate value. If it does not, your export encoding is wrong.
For character assets, a practical trick is to build a swatch sheet — a small UV island on each mesh that contains known-value roughness patches (0.1, 0.3, 0.5, 0.8) hidden in a non-visible area. When porting to a new engine, check the swatches first. If they match expected values, the whole material chain is correct.
Roughness in practice: engine-specific settings for roughness map calibration pbr game assets
Each engine handles roughness input slightly differently. Knowing these differences prevents hours of re-baking.
Unity URP
Unity expects roughness as a Smoothness value (inverted: 1.0 = smooth, 0.0 = rough). If you pack roughness directly into the alpha channel of your Metallic map, enable Metallic Alpha → Smoothness in the import settings and check Invert — otherwise your polished chrome will render as sandpaper.
Unity also applies a perceptual roughness remapping internally: it squares the roughness value before feeding it into the BRDF. This means your linear roughness input is remapped as α = roughness². Most artists do not need to do anything about this — just know it exists so you understand why a roughness of 0.5 does not look half rough.
Unreal Engine 5
UE5 reads roughness as a direct linear value from your texture. The engine also applies the α = roughness² remapping internally, so your baked values are correct as-is.
Important: under Lumen, high-roughness surfaces (above 0.8) receive indirect GI differently than in rasterized rendering. If assets look flat under Lumen, double-check that roughness is not artificially clamped — some import scripts cap at 0.75 by default.
Godot 4
Godot uses StandardMaterial3D and reads roughness in linear space. Unlike Unity, there is no smoothness inversion — roughness is roughness. If you import a GLB from Blender with correct Non-Color encoding, Godot reads it correctly out of the box.
One gotcha: Godot’s GLTF importer applies a default roughness multiplier of 1.0 on StandardMaterial3D. If your asset was built for UE5 where materials often have per-material roughness bias nodes, check that no multiplier is compounding your baked values in Godot.
Calibration checklist
Run this before shipping any PBR asset to https://bitsoulhosting.com/marketplace or into production:
- Roughness, Metallic, and AO maps exported as Linear (Non-Color) — confirmed in export settings
- Base Color exported as sRGB — confirmed separately
- Roughness values verified against reference table for primary material type
- Asset validated under HDRI lighting with post-processing disabled
- Tested in target engine with known-good import settings (smoothness inversion for Unity URP if needed)
- No gamma-curve mismatch confirmed: swatch patches render at expected values
- For GLB: GLTF validator passes with no colorspace warnings
Consistently calibrated roughness maps are what make asset libraries like BitSoul actually usable across projects — when you know the values are physically grounded, you can drop assets into any scene and trust the lighting will behave correctly. Run this calibration pass once per material type, document your values, and your whole team benefits from the same source of truth.
This post is part of the Ultimate Guide to Free 3D Game Assets — BitSoul’s complete reference for formats, texturing, rigging, optimization, and engine integration.
Need drop-in assets for this workflow? Grab the 94-model Animal Bundle on the BitSoul marketplace and drop them straight into your project.