Tiling textures betray low-budget games instantly — that unmistakable grid pattern stretching across every floor and wall. Godot 4's StandardMaterial3D offers two powerful, underused tools to fix this without touching your UV layout: detail maps for micro-surface layering and triplanar mapping for projection-based texturing that requires no UV unwrapping at all.
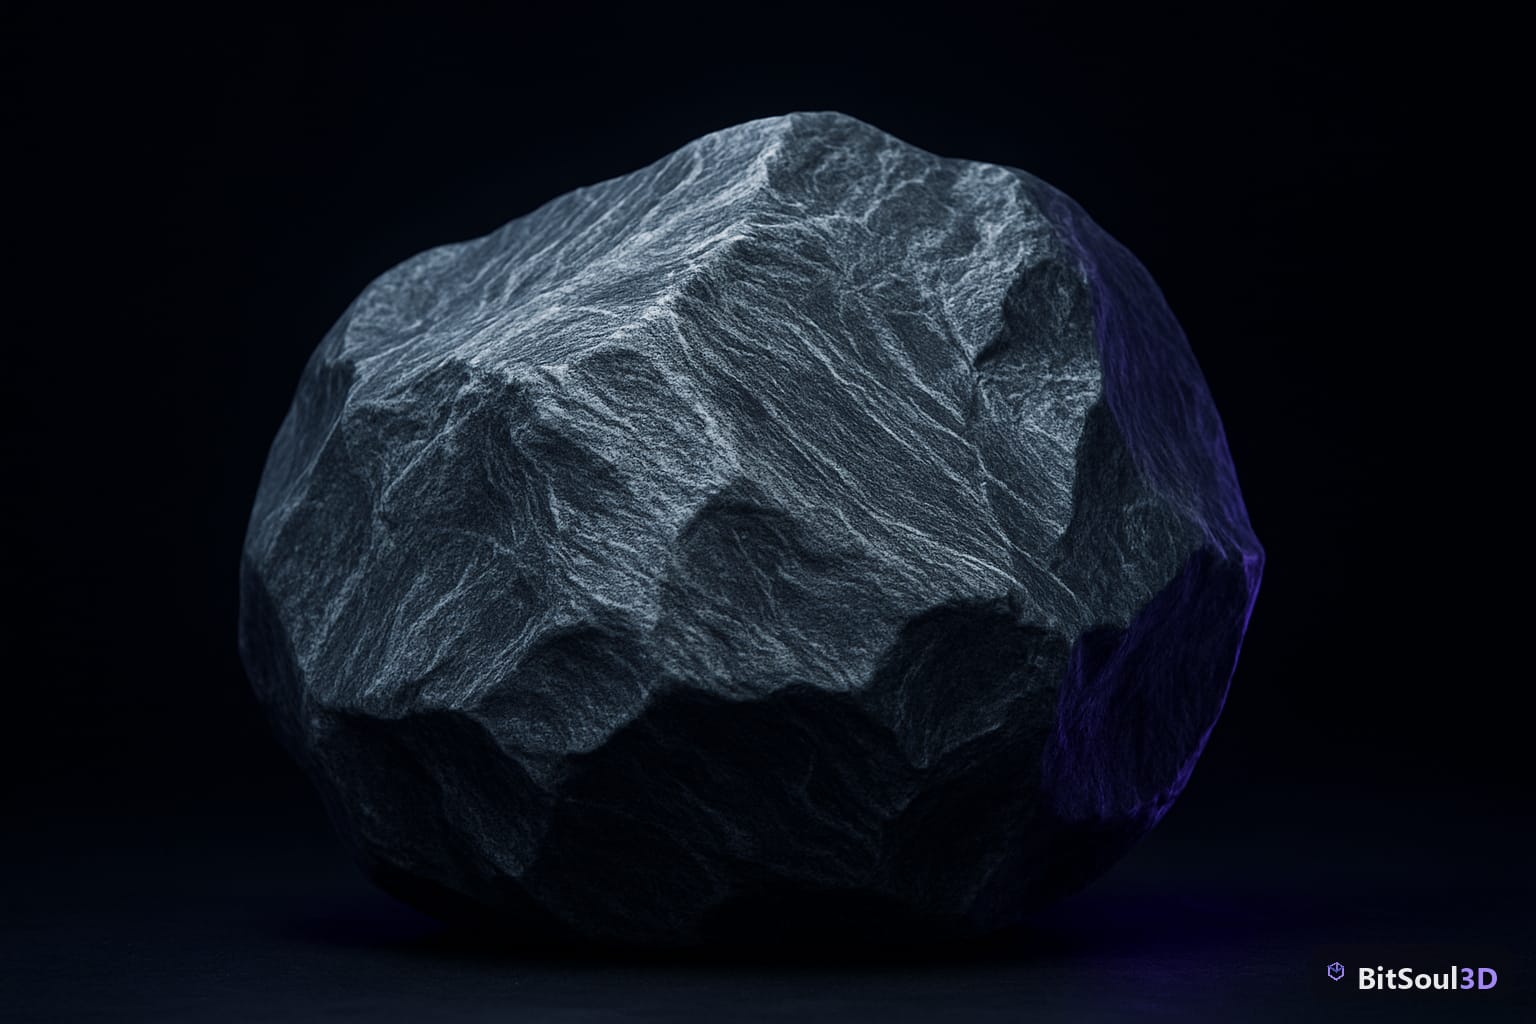
Why tiling textures look bad at distance
Every tiled texture has a repeat frequency — the pixel distance at which the pattern starts over. When that frequency is visible to the player, their brain locks onto the grid. It's a perceptual pattern-matching failure, not a resolution problem. Increasing resolution doesn't help; it just makes the repetition sharper.
The three main causes are:
- UV scale mismatch: the texture tiles too few or too many times across the mesh surface
- No variation: the same albedo, roughness, and normal data repeat identically in every tile
- Single-frequency texture: there's no micro-detail layer to break up the macro pattern
Godot 4's StandardMaterial3D addresses the last two directly. The first requires UV scale tuning per asset, which is a one-time artist decision.
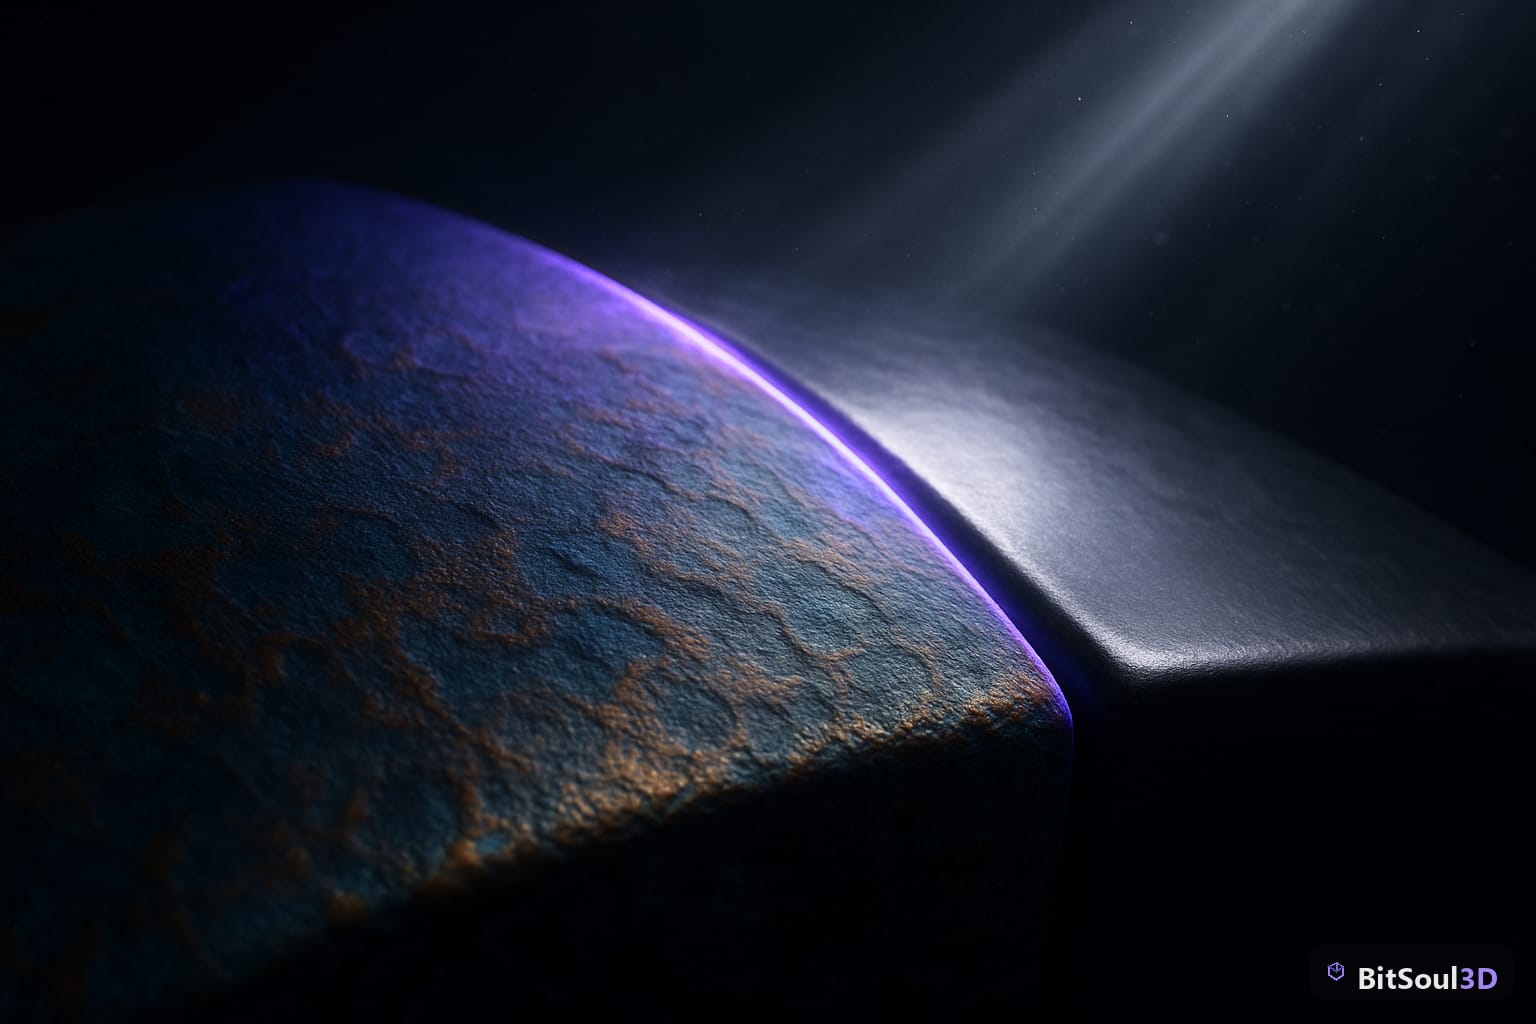
Detail maps in StandardMaterial3D: adding micro-surface variation
A detail map is a second texture layer that blends on top of the primary albedo and normal maps. It runs at a higher UV frequency — typically 4× to 8× the base tile — so it adds fine grain, scratches, or micro-bumps that break up the large-scale tiling pattern.
In Godot 4, enable detail maps under Material > Detail:
# Via script — assign a detail albedo and detail normal
var mat = StandardMaterial3D.new()
mat.detail_enabled = true
mat.detail_albedo = preload("res://textures/detail_grain.png")
mat.detail_normal = preload("res://textures/detail_normal.png")
mat.detail_blend_mode = BaseMaterial3D.BLEND_MODE_MIX
mat.detail_uv_layer = BaseMaterial3D.DETAIL_UV_2
Key parameters to understand:
| Parameter | Recommended Value | Purpose |
|---|---|---|
detail_blend_mode | BLEND_MODE_MIX or BLEND_MODE_MUL | MIX adds tint; MUL darkens — use MUL for grunge |
detail_uv_layer | DETAIL_UV_2 | Second UV channel; scale independently in shader |
| Detail Normal strength | 0.3–0.6 | Subtle bump — higher values look plastic |
| Albedo tiling | 4× to 8× base | High frequency breaks the base tile rhythm |
The detail normal map does the heavy lifting here — it simulates micro-scratches and grain that vary at sub-tile scale, making the eye read depth instead of pattern.
Choosing your detail texture: use a tileable noise, fine fabric weave, or metal grain texture at 512×512. Avoid anything with recognisable shapes — the detail layer should be subliminal. You can grab a suitable tileable grain from the BitSoul marketplace as part of broader material packs.
Triplanar mapping: texture any mesh without UV unwrapping
Triplanar mapping projects the texture from three axis-aligned planes (X, Y, Z) and blends the projections at surface normals. The result: no UV seams, no stretching on curved surfaces, and zero UV work required.
Enable it in StandardMaterial3D:
mat.uv1_triplanar = true
mat.uv1_triplanar_sharpness = 3.0  # higher = harder blend at seams
mat.uv1_scale = Vector3(2.0, 2.0, 2.0)  # controls tile frequency per axis
This is ideal for:
- Terrain and rock meshes — procedurally generated or scanned geometry with no UVs
- Modular environment props — kitbash pieces where UV seams would be visible at joins
- Collision-only visible meshes — placeholder geometry you want to look decent quickly
The triplanar_sharpness value controls how sharply the three projections blend at surface transitions. Values between 2 and 5 work for most surfaces; higher values give rock-like faceted blending, lower values give smooth gradients useful for organic shapes.
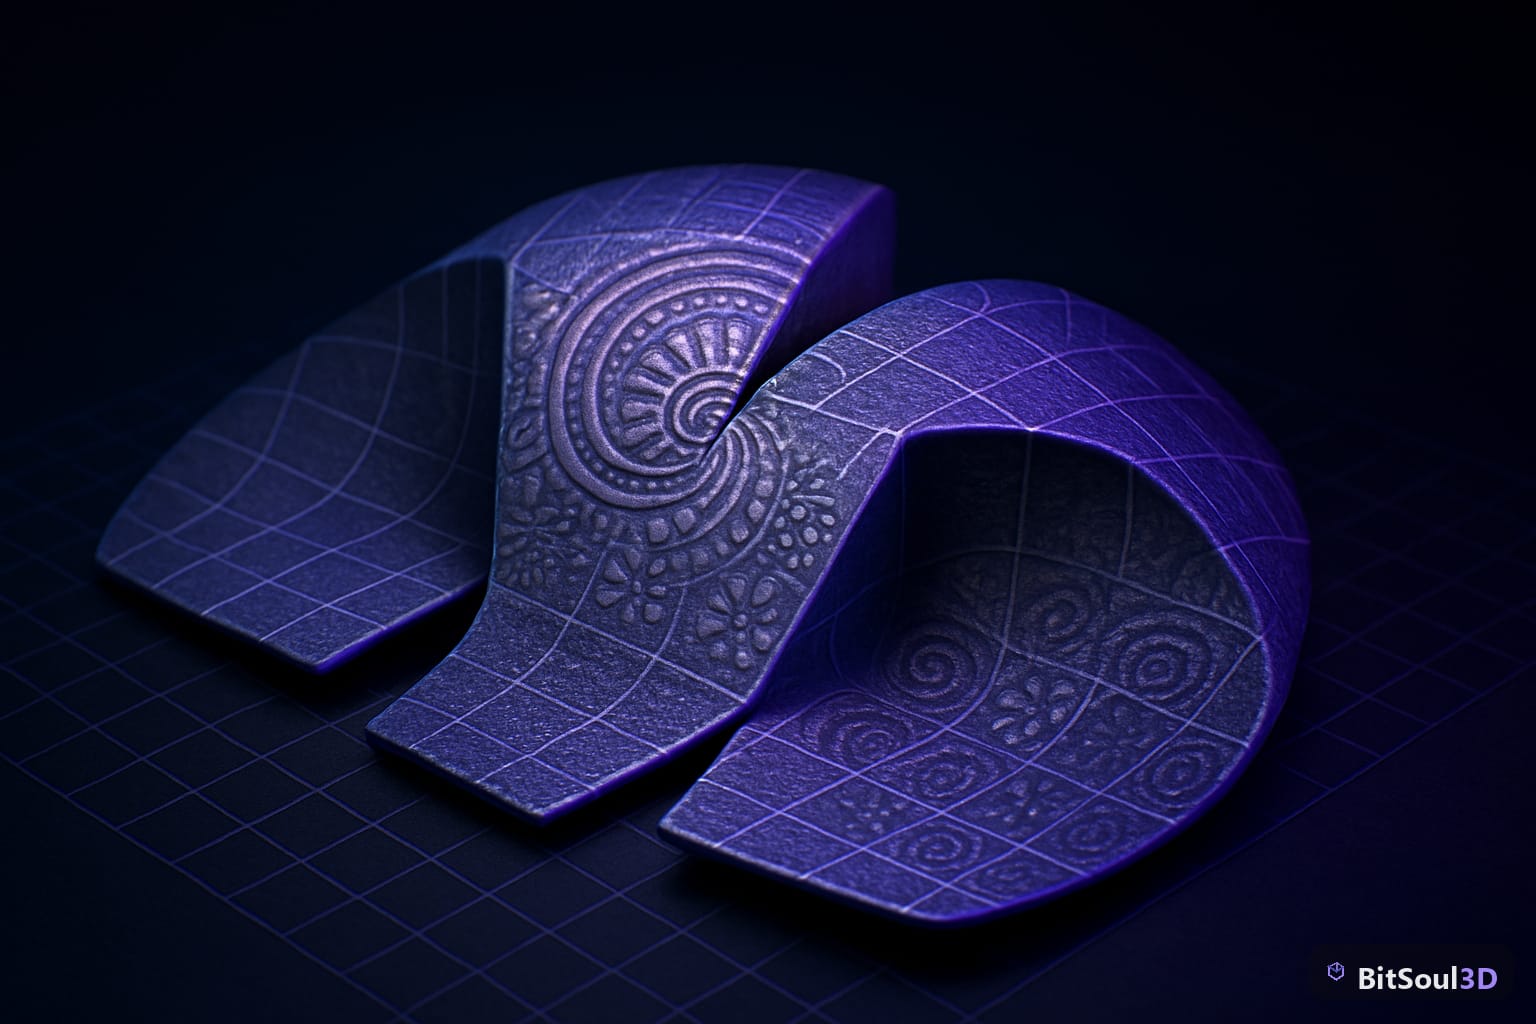
Combining detail maps and triplanar for believable terrain
The most effective technique combines both: triplanar for the base albedo and normal (no UV work, no seams), plus a detail normal map at high frequency for micro-surface noise.
var terrain_mat = StandardMaterial3D.new()

# Triplanar base
terrain_mat.uv1_triplanar = true
terrain_mat.uv1_scale = Vector3(1.5, 1.5, 1.5)
terrain_mat.uv1_triplanar_sharpness = 4.0
terrain_mat.albedo_texture = preload("res://textures/rock_albedo.png")
terrain_mat.normal_texture = preload("res://textures/rock_normal.png")
terrain_mat.normal_scale = 1.0

# Detail layer at 6× frequency
terrain_mat.detail_enabled = true
terrain_mat.detail_uv_layer = BaseMaterial3D.DETAIL_UV_2
terrain_mat.detail_normal = preload("res://textures/micro_grain_normal.png")
terrain_mat.uv2_triplanar = true  # triplanar on detail UVs too
terrain_mat.uv2_scale = Vector3(9.0, 9.0, 9.0)
terrain_mat.detail_blend_mode = BaseMaterial3D.BLEND_MODE_MUL
Setting uv2_triplanar = true applies triplanar to the detail layer as well, ensuring the micro-detail doesn't produce its own seams. The result is a terrain material with no UV work, no visible tile grid, and physically plausible micro-surface detail — all from assets you can drop in directly from bitsoulhosting.com/marketplace.
Performance note: triplanar mapping samples the texture three times per fragment. On mobile or low-end hardware, use it selectively on foreground hero assets and switch to standard UV tiling for distant props. The detail map adds one additional texture sample regardless of triplanar state.
This post is part of the Ultimate Guide to Free 3D Game Assets — BitSoul's complete reference for formats, texturing, rigging, optimization, and engine integration.
Need drop-in assets for this workflow? Grab the 82-model Vehicle Bundle on the BitSoul marketplace and drop them straight into your project.