Picking the wrong UV unwrap method costs you texture resolution you can never get back — and the difference shows immediately on your final asset in-engine. Blender offers two main paths: Smart UV Project for speed, and manual seam-based unwrapping for precision. Knowing when each approach pays off is one of the most practical skills a game artist can build.
Why UV layout quality directly affects in-engine texture sharpness
Every game-ready mesh needs UV coordinates — a 2D map that tells the engine how to project a texture onto the 3D surface. The quality of that layout determines texel density: how many texture pixels land on each polygon.
Poor UV layout causes:
- Stretching — pixels are pulled across angled faces, blurring detail
- Wasted UV space — islands packed inefficiently leave large empty areas of texture atlas
- Seam artifacts — visible lines where UV islands meet if bake margins are too tight
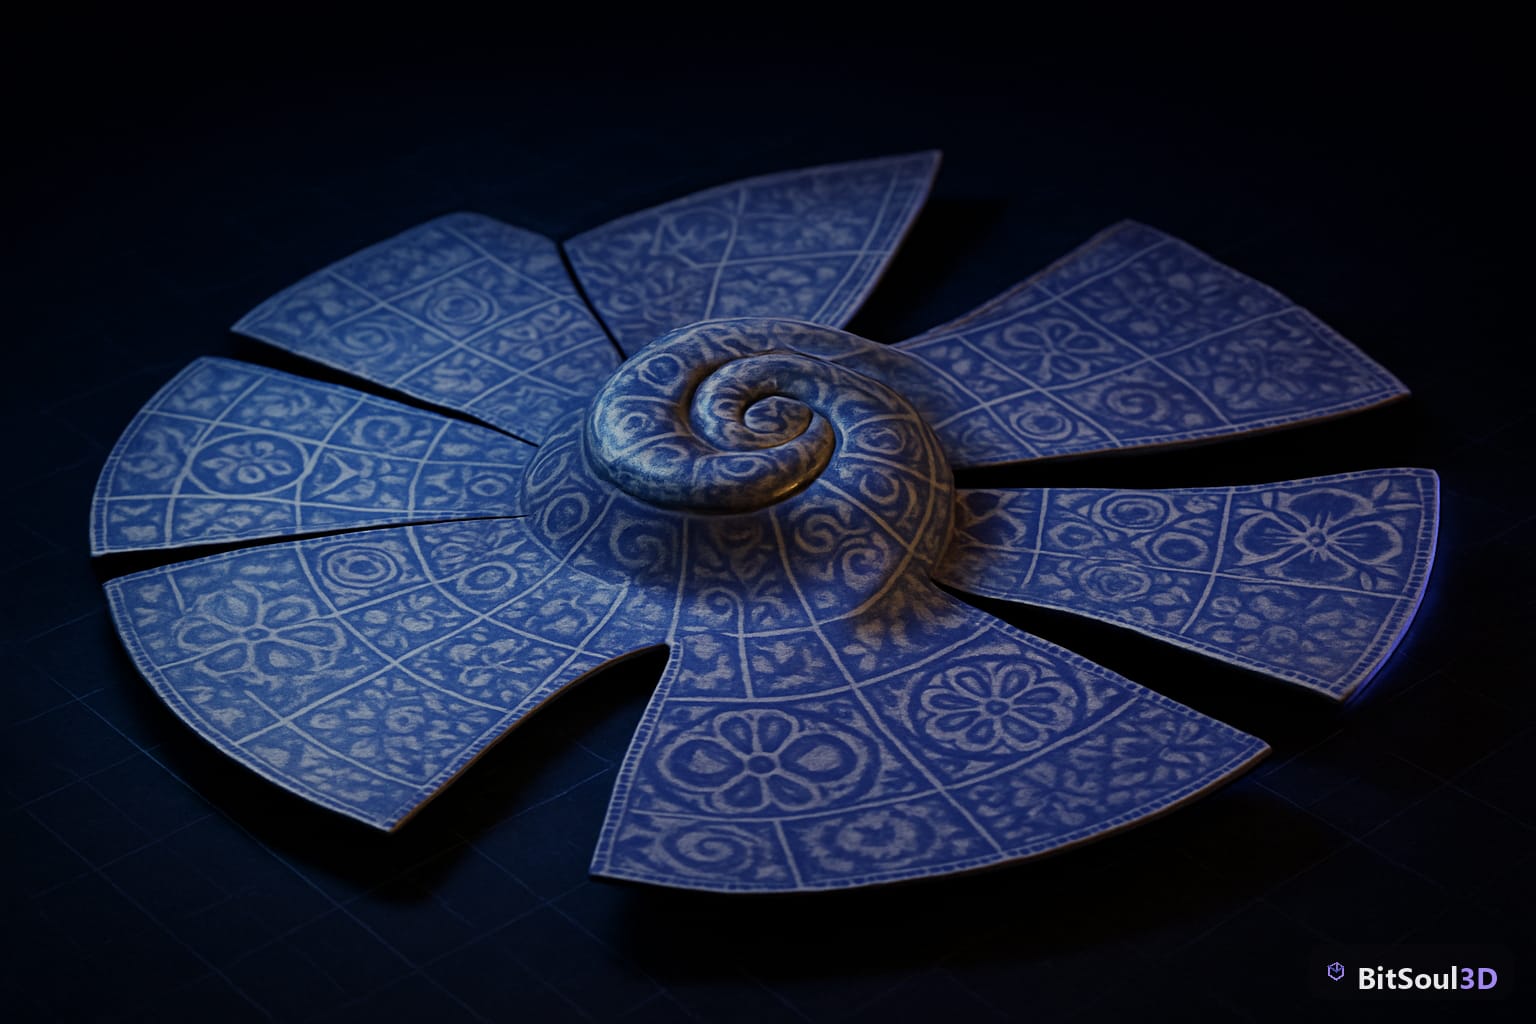
For a 2048×2048 texture, wasting 40% of UV space is equivalent to working at 1536×1536 — a significant quality loss. For assets downloaded from BitSoul's marketplace, the UV layout is already optimised; but when you're building original assets or modifying existing ones, getting this right from the start matters.
A quick way to visualise your texel density before baking: apply a UV Grid checker texture (available under Texture Paint > UV Checker in Blender) and look for squares that are different sizes across the mesh. Uniform squares = uniform texel density.
Smart UV Project: when it's fast enough and when it fails
Smart UV Project (U > Smart UV Project) algorithmically splits the mesh into islands based on face angle, then packs them. It's a one-click solution with a few tunable parameters:
| Parameter | Effect |
|---|---|
| Angle Limit | Lower = more seams, more islands, less stretch |
| Island Margin | Gap between islands; prevents texture bleed |
| Scale to Bounds | Normalises island scale across the full UV space |
When Smart UV works well:
- Rock, rubble, or irregular organic props where seam visibility doesn't matter
- Low-poly background props that never receive close inspection in-game
- Rapid prototyping before committing to a final bake setup
- Meshes with relatively uniform curvature (cylinders, spheres with low poly count)
When Smart UV fails:
- Characters or hero props — seams land in visible, obvious places
- Hard-surface assets with flat panels that should stay as single, undistorted islands
- Any mesh where you need to control texel density per surface (e.g. a game character's face needs 3× more density than the back of the head)
- Assets with long, thin geometry — Smart UV tends to fragment these into many tiny islands that pack poorly
# Blender Python — apply Smart UV with consistent settings across multiple objects
import bpy

for obj in bpy.context.selected_objects:
    if obj.type == 'MESH':
        bpy.context.view_layer.objects.active = obj
        bpy.ops.object.mode_set(mode='EDIT')
        bpy.ops.mesh.select_all(action='SELECT')
        bpy.ops.uv.smart_project(
            angle_limit=66.0,
            island_margin=0.02,
            scale_to_bounds=True
        )
        bpy.ops.object.mode_set(mode='OBJECT')
Manual unwrapping with seams: the precise workflow
Manual unwrapping gives you full control over where seams appear and how islands are oriented — the approach used on any asset where quality matters.
The general workflow:
- Identify natural seams — use edge creases, hidden edges (undersides, inside loops), or areas where two different materials meet
- Mark seams — select edges in Edit Mode, then
Ctrl+E > Mark Seam - Unwrap —
U > Unwrap(Blender uses the Angle Based Flattening algorithm by default) - Check stretch — enable UV Stretch overlay in the UV Editor to see orange (stretched) vs. blue (compressed) areas; target green
- Straighten edge loops — select a row of UV verts, use
W > Align X/Yor the UVPackmaster addon to straighten loops that should be straight - Orient consistently — faces should have the same "up" direction in UV space so normal maps bake without rotation errors
Seam placement rules for common game assets
Hard-surface props (crates, vehicles, structures):
Place seams on hard edges that will already be shaded as sharp. The seam is invisible because the shading break masks it.
Characters:
Seams belong in the hairline, armpits, inside of the legs, and behind the ears — anywhere clothing or hair hides them in a typical gameplay camera angle.
Curved surfaces (pipes, columns, arches):
One seam along the back-facing edge. Unfold the cylinder into a flat rectangle to maintain straight edge loops, which is critical for tiling normal maps.
UV packing and texel density: getting the most from your texture budget
After unwrapping, packing determines how efficiently your islands use the UV tile. Blender's built-in packer (U > Pack Islands) is functional but not optimal. For game assets, a consistent texel density across the whole mesh (or deliberately varied density for hero areas) matters more than pure packing efficiency.
Calculate target texel density:
Texel density (px/m) = texture resolution / UV island world size

Example: a 2048px texture, island covers a 1m × 1m surface
→ 2048 px/m — good for a mid-range prop
Target 512 px/m for distant background props, 1024–2048 for mid-range, 4096+ for hero items
Set uniform texel density in Blender:
- Select all islands, run
UV > Average Islands Scale— this rescales all islands to the same texel density relative to their 3D surface area - Then pack with
UV > Pack Islands(set margin to 0.005–0.02 based on texture size)
For characters and hero props, scale the face island up after averaging — it needs 2–3× more texture space than the inside of a boot.
Packing tips:
- Symmetrical assets (weapons, vehicles): overlap mirrored UVs to effectively double your resolution, then bake asymmetric maps (AO, lightmaps) separately
- Keep a 2–4 pixel margin between islands at your target texture resolution to prevent bleed under mipmapping
- Rotate islands to pack rectangular shapes more efficiently — most packers support auto-rotation; Blender 4.x does this natively
The time you spend on UV layout pays dividends in every bake downstream — normal maps, AO, lightmaps, and hand-painted detail all rely on clean UV islands. Grabbing game-ready assets with pre-built UVs from BitSoul's marketplace is a useful reference point: examine how professional UV layouts handle seam placement and island scale before applying the same principles to your own work.
This post is part of the Ultimate Guide to Free 3D Game Assets — BitSoul's complete reference for formats, texturing, rigging, optimization, and engine integration.
Need drop-in assets for this workflow? Grab the 67-model Weapons Bundle on the BitSoul marketplace and drop them straight into your project.