Broken PBR materials ship more often than most devs admit — and they're almost always caused by the same handful of avoidable mistakes. Validating your albedo, metallic, roughness, and normal maps before engine import catches these issues early and keeps your art looking intentional across every lighting condition.
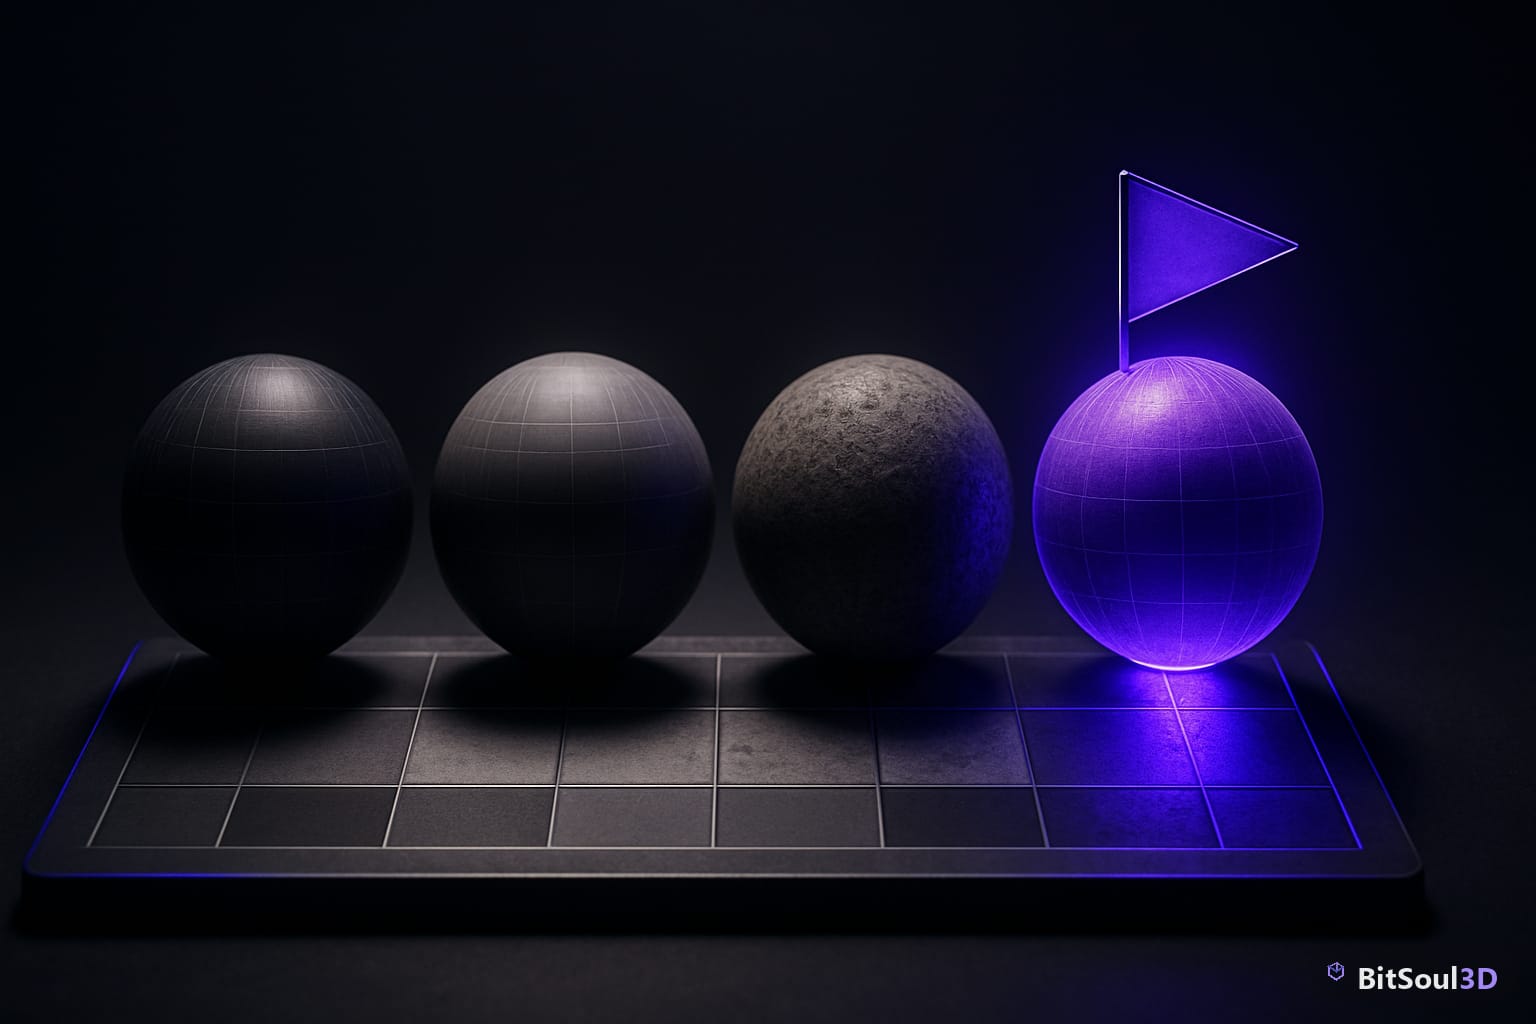
Understanding the PBR validation checklist
Every physically based material sits on four core channels. Each has hard limits that, when violated, produce impossible surfaces — materials that reflect more light than they receive, or metals that look like painted plastic.
| Channel | Valid range | Common mistake |
|---|---|---|
| Albedo (Base Color) | 50–240 sRGB for non-metals; 180–255 for metals | Pure black/white albedo breaks energy conservation |
| Metallic | 0 (dielectric) or 1 (conductor) | Mid-range values on solid surfaces |
| Roughness | 0.0–1.0 linear, avoid extremes | 0.0 roughness on non-mirrors causes harsh specular |
| Normal | Baked in tangent space | Object-space maps imported without conversion |
Albedo range check
The most common mistake: albedo values that are too dark or too bright. Real-world surfaces rarely go below sRGB 50 (charcoal, dark rubber) or above 240 (fresh snow, white paper). Values outside this range break energy conservation in path tracers and bake-based lighting alike.
In Unity URP, use the Rendering Debugger (Window → Analysis → Rendering Debugger → Material → Albedo) to visualise out-of-range pixels as red/blue overlays. In Unreal Engine 5, the Buffer Visualization → Base Color view combined with the PBR Validation mode (Show → Visualize → PBR) flags non-physical values directly in the viewport.
Metallic mask validation
Metallic maps should be binary — black for dielectrics, white for conductors. Any intermediate grey on a solid surface is physically incorrect. The only valid exception is a transition zone at the edge of a worn or oxidised metal where the material genuinely transitions between states (think corroded copper).
# Check metallic mask histogram in Python (works on exported PNG)
from PIL import Image
import numpy as np

img = np.array(Image.open('metallic.png').convert('L'))
mid_range = np.sum((img > 20) & (img < 235))
total = img.size
print(f'Mid-range pixels: {mid_range / total * 100:.1f}%')
# > 10% mid-range on a non-transition surface = validation failure
Roughness and normal map debugging in engine
Validating PBR materials in a neutral lighting environment is essential before exposing them to the complex IBL setups your game will actually use. Both engines provide grey-sphere validation modes for exactly this reason.
Unity URP: grey sphere validation
Create a default sphere with a neutral grey HDRI (single overcast sky, no coloured lights) and a DefaultLit unlit material as your validation backdrop. Toggle between the following views in sequence:
- Albedo override — set material albedo to 0.5 grey; only roughness/metallic affect shading. Reveals mask bleed-through.
- Normals — enable Normal Map visualization in Rendering Debugger. Green channel should face upward in Unity's DirectX convention.
- Smoothness inversion — if your roughness map was authored for OpenGL convention (inverted), import texture with the "Smoothness Source" dropdown set to "Albedo Alpha" or invert in TextureImporter settings.
Unreal Engine 5: PBR validation mode
UE5's PBR Validation display shows a heatmap over your scene:
- Blue = albedo too dark
- Red = albedo too bright
- Yellow = metallic value in invalid mid-range
Open it via: Viewport → Show → Visualize → PBR Validation. Fix flagged assets before building lighting — Lumen's indirect bounce caches baked-at-build-time data that will embed the incorrect values.
Normal map green channel mismatch
The most common cross-engine breakage. Unity and Godot expect DirectX-convention normals (green = down in UV space); Unreal Engine 5 also expects DirectX by default when importing from Blender. However, if you baked in Blender with OpenGL convention and didn't flip the green channel, your normals will look inverted under directional lighting.
Fix in Blender before export:
# In Blender's Shader Editor, add a Vector Transform node
# between the Normal Map node and BSDF input
# Or flip green channel at export via Image Editor → Flip Y
Fix in Unity:
// In TextureImporter settings, enable:
// "Flip Green Channel" under Normal Map settings
Building a repeatable validation pipeline
Manual checks are error-prone at scale. For any project with more than 20 asset types, build a simple validation pass into your export pipeline.
Batch validation script (Python + Pillow)
import os
from PIL import Image
import numpy as np

def validate_pbr_set(folder):
    results = []
    for f in os.listdir(folder):
        if '_albedo' in f.lower() or '_basecolor' in f.lower():
            img = np.array(Image.open(os.path.join(folder, f)).convert('RGB'))
            min_val, max_val = img.min(), img.max()
            if min_val < 40:
                results.append(f'WARN: {f} albedo too dark (min={min_val})')
            if max_val > 245:
                results.append(f'WARN: {f} albedo too bright (max={max_val})')
    return results

issues = validate_pbr_set('./textures')
for issue in issues:
    print(issue)
Run this as a pre-export hook in Blender or as a CI step before assets land in your engine project. Catching a broken albedo map before it replicates across 40 prefab instances saves hours.
Quick reference: engine import settings
| Setting | Unity URP | Unreal Engine 5 |
|---|---|---|
| Albedo sRGB | Enabled (default) | sRGB = true in Texture Editor |
| Metallic/Roughness sRGB | Disabled — linear data | sRGB = false |
| Normal map | Enable "Normal Map" tick | Normalmap type auto-detected |
| Green channel flip | "Flip Green Channel" option | Flip G via "Flip Green Channel" import option |
Sourcing pre-validated assets
If you want a baseline to compare your own textures against, browse the BitSoul marketplace — all 747 GLB models ship with engine-tested PBR texture sets. Using a known-good reference asset in your validation grey-sphere scene gives you an immediate visual benchmark for what correct metallic, roughness, and normal values look like in your target engine.
A solid PBR validation workflow takes about an hour to set up and saves that time on every single asset that passes through it. Build it once, run it always.
This post is part of the Ultimate Guide to Free 3D Game Assets — BitSoul's complete reference for formats, texturing, rigging, optimization, and engine integration.
Need drop-in assets for this workflow? Grab the 70-model Food Bundle on the BitSoul marketplace and drop them straight into your project.