Vehicle rigs are deceptively tricky: bones need to drive four independently spinning wheels, doors with swing pivots, a steering column that feeds visual rotation, and a root that carries the whole assembly without exploding transforms on import. This guide walks you through a clean, Unity-compatible vehicle rig in Blender — from armature setup to verified export.
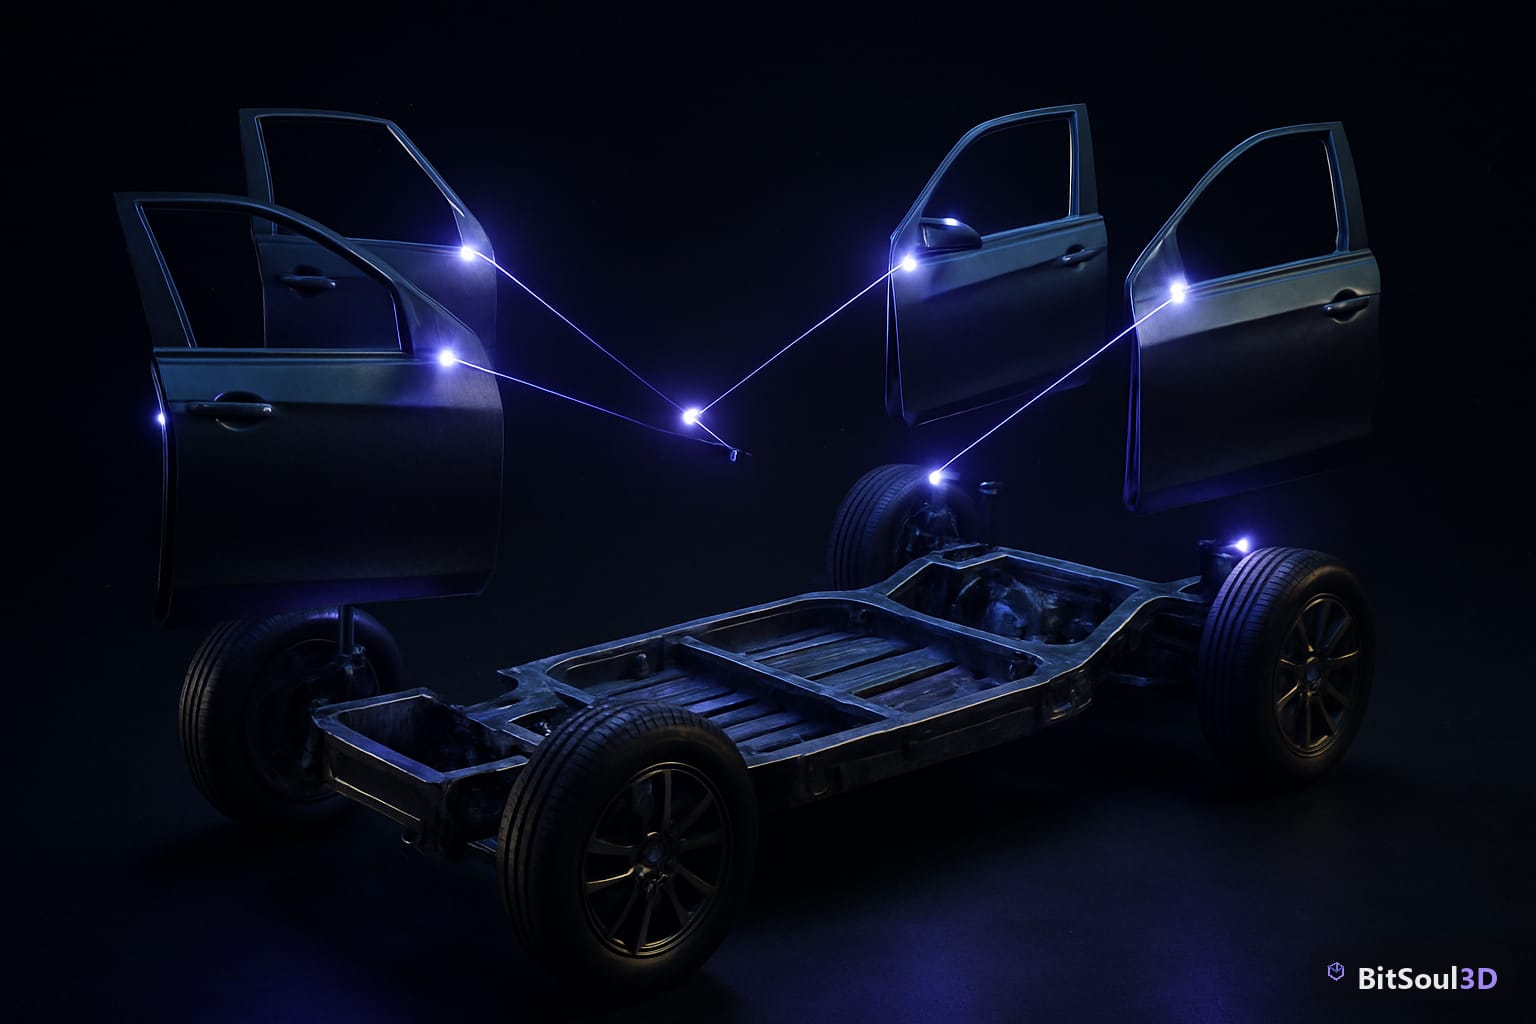
Setting up the armature with correct pivot bones
Start with a root bone at the mesh origin (0, 0, 0) that parents every other bone. This is your vehicle's world anchor — Unity will look for a root transform, and having one prevents the model from snapping to scene origin on play.
For each wheel, add a dedicated bone whose head is at the wheel's center axle. The bone tail can point along the local roll axis. Wheel bones must be parented to root (not to each other), so individual wheels can spin without affecting sibling wheels.
Door bones need their head positioned at the hinge edge — this is the single most common rigging mistake. If the pivot is at the door's center, the door will sweep in an arc rather than open on a hinge. Measure the exact X position of your hinge edge before placing the bone.
Steering column: add a bone_steering with its head at the column pivot and tail pointing up. You'll drive wheel yaw rotation from this bone via constraints later.
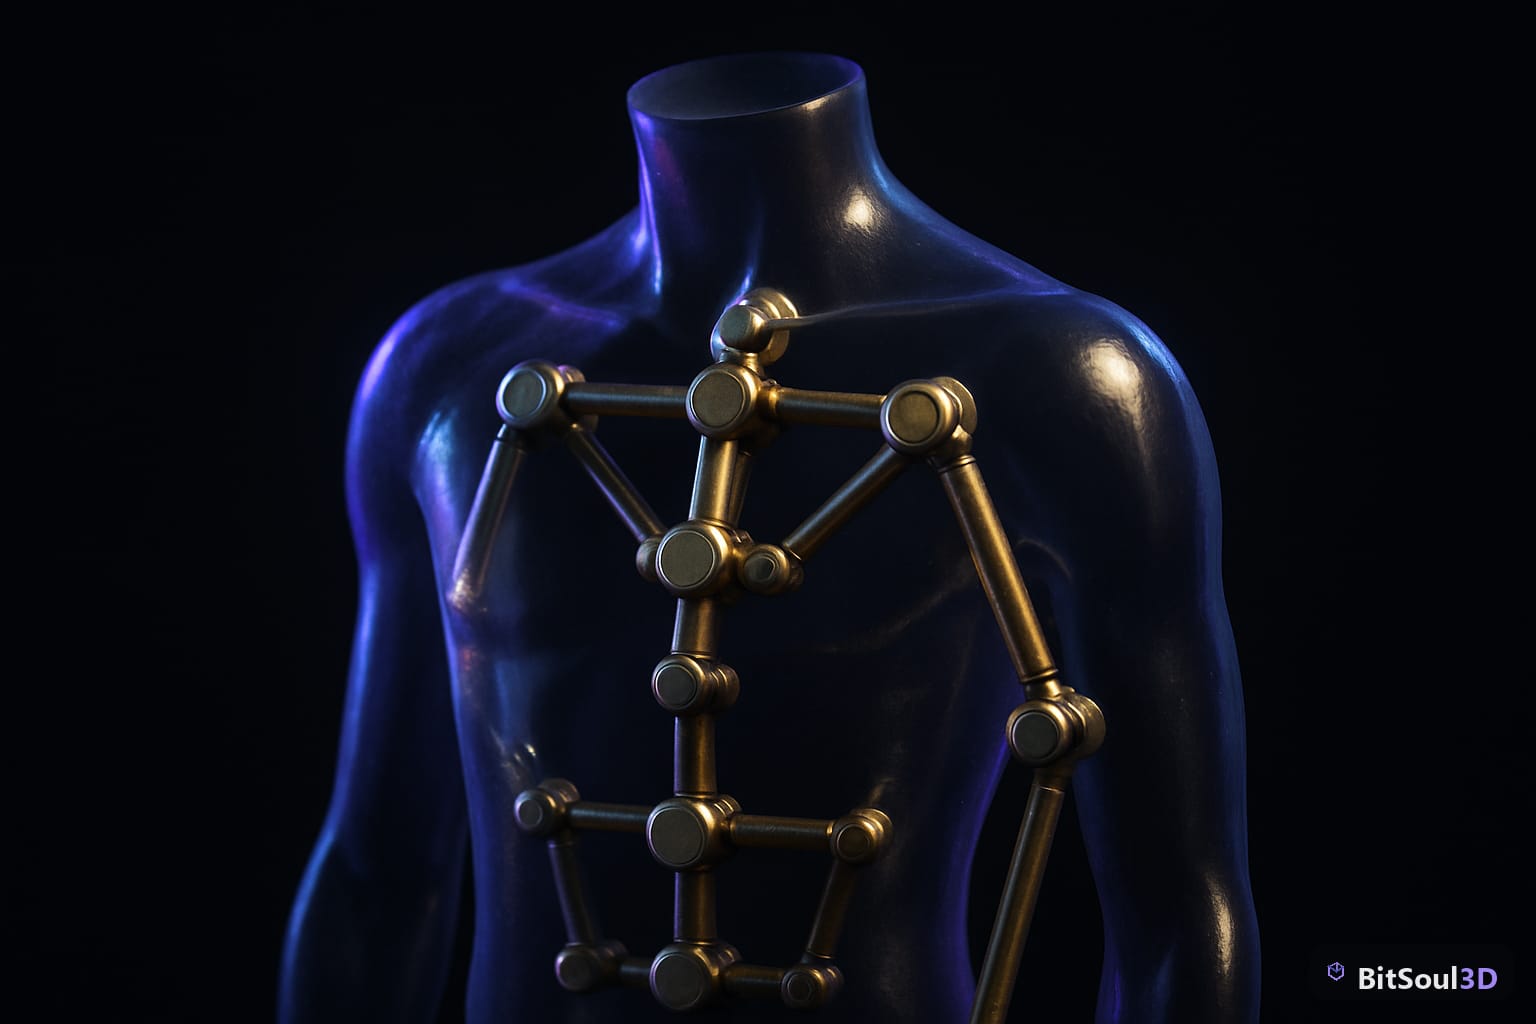
Bone naming for Unity's auto-mapping
Unity's Humanoid rig avatar doesn't apply to vehicles, but consistent naming still matters for script access and animation clips. Use a flat, readable convention:
root
├── wheel_FL
├── wheel_FR
├── wheel_RL
├── wheel_RR
├── door_FL
├── door_FR
├── steering_col
└── body
Avoid spaces and special characters — Unity strips them unpredictably during import.
Animating wheels, doors, and steering
With bones in place, create three animation clips directly in Blender's Action Editor:
WheelSpin — select all four wheel bones, set a keyframe at frame 1 (rotation Y = 0°) and frame 10 (rotation Y = 360°). Set interpolation to Linear. This gives a clean, loopable spin you'll drive from script using transform.localRotation in Unity, or feed speed as a blend tree parameter.
DoorOpen_FL / DoorOpen_FR — select the door bone, keyframe rotation Z at frame 0 (closed, 0°) and frame 20 (open, −70°). Use a slight ease-in at the start — real car doors have a small resistance before swinging.
SteerLeft / SteerRight — keyframe steering_col rotation Y at −30° and +30°. Keep the range realistic; anything over 45° looks cartoonish on most arcade vehicle rigs.
Constraints vs. direct keyframes
You have two options for wheel rotation at runtime:
| Approach | Pros | Cons |
|---|---|---|
| Direct keyframe in Unity script | Full control from code | No Blender preview |
| Copy Rotation constraint (baked) | Preview in Blender viewport | Baked curves inflate clip size |
| Blender driver → export as morph | Clean for linear values | Not supported in GLB |
For vehicle wheels driven by speed, handle rotation in Unity script — set it in Update() based on rigidbody.velocity.magnitude. Don't bake it into an animation clip; you'll fight the animator override constantly.
Exporting from Blender and importing into Unity
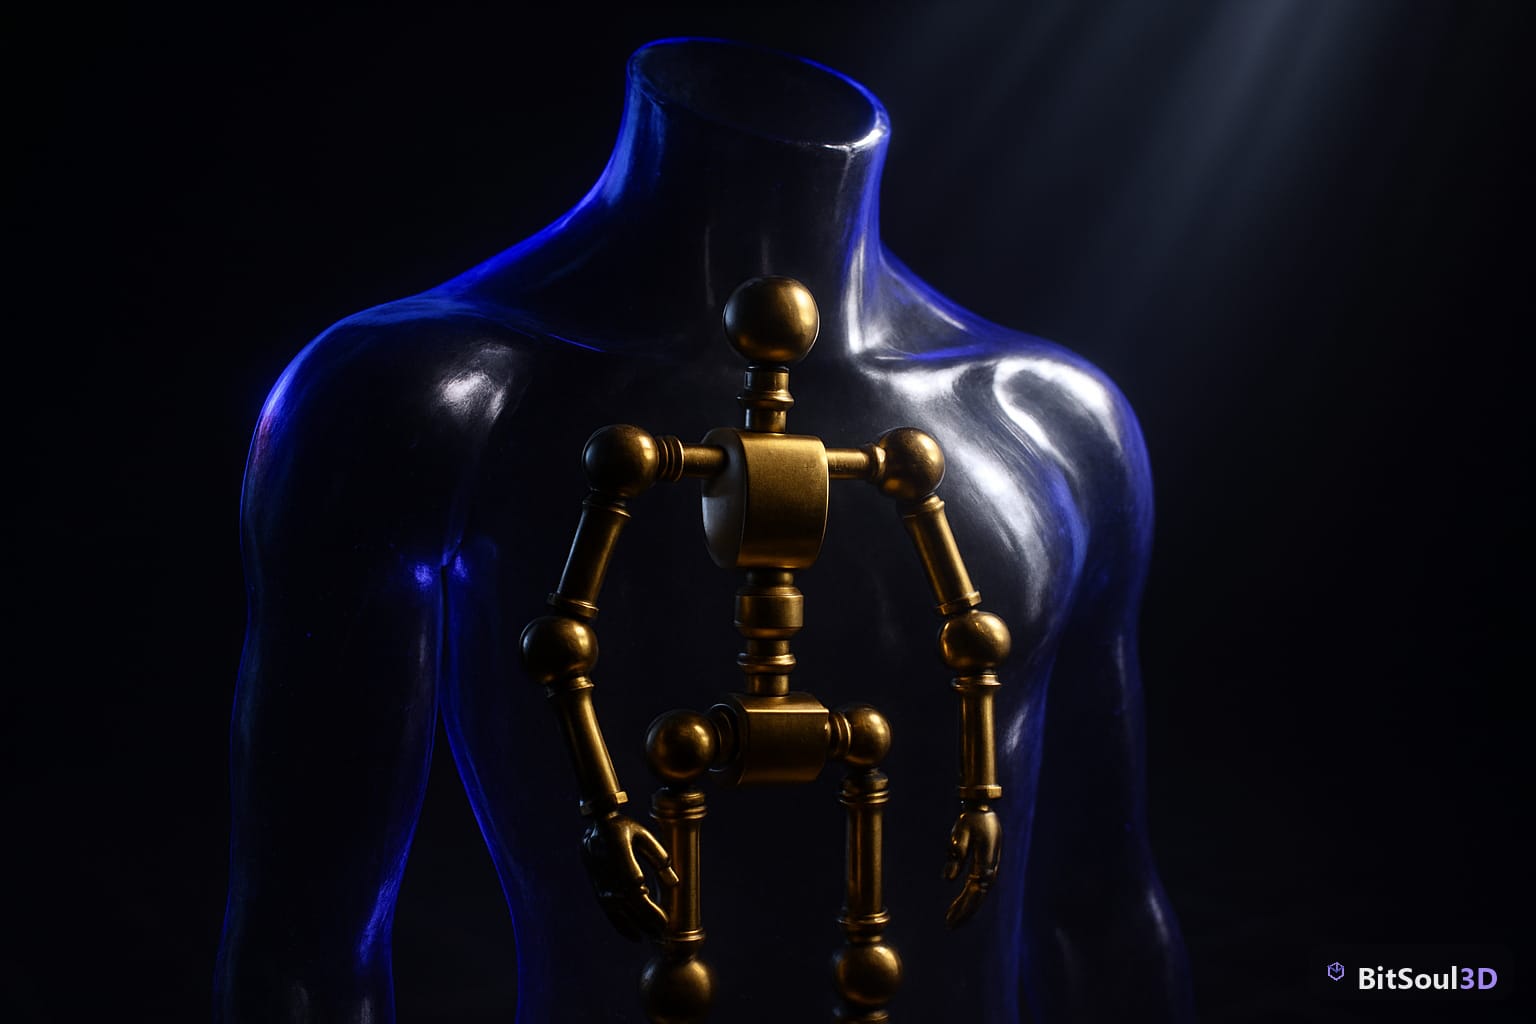
Before export, apply all object-level transforms (Ctrl+A → All Transforms) on your mesh objects — not the armature. The armature must keep its rest pose transforms. This step prevents the notorious 90° rotation Unity applies to FBX/GLB meshes when transforms are unapplied.
Export settings in Blender (File → Export → FBX or GLB):
Format: FBX (recommended for Unity) or GLB
Scale: 1.0
Apply Scalings: FBX All
Forward: -Z Forward
Up: Y Up
Object Types: Armature + Mesh
Armature: Add Leaf Bones OFF
Animation: NLA Strips or All Actions (your choice)
Bake Animations: ON
Key All Bones: OFF (reduces keyframe count)
The Add Leaf Bones option is critical — leave it OFF. Leaf bones add an extra terminal bone per chain; Unity imports them as real bones, doubling your hierarchy depth and making script-based bone access fragile.
Unity import checklist
- Animation Type: None (vehicle, not humanoid)
- Rig: set to Generic if you need Mecanim blend trees
- Clip list: verify WheelSpin, DoorOpen_FL, DoorOpen_FR, SteerLeft, SteerRight appear in the Animations tab
- Scale Factor: 1 (if you applied transforms correctly in Blender)
- Check the Preview window — wheels should be at correct ground level, not half-buried
Need ready-made base meshes to rig? The BitSoul marketplace has 747 free GLB assets including vehicles, props, and environment kits — all game-ready and importable directly into Unity.
Driving the rig from C# at runtime
Once imported, reference your bone transforms directly:
public class VehicleWheelSpin : MonoBehaviour
{
    public Transform[] wheels; // assign wheel_FL, FR, RL, RR
    public Rigidbody rb;
    public float wheelRadius = 0.35f;

    void Update()
    {
        float speed = rb.linearVelocity.magnitude;
        float degreesPerSecond = (speed / (2f * Mathf.PI * wheelRadius)) * 360f;
        float delta = degreesPerSecond * Time.deltaTime;

        foreach (var wheel in wheels)
            wheel.Rotate(Vector3.right, delta, Space.Self);
    }
}
For doors, use Animator.Play("DoorOpen_FL") or a simple Quaternion.Lerp between closed and open rotations — the clip provides the target pose, your script drives blend weight or lerp T.
Common issues and fixes
- Wheels spin on wrong axis → In Blender, the wheel bone's local Y should align with the axle. Recalculate bone roll (
Ctrl+Nin Edit Mode → Active Bone) if rotation looks off. - Door opens in wrong direction → Negate the rotation curve in Unity's Animation window, or flip the keyframe values in Blender before re-export.
- Vehicle is 100× too large in Unity → Scale was not applied in Blender. Select mesh,
Ctrl+A → Scale, re-export. - Armature disappears at runtime → Skinned Mesh Renderer lost its root bone reference after import. Re-assign it in the Inspector or via script in
Awake().
Vehicle rigs are one of those workflows where 20 minutes of bone placement precision saves hours of import debugging. Get your pivots right, apply transforms before export, and let Unity handle the runtime rotation math. Download a base vehicle mesh from the BitSoul marketplace and follow this guide start to finish — you'll have a drivable, animatable vehicle in your scene in under an hour.
This post is part of the Ultimate Guide to Free 3D Game Assets — BitSoul's complete reference for formats, texturing, rigging, optimization, and engine integration.
Build with real assets: grab the 82-model Vehicle Bundle on the BitSoul marketplace and drop them straight into your project.