Texture stretching on an imported GLB model — a brick wall that looks smeared, a character's forearm with a warped seam — has three usual suspects: scale that never got applied before export, a UV island with lower texel density than its neighbors, or a poly-reduction pass that collapsed UVs across a seam. None of them are engine bugs. All three show up before you ever hit Import, if you know where to look. Drop a checker-grid texture on the mesh: even squares mean clean UVs, warped or stretched squares point straight at the broken island.
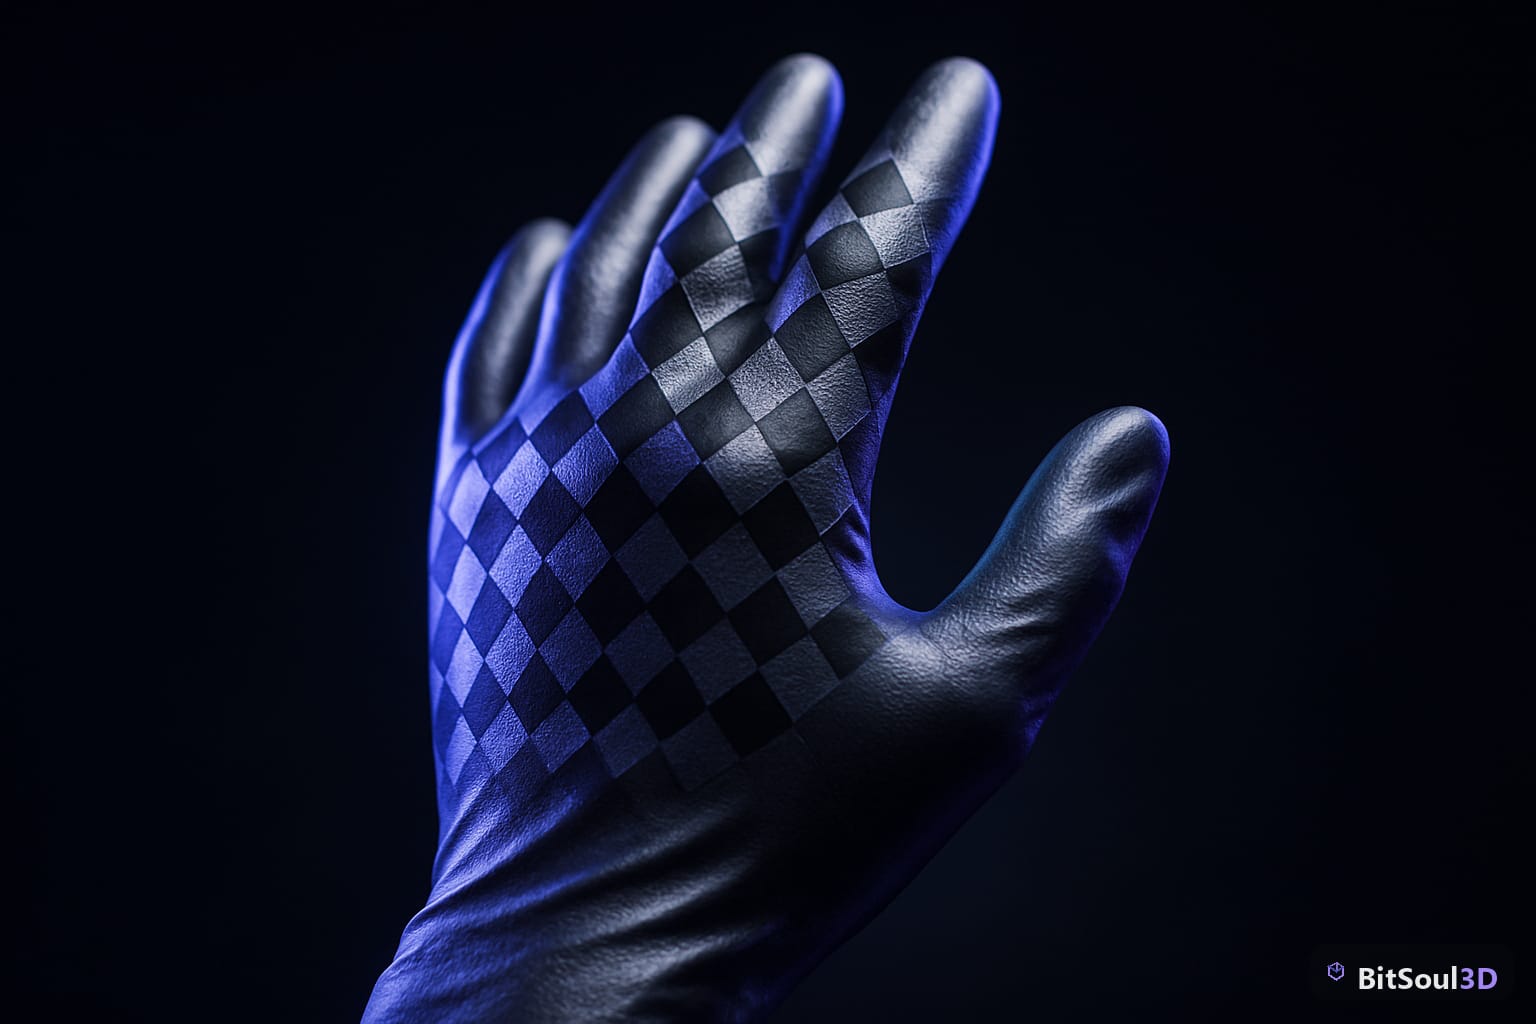
This is the fastest diagnostic available because it needs no code and works on any mesh, free or paid, yours or downloaded. The rest of this post covers the checker-grid test, the padding numbers you actually need at each texture size, and the exact fix per engine once you've found the bad island.
Why texture stretching happens on GLB imports
Three causes cover almost every case.
Unapplied scale. If a mesh was scaled non-uniformly in the DCC tool (2x on one axis, 1x on another) and that scale never got baked into the vertex data before export, the UVs stay correct in the source file but the rendered texel density skews in whatever direction the scale was applied. glTF bakes node transforms at export instead of keeping a separate runtime scale, so an unapplied scale becomes a permanently warped mesh the moment it's exported to GLB.
Texel density mismatch. Every UV island should cover roughly the same amount of texture space per unit of surface area. Hand-unwrapped meshes, especially organic ones like characters, routinely have one island — usually something fiddly like a hand or a strap buckle — unwrapped smaller than the rest to save space. At low mip levels this is invisible. At the distance a game actually ships at, it reads as blur or stretch.
Seam-blind poly reduction. Automated decimation collapses vertices to hit a triangle budget, but it doesn't know a UV seam from any other edge unless the tool is explicitly seam-aware. Collapse a vertex across a seam and the two UV islands on either side get dragged toward each other, stretching both.
Catch it before you import: the checker-grid test

Load a UV test grid — evenly spaced black-and-white or numbered squares — as the base color and check the result from the same distance the camera will actually sit at in-game, not a zoomed-out thumbnail. Even squares mean clean UVs. Warped or stretched squares point straight at the broken island.
You can run this exact check without opening an engine at all: 3D Studio's inspection panel loads any catalog model in-browser on your own GPU, so swapping in a grid texture and rotating the mesh costs nothing if the model turns out to be the problem and not your pipeline.
Blender's UV Editor has this built in without needing a custom texture. Switch to the UV Editing workspace, open the overlay dropdown in the top-right of the UV Editor, and turn on Display Stretch set to Area. Islands render blue where texture is stretched thin and red where it's compressed — no guessing, no eyeballing a checker pattern.
Fix it per engine: Blender, Unity, Unreal Engine 5, Godot
Once you've found the bad island, the fix depends on where the problem started.
If it's unapplied scale, fix it in Blender before export. Select every object and run this once:
# Apply all transforms before export — unapplied scale is the #1 cause of stretching
import bpy
for obj in bpy.context.selected_objects:
    bpy.context.view_layer.objects.active = obj
    bpy.ops.object.transform_apply(location=False, rotation=True, scale=True)
That normalizes scale to 1.0 on every axis, so the GLB exporter bakes correct, uniform texel density instead of whatever the viewport happened to show.
If you inherited a GLB with no source file, this check flags any submesh whose UVs sit outside the normal 0–1 tile — a fast smell test worth running alongside the usual pink-material and flipped-normal checks you're already doing on GLB import:
// Flag any submesh whose UV bounds exceed 0-1 — a quick stretch/tiling smell test
Vector2 min = mesh.uv[0], max = mesh.uv[0];
foreach (var uv in mesh.uv) { min = Vector2.Min(min, uv); max = Vector2.Max(max, uv); }
if (min.x < -0.01f || max.x > 1.01f) Debug.LogWarning($"{mesh.name}: UVs exceed 0-1");
In Unreal Engine 5's Static Mesh Editor, the UV button in the viewport toolbar overlays the raw UV layout directly on the mesh and switches channels with the dropdown next to it — density differences between islands are visible at a glance, no material swap needed.
Godot doesn't ship a built-in stretch overlay, so fake one: select the MeshInstance3D, open Surface Material Override in the Inspector, assign a new StandardMaterial3D, and drop a UV-grid PNG into its Albedo Texture slot. Two clicks, same checker-grid test as everywhere else.
Padding and texel density numbers that actually hold up
Texel density mismatches under about 15% between islands are invisible at normal play distance. Past that, plan padding by texture resolution:
| Texture size | Minimum island padding | Typical use |
|---|---|---|
| 512px | 4 px | mobile background props |
| 1024px | 8 px | standard hero props |
| 2048px | 16 px | close-up characters, weapons |
| 4096px | 32 px | cinematic hero assets |
Padding below these numbers bleeds neighboring islands into each other once mipmaps kick in, which looks identical to a stretching bug but is actually a filtering artifact — worth ruling out before you re-unwrap anything.
Gotchas
glTF stores UV origin top-left; OpenGL-style tools expect bottom-left. A correctly-exported GLB already accounts for this, but a hand-edited file or an old FBX-to-GLB conversion that skips the V-flip looks "stretched and mirrored" in a way that's easy to misdiagnose as a texel density problem when it's actually a coordinate-space bug. Check the raw UV coordinates before re-unwrapping anything.
Poly-reducing a model after the fact re-triggers the seam-collapse problem even on a model that imported clean. Grab something with real unwrap complexity — Character Cybernetic Street Samurai has enough seams around the joints and gear straps to make a bad reduction obvious — and re-run the checker-grid test after decimating, not just after the original import.
A second UV channel for baked lightmaps has to be non-overlapping and unique per triangle. Reusing UV0 for UV2 doesn't cause stretching — it causes light bleeding between unrelated triangles that happen to share the same lightmap texel. Different symptom, same root cause: nobody checked the second channel before baking. Getting export settings right at the source means not redoing this per engine.
This post is part of the Ultimate Guide to Free 3D Game Assets — BitSoul's complete reference for formats, texturing, rigging, optimization, and engine integration.
Need drop-in assets for this workflow? Grab the 98-model Character Pack on the BitSoul marketplace and drop them straight into your project.