Baking a complete PBR texture set is where a game asset earns its render budget. This case study walks every step of producing normal, ambient occlusion, roughness, metallic, and emission maps from a high-poly sci-fi storage crate, then packing them into an ORM channel texture ready for Unity and Godot 4. The source files are a 48 k-tri high-poly and a 1.8 k-tri low-poly — exactly the kind of ratio you'll encounter on any hard-surface prop from BitSoul's marketplace.
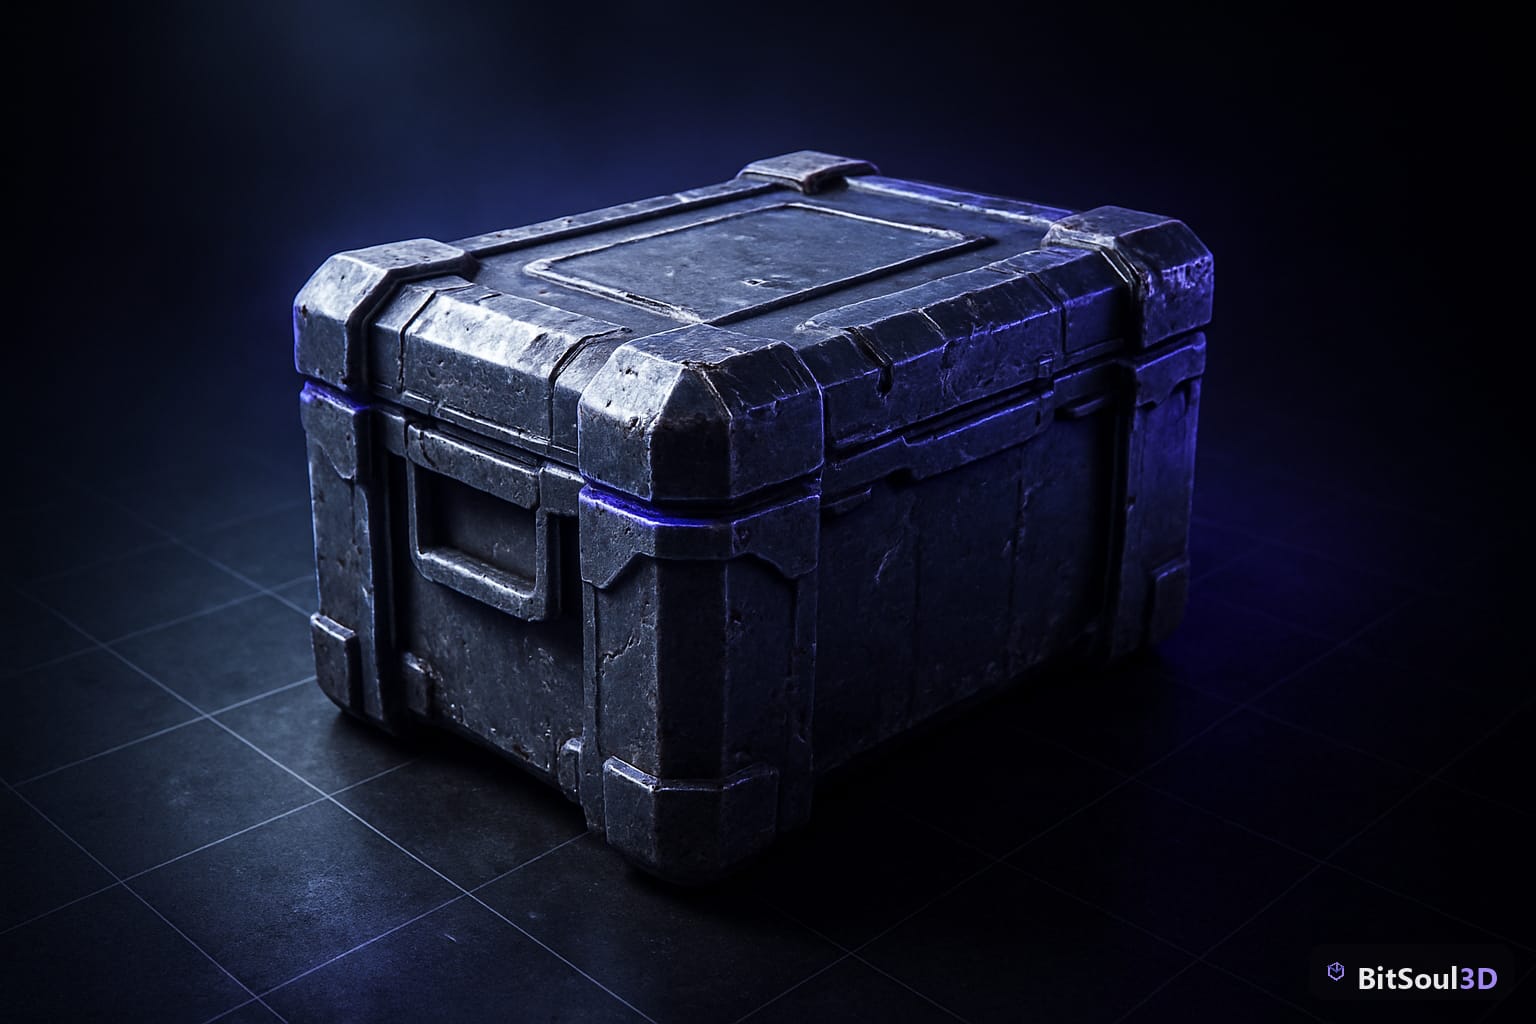
Setting Up the High-Poly and Low-Poly Cage in Blender
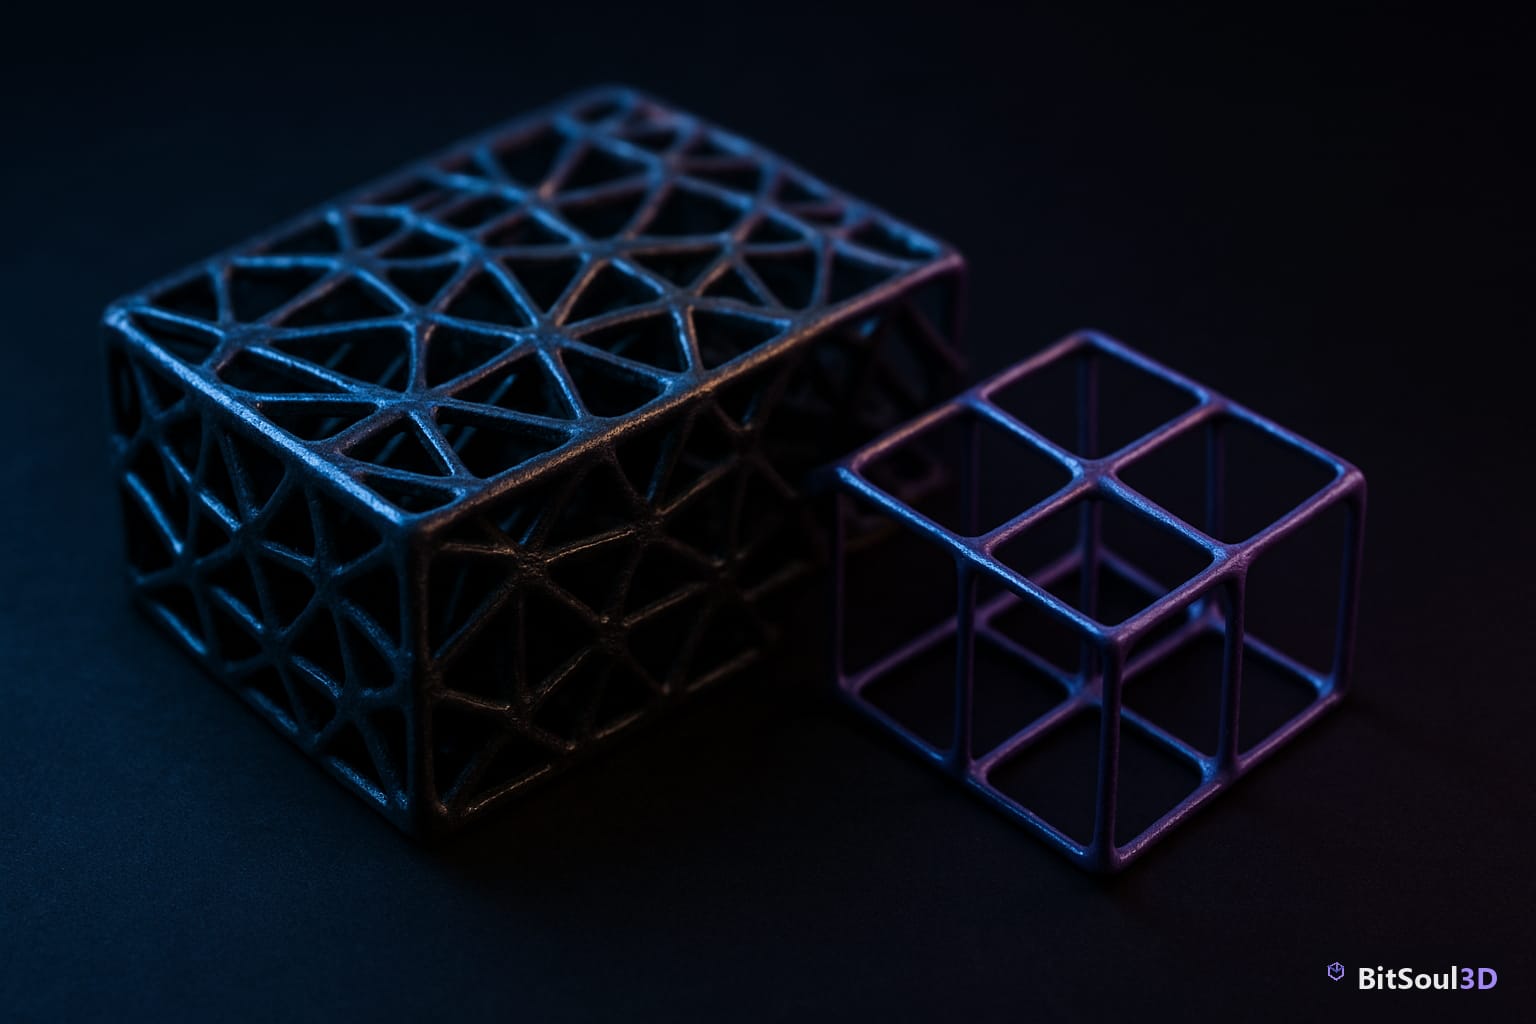
Blender's baking system projects rays from the low-poly surface outward, sampling the high-poly geometry. Getting the cage right prevents most bake errors before they happen.
Naming conventions
Name your objects consistently: crate_LP (low-poly), crate_HP (high-poly). Blender's Selected to Active bake mode requires the low-poly to be the active object.
Cage offset vs. custom cage mesh
For a hard-surface prop with tight insets and panel gaps, a custom cage mesh beats the extrusion slider. Duplicate the low-poly (Alt+D), push faces outward just enough to envelop the high-poly, and assign it in the Bake panel under Cage Object.
# Quick-check cage coverage in Blender Python
import bpy
lp = bpy.data.objects['crate_LP']
hp = bpy.data.objects['crate_HP']
print(f'LP verts: {len(lp.data.vertices)}')
print(f'HP verts: {len(hp.data.vertices)}')
# If LP > 10 % of HP tri count, reconsider HP detail
UV layout checklist before baking
| Check | Detail |
|---|---|
| No overlapping islands | Use 3D Viewport → UV Editor → Overlapping check |
| Consistent texel density | ~10 px/cm at 2048 × 2048 for a 60 cm crate |
| 4 px padding between islands | Prevents bleed at mip-map level 3 and below |
| Seams hidden on back faces | Panel lines double as natural seam positions |
Once the cage is validated, set Bake Type to Normal, Space to Tangent, enable 32-bit float output, and bake at 4096 × 4096. Downsample after inspection — never bake small.
Baking AO, Roughness, and Metallic Maps
Run passes individually; do not use Blender's combined bake for game assets — it merges data you need to keep separate.
Ambient occlusion
Set Samples to 128 for a crate with moderate cavity depth. Lower sample counts produce grainy AO in tight recesses like bolt heads. Output: crate_AO_4k.exr.
Roughness and metallic via Emit bake
Blender can't bake roughness or metallic directly — use the Emit bake type with a dedicated node setup:
# Node group for roughness bake
# 1. Principled BSDF → Roughness output → Emission Strength
# 2. Set Bake Type = Emit
# Repeat with Metallic output for metallic map

# In node editor (pseudo-code):
mat.node_tree.nodes['Principled BSDF'].outputs['Roughness']
  -> Emission.inputs['Color']
bpy.ops.object.bake(type='EMIT')
For the sci-fi crate: painted hull plates are roughness 0.7, unpainted steel is 0.3, and screw heads are metallic 1.0 / roughness 0.2. Store exact values in a material ID pass so they can be reproduced if the bake needs re-running.
Normal map precision check
After baking, apply the normal map to the low-poly and orbit around the crate in Blender's Material Preview. Look for gradient banding across curved surfaces — if present, the cage is too tight on those faces. Fix before moving to channel packing.
Packing the ORM Channel Texture for Engine Import
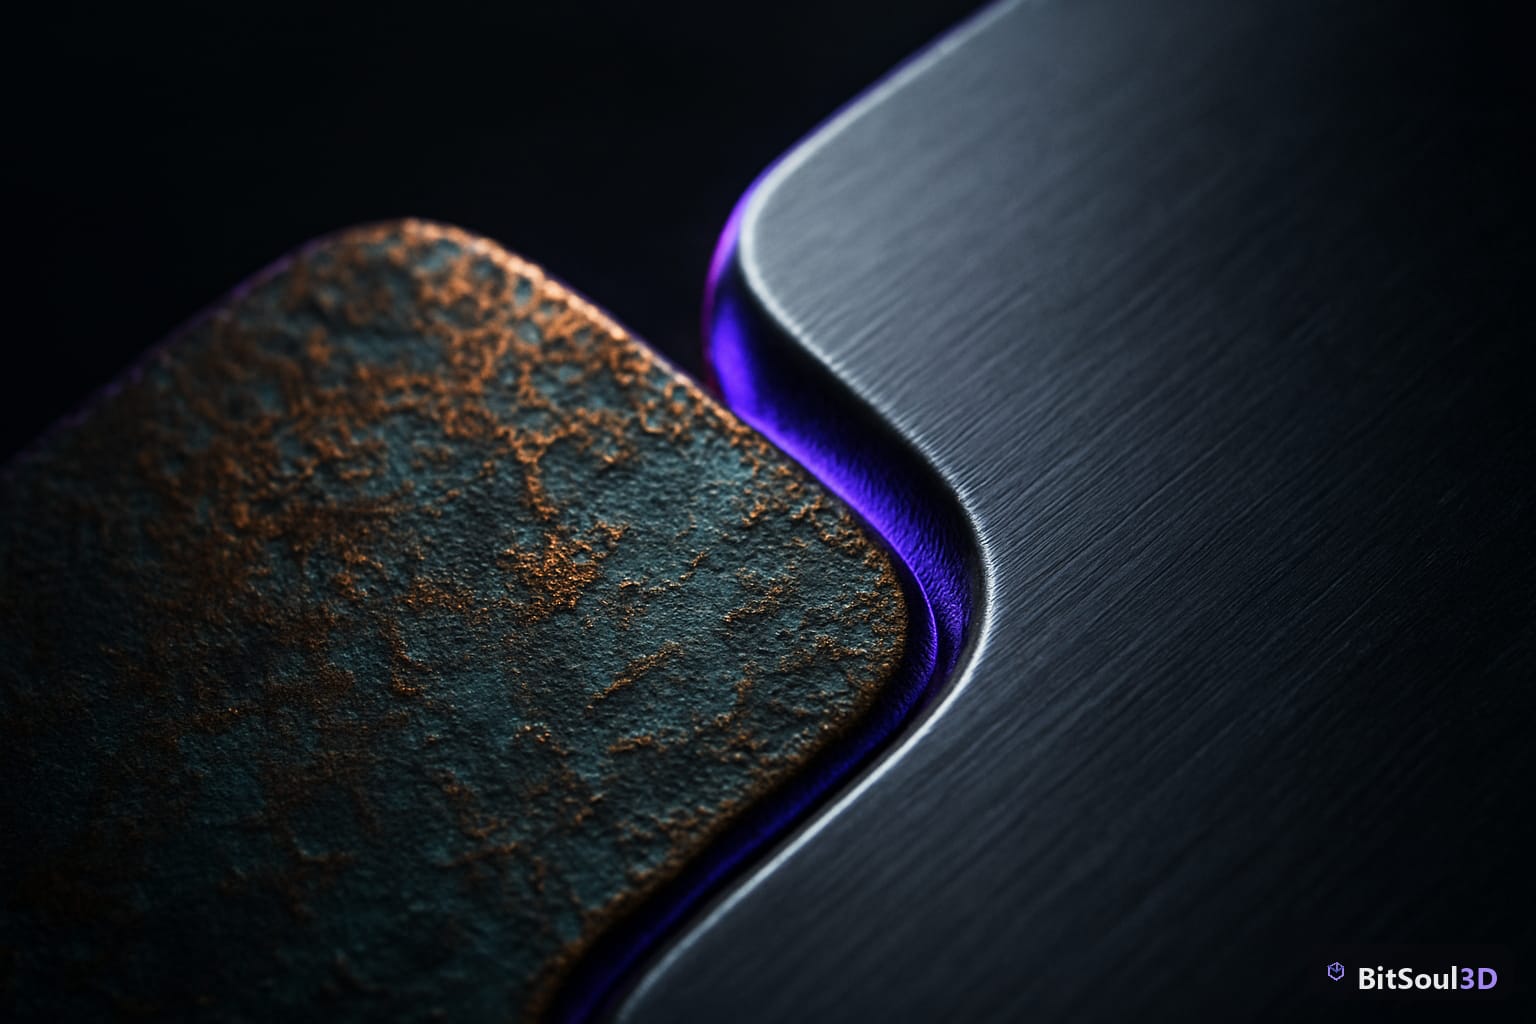
ORM packs three maps into a single texture: Occlusion → R channel, Roughness → G channel, Metallic → B channel. One texture sample replaces three, cutting memory bandwidth significantly.
# Python (Pillow) — pack ORM
from PIL import Image

ao  = Image.open('crate_AO_4k.exr').convert('L')
rgh = Image.open('crate_Roughness_4k.exr').convert('L')
met = Image.open('crate_Metallic_4k.exr').convert('L')

orm = Image.merge('RGB', (ao, rgh, met))
orm.save('crate_ORM_4k.png')
Engine import settings:
| Engine | ORM settings |
|---|---|
| Unity URP | Import as Default texture; assign to Mask Map slot in Lit Shader |
| Godot 4 | Import type: ORM map; assign to ORM Texture on StandardMaterial3D |
| Unreal Engine 5 | Split ORM back into channels with Append node in Material Editor |
Important: In Unity, the channel order is MADS (Metallic, AO, Detail, Smoothness), not ORM. Swap channels or use a separate script for URP Lit's Mask Map.
Importing and Validating in Unity and Godot 4
Export the low-poly mesh with baked textures as a GLB from Blender:
File → Export → glTF 2.0
  ☑ Include: Selected Objects
  ☑ Geometry: Apply Modifiers
  Format: GLB (binary)
  ☑ Draco compression (optional, ~60 % size reduction)
Unity validation
- Import GLB → apply the ORM texture manually as the Mask Map.
- Open Window → Rendering → Frame Debugger and verify draw call count — a single-material crate should be 1 draw call.
- Enable Mip Map Streaming in texture import settings; confirm mip levels look correct in Scene View at 10 m distance.
Godot 4 validation
Godot's GLB importer auto-detects PBR textures if named with standard suffixes (_orm, _normal, _albedo). Set Import → Compress → VRAM Compressed to BPTC on desktop targets for BC7 quality compression.
Final triangle budget for the crate: 1.8 k tris / 2 k verts, 2048 × 2048 texture set (downsampled from 4 k bakes). Memory footprint: ~5.3 MB VRAM for albedo + normal + ORM.
You can skip the high-poly modelling phase entirely by pulling a pre-modelled, game-ready prop from BitSoul's free 3D marketplace — most assets ship with bake-ready topology so you can jump straight to the UV and bake passes described above.
This post is part of the Ultimate Guide to Free 3D Game Assets — BitSoul's complete reference for formats, texturing, rigging, optimization, and engine integration.
Need drop-in assets for this workflow? Grab the 82-model Vehicle Bundle on the BitSoul marketplace and drop them straight into your project.